To remove pavers, start by lifting them with a pry bar or chisel. Work slowly to avoid damaging surrounding stones.
Removing pavers can seem daunting, but it’s a manageable task with the right approach. Pavers are often used for patios, walkways, and driveways, adding aesthetic appeal and functionality. Over time, they may need replacement or adjustment due to settling or damage.
Credit: westerninterlock.com
Understanding the removal process can save time and effort. Whether you want to replace old pavers or create a new design, knowing how to do it correctly is crucial. Proper tools and techniques will ensure you complete the job efficiently without harming other landscaping features. This guide will walk you through the steps to safely and effectively remove pavers from your outdoor space.
How to Remove Pavers : Step by Step Guide
Introduction To Paver Removal
Removing pavers can be necessary for many reasons. Pavers may become damaged or uneven over time. They can also obstruct drainage or create safety hazards. Sometimes, homeowners want to change their landscape design.
To remove pavers effectively, certain tools are essential. A paver puller or a pry bar helps lift pavers easily. A rubber mallet is useful for tapping pavers loose without breaking them. A shovel or spade can help dig out soil around the pavers. Safety gloves and goggles protect your hands and eyes during the process.
Safety First
Wearing the right gear is essential. Safety goggles protect your eyes from debris. Gloves shield your hands from sharp edges. Sturdy work boots keep your feet safe while lifting. A hard hat offers extra protection in case of falling objects.
Taking precautions helps avoid injuries. Always clear the area before starting. Remove any obstacles that may cause trips. Use tools properly to prevent accidents. Stay hydrated, especially in hot weather. Take breaks to avoid fatigue.
Encourage others to wear their safety gear too. Teamwork enhances safety during the project. Always communicate clearly with your team members.
Preparing The Area
Start by clearing the surface of any debris. Remove dirt, leaves, or grass. This will help you see the pavers clearly.
Next, mark the pavers you want to remove. Use chalk or paint to outline each paver. This will make it easier to follow your plan.
Carefully measure the area before starting. Knowing the size helps in planning the removal process. Keep your tools handy for quick access.
| Task | Description |
|---|---|
| Clear Surface | Remove debris, dirt, and grass. |
| Mark Pavers | Outline pavers with chalk or paint. |
| Measure Area | Know the size for better planning. |
Lifting The First Paver
Start by choosing the right spot to lift the first paver. Look for a corner or edge. This area is often easier to access.
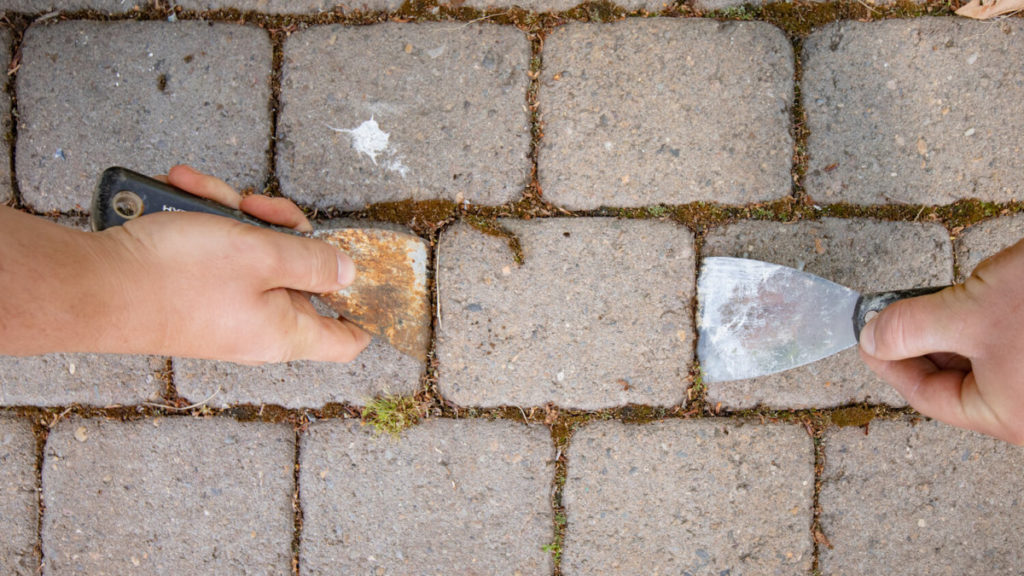
Use pry tools like a flat bar or a paver puller. These tools help you lift the paver without damaging it. Insert the tool gently under the edge of the paver.
Apply steady pressure to lift it slightly. Be careful not to force it. Once it’s loose, pull it straight up.
Keep the surrounding pavers intact during this process. This way, you maintain the overall look of your patio or walkway.
Removing Subsequent Pavers
Removing pavers can be simple with the right techniques. Start by using a pry bar to lift the edges. This tool helps to loosen the paver without breaking it. A rubber mallet can also be useful for tapping pavers gently. Avoid using heavy tools that may crack the surface.
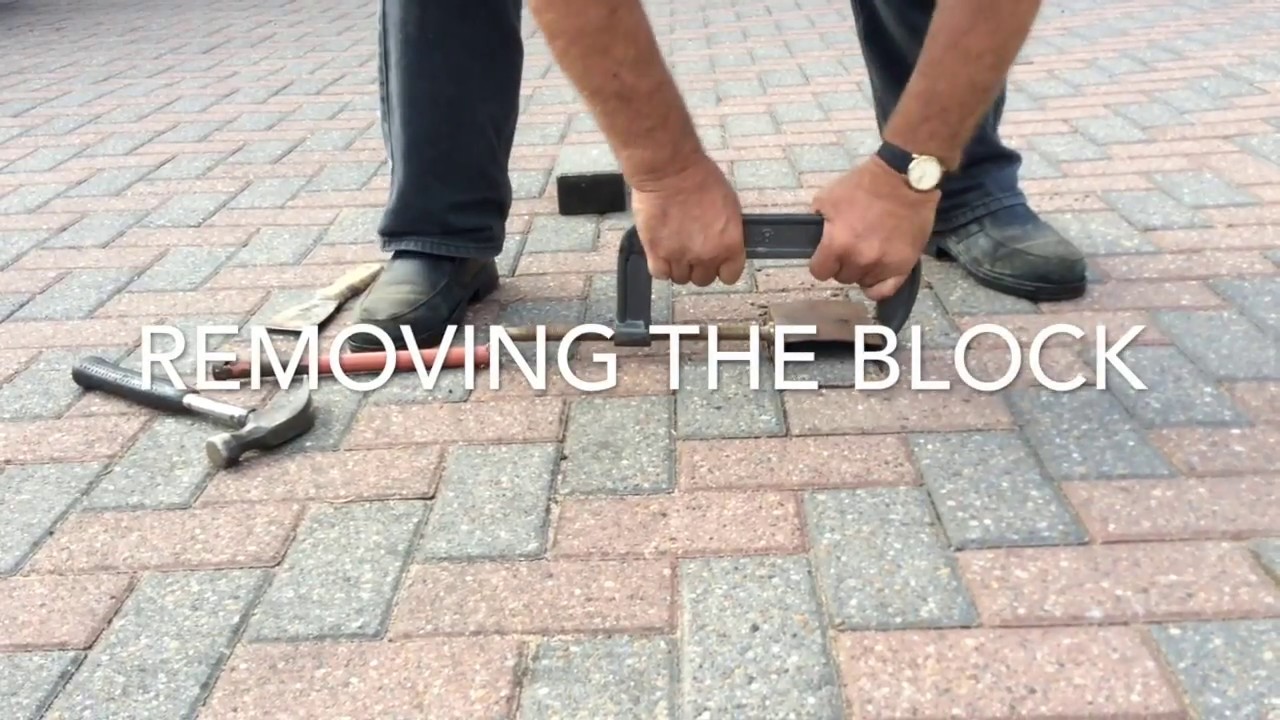
For larger areas, consider using a paver removal machine. This machine saves time and effort. Always ensure you wear protective gloves and goggles for safety.
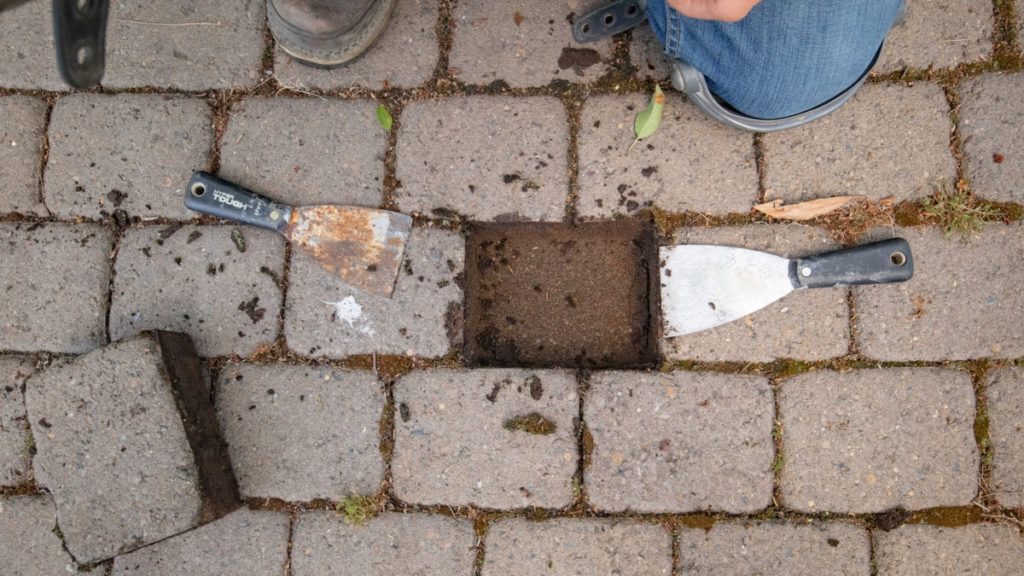
To keep pavers intact, focus on gentle lifting. Remove any gravel or sand underneath first. Work slowly to prevent damage. Storing pavers in a dry place will help maintain their quality.
Credit: m.youtube.com
Dealing With Difficult Pavers
Removing stuck pavers can be tricky. Start by using a hammer and a chisel. Strike the chisel at the edges. This will break the bond holding the paver in place. Make sure to wear safety goggles during this process.
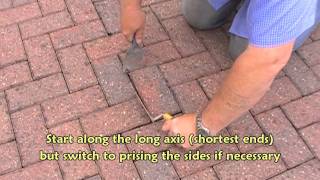
For tight spaces, consider using a pry bar. This tool helps lift pavers without damaging them. Insert it gently under the paver’s edge. Apply steady pressure to lift it out. Be patient and take your time.
Cleaning the area is important after removal. Remove debris and dirt. This ensures a clean workspace for future projects.
Cleaning And Disposal
Start by removing dirt and debris from the pavers. Use a broom or leaf blower for quick cleaning. For tough stains, a mixture of soap and water works well.
After cleaning, check the base layer. Ensure it is free from weeds and rocks. A smooth base helps with proper drainage.
For disposing of old pavers, check local rules. Many places allow recycling of pavers. Consider donating them if they are in good condition.
Use a dump truck or a pickup truck for disposal. Ensure to load them safely to avoid damage.
Credit: www.youtube.com
Final Touches And Considerations
After removing pavers, it’s important to smooth the base. Use a rake to level the ground. This helps prevent future problems. Make sure the surface is even and compact.
Consider options for reusing or repurposing pavers. They can make great garden borders. Pavers can also serve as a base for new walkways. Create a fire pit area with the old pavers. Think about using them in a decorative way in your yard.
| Repurposing Ideas | Benefits |
|---|---|
| Garden Borders | Defines spaces and looks nice. |
| New Walkways | Cost-effective and stylish. |
| Fire Pit Area | Creates a cozy gathering spot. |
| Decorative Features | Adds character to your yard. |
Frequently Asked Questions
How Do I Start Removing Pavers?
Begin by gathering the necessary tools, including a pry bar, hammer, and safety gear. Clear the area of any debris and vegetation. Use the pry bar to lift the first paver gently. Work your way through the rest, ensuring not to damage surrounding stones.
What Tools Are Needed To Remove Pavers?
Essential tools for removing pavers include a pry bar, hammer, and gloves. A chisel can help if pavers are stuck. A shovel or spade is useful for clearing soil. A rubber mallet ensures you don’t damage the pavers during removal.
Can I Reuse The Pavers After Removal?
Yes, you can reuse pavers after proper cleaning. Remove any dirt or debris with a scrub brush and water. Inspect each paver for damage before reinstallation. Reusing pavers is eco-friendly and cost-effective, enhancing your landscape’s sustainability.
How Long Does It Take To Remove Pavers?
The time required to remove pavers depends on the area size and installation method. Typically, it takes a few hours for smaller patios. Larger projects may take a day or more. Proper preparation and tools can speed up the process significantly.
Conclusion
Removing pavers can seem daunting, but it’s manageable with the right approach. Follow the steps outlined in this guide for a smoother process. Remember to prioritize safety and take your time. With patience, you’ll achieve a clean, refreshed space ready for your next project.
Happy paving!