Lavender is a versatile and fragrant herb cherished for its soothing aroma, vibrant purple flowers, and numerous uses in cooking, crafting, and aromatherapy.

Growing lavender from cuttings is an easy and cost-effective way to propagate this hardy plant, ensuring it thrives in your garden or indoor space. By following a few simple steps, you can produce healthy new plants that will beautify your surroundings and infuse the air with their calming scent.
This guide on how to grow lavender plants from cuttings will walk you through the process of growing lavender from cuttings, making it simple even for beginners.
Why Grow Lavender from Cuttings?
Before we dive into the steps, let’s explore why growing lavender from cuttings is a popular method among gardeners.
Cost-Effectiveness:
Lavender plants can be quite expensive to purchase, especially if you need several for your garden or home. By propagating new plants from cuttings, you can save money and expand your lavender collection without breaking the bank.
Success Rate:
Growing lavender from seeds can be challenging, as the seeds are small and slow to germinate. On the other hand, cuttings have a higher success rate, making it a more reliable method of propagation.
Cloning:
Taking cuttings from a parent plant allows you to create clones with identical characteristics, ensuring that your new plants will have the same qualities as the original plant.
What You Will Need
To successfully grow lavender from cuttings, you will need:
- A Healthy and Established Lavender Plant to Take Cuttings From;
- Pruning Shears or Sharp Scissors;
- Rooting Hormone (Optional);
- Potting Mix for Seedlings;
- Small Pots or Containers;
- A Spray Bottle;
- Clear Plastic Bags or a Mini Greenhouse;
- A Warm and Bright Location, Such as a Windowsill or Greenhouse.
8 Steps on How to Grow Lavender Plants From Cuttings
Step 1: Prepare the Parent Plant
Start by selecting a healthy and mature lavender plant as your parent plant. Look for a plant that is free of diseases, pests, or damage and has plenty of new, green growth. The best time to take cuttings is during the growing season, typically in spring or early summer, when the plant is actively producing fresh stems.
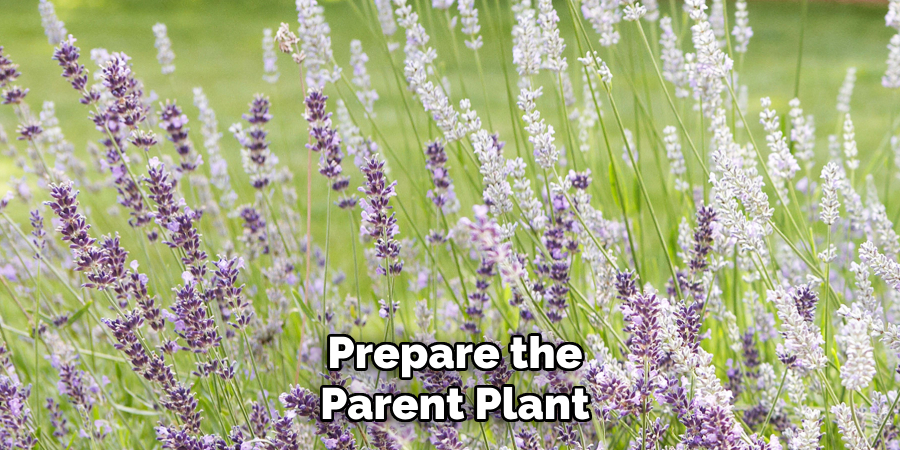
Water the parent plant a day or two before cutting to ensure the stems are hydrated, which will help increase the chances of successful propagation. Use clean and sanitized pruning shears or scissors to prevent introducing any pathogens to the plant.
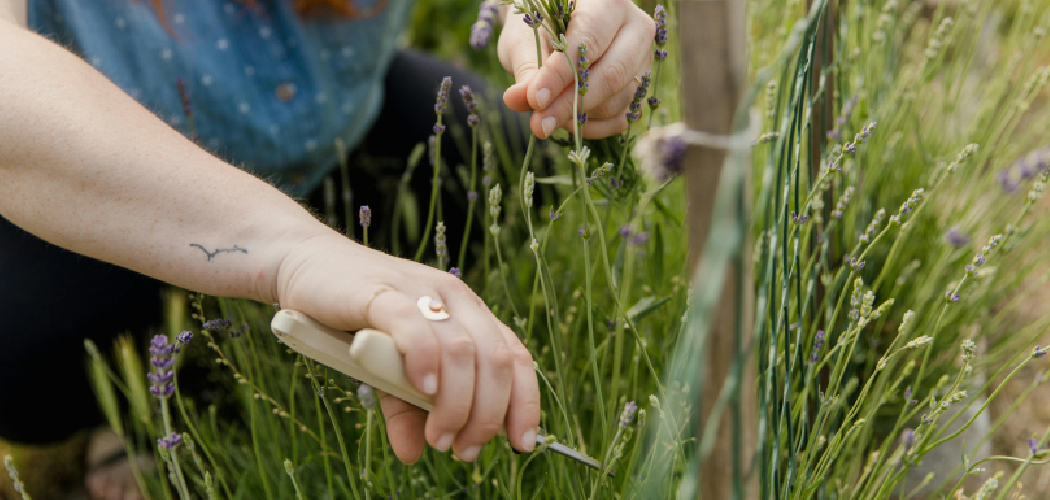
Step 2: Cut the Stems
Using your sanitized pruning shears or scissors, carefully cut 4-6 inch sections of new, green growth from the parent plant. These are known as softwood cuttings, and they are more likely to root successfully compared to older, woody stems. Aim to make your cuts just below a leaf node, as this is where rooting hormones are concentrated, increasing the likelihood of growth.
Avoid taking cuttings from stems that are flowering, as the plant’s energy will be primarily directed toward supporting the flowers instead of developing roots. Once you have your cuttings, immediately place them in a container of water to keep them hydrated until you are ready to plant them.
Step 3: Prepare the Cuttings
Once you have collected your lavender cuttings, it’s time to prepare them for planting. Begin by removing the leaves from the lower two inches of each cutting, as these will be submerged in the soil and could rot if left intact. Gently strip the leaves with your fingers or use a small, sharp tool for precision. If the cuttings have any small flower buds, pinch or cut those off as well to direct the plant’s energy toward root development rather than flowering.
For an extra boost, dip the cut end of each cutting into the rooting hormone. Although this step is optional, it can significantly enhance the chances of successful root growth. Finally, your cuttings are now ready to be planted in the prepared pots or containers.
Step 4: Prepare the Potting Mix
Using a high-quality potting mix designed for seedlings, fill small pots or containers to within an inch of the rim. The soil should be well-draining and have a good balance of nutrients, as lavender plants prefer slightly alkaline soil with a pH between 6.5 and 7.5. If your potting mix does not contain perlite or vermiculite, you can add some for better drainage.
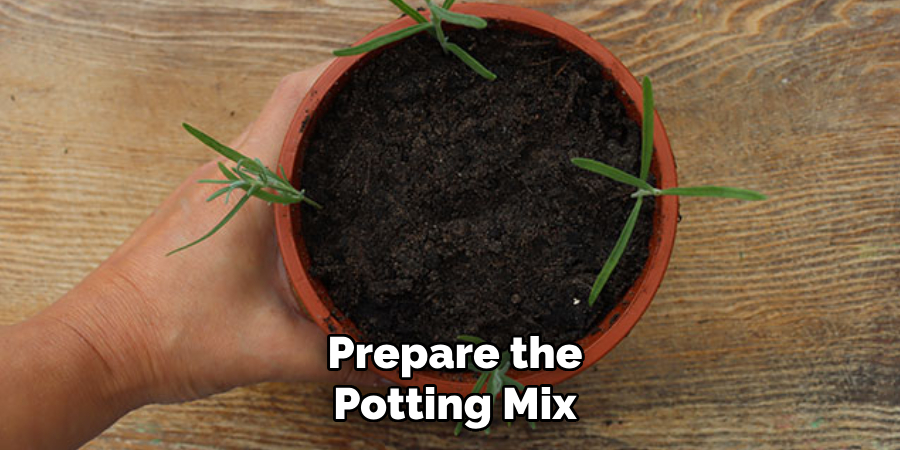
You can also make your own potting mix by combining equal parts of peat moss, coarse sand or perlite, and vermiculite.
Step 5: Plant the Cuttings
Make a small hole in the center of each pot and place the prepared cuttings into the holes, gently pressing the soil around them to keep them upright. The bottom inch of each cutting should be buried in the soil, with only one or two leaf nodes above the surface.
Make sure to space out your cuttings at least an inch apart to allow for airflow and prevent overcrowding. Label each pot with the date and variety of lavender to keep track of your plants.
Step 6: Water and Cover the Cuttings
After planting the cuttings, gently water the soil until it is evenly moist but not soaking. Using a spray bottle is recommended to avoid disturbing the cuttings with a heavy flow of water. Keep the soil consistently moist during the rooting process, as this will help the cuttings develop strong roots.

To create a humid environment that encourages root growth, cover each pot with a clear plastic bag or use a mini greenhouse. Be sure to position the plastic so that it does not touch the cuttings, as this could cause moisture-related issues. Ventilation is also important to prevent mold or fungal growth, so open the bags or greenhouse slightly every day to allow fresh air to circulate. Place the pots in a warm and bright location, such as a windowsill, but ensure they are not exposed to direct sunlight, which could overheat the cuttings or dry out the soil.
Step 7: Care for Your Cuttings
Place your cuttings in a warm, bright location that receives indirect sunlight. Avoid placing them in direct sunlight, as this can cause excessive heat and dry out the plant’s leaves.
Check on your cuttings regularly and mist them with water when needed to keep the soil lightly moist. Avoid overwatering as this can lead to root rot and kill your cuttings. After a few weeks, you should start to see new growth and roots forming.
Step 8: Transplant Your Cuttings
After about four to six weeks, the roots on your lavender cuttings should be developed enough for transplanting into larger containers or into your garden. To harden off the plants before planting them outside, gradually expose them to longer periods of sunlight each day over the course of one week.

Following these steps on how to grow lavender plants from cuttings will help you grow strong and healthy lavender plants from cuttings. With proper care and patience, you can enjoy the beautiful blooms and soothing scent of your own home-grown lavender all season long. Happy gardening!
Additional Tips
- To increase the chances of successful root growth, keep the soil temperature consistently warm, between 70-75 degrees Fahrenheit.
- If you are taking multiple cuttings from one parent plant, make sure to use a different container for each variety to avoid mixing them up.
- Once your lavender plants are established, be sure to prune them regularly to maintain their shape and promote healthy growth.
- Lavender plants require full sun (at least 6 hours per day) and well-draining soil, so make sure to choose a suitable location in your garden or select a pot with good drainage holes.
- You can also propagate lavender plants through division, taking small sections from an established plant’s root system. This method may take longer than using cuttings but can still be successful with proper care.
- Some varieties of lavender are more suitable for container gardening, such as Spanish lavender or fern leaf lavender, which have smaller and more compact growth habits.
- Consider adding crushed eggshells to the soil around your lavender plants for added calcium and to discourage pests.
- Lavender plants also make great companion plants for vegetables and herbs, as they can attract pollinators and repel harmful insects. Consider planting them near your vegetable garden or herb bed. Overall, growing lavender from cuttings is a simple and rewarding process that any gardener can do. With proper care and attention, you can enjoy the beautiful blooms and delightfulfragrancese of these versatile plants in your own garden or home. Happy gardening!
Conclusion
Propagating lavender from cuttings is a rewarding and cost-effective way to expand your garden while enjoying the beauty and fragrance of this beloved plant. By following the outlined steps on how to grow lavender plants from cuttings and providing the right care and environment, you can successfully cultivate thriving lavender plants that will brighten your space and attract beneficial pollinators.
Whether you’re a seasoned gardener or a beginner, this method is a wonderful opportunity to connect with nature and reap the benefits of your hard work. With patience and dedication, your garden will soon flourish with the vibrant blooms and enchanting aroma of lavender. Happy gardening!