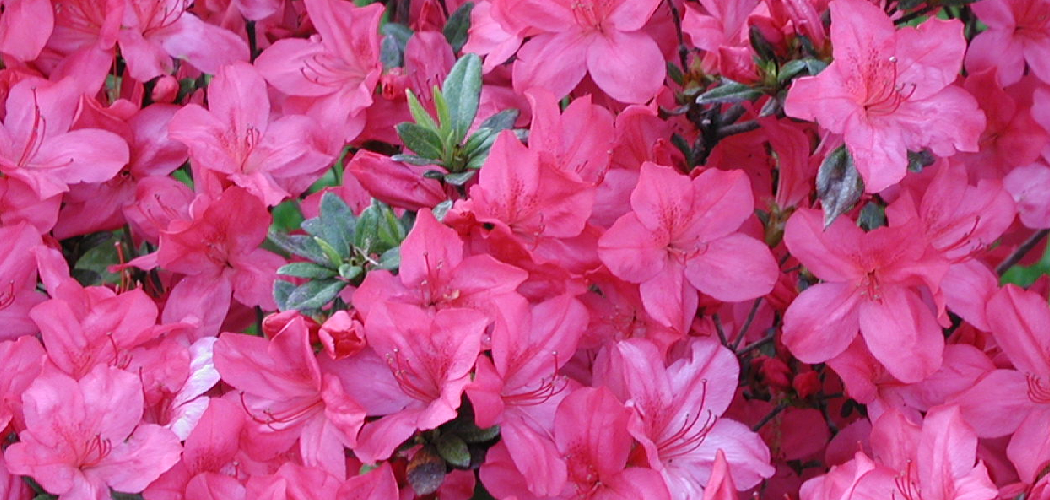
Are you wondering how to properly fertilize your azalea plant? Look no further than how to azalea foliar feeding! This technique is a great way to provide essential nutrients directly to the leaves of your plants.
Azalea foliar feeding is a method of providing essential nutrients directly to the leaves of azalea plants. This technique is particularly effective for delivering quick nourishment, as the nutrients are absorbed through the foliage rather than the roots. It can be especially beneficial during periods of stress, such as drought or poor soil conditions, when traditional soil feeding might be less effective.

By understanding the proper techniques and the best times to perform foliar feeding, gardeners can promote healthier, more vibrant azaleas with lush blooms and robust foliage. Let’s explore some tips for successful foliar feeding of azaleas.
What Are the Benefits of Foliar Feeding for Azaleas?
There are several benefits to foliar feeding for azaleas, including:
- Improved Nutrient Absorption: As mentioned earlier, foliar feeding allows nutrients to be absorbed directly through the leaves. This can be particularly helpful if your soil is lacking in specific nutrients or if there are barriers preventing roots from accessing them.
- Quick Results: Because the nutrients are absorbed quickly through the foliage, you may see noticeable improvements in your azaleas’ health and appearance within just a few days.
- Targeted Nutrition: With foliar feeding, you have more control over which specific nutrients you want to provide for your azaleas. This can be especially useful if you notice any deficiencies or specific needs for your plants.
- Boosts Plant Immunity: Foliar feeding can also help boost your azaleas’ immune system, making them more resistant to diseases and pests. This is because the nutrients are directly absorbed into the plant’s tissues, helping to strengthen and protect it from potential threats.
- Cost-effective: Compared to traditional soil fertilization methods, foliar feeding can be a more cost-effective option. You only need small amounts of fertilizer mixed with water for each application so that it can save you money in the long run.
What Will You Need?
To get started with foliar feeding your azaleas, you will need the following materials:
- Fertilizer: Choose a water-soluble or liquid fertilizer specifically formulated for acid-loving plants, such as azaleas. Look for one with a balanced ratio of nitrogen, phosphorus, and potassium (N-P-K) to provide all the essential nutrients.
- Watering Can or Sprayer: You will need a container to mix the fertilizer with water and apply it to your azaleas’ leaves. A watering can or sprayer with a delicate mist setting works best.
- Water: Use clean, preferably distilled water for foliar feeding. This ensures that there are no impurities that could harm your azaleas.
- Spray Bottle or Garden Pump Sprayer: These tools are necessary if you plan on foliar feeding. A spray bottle is best for small plants, while a garden pump sprayer is more efficient for larger ones.

8 Easy Steps on How to Azalea Foliar Feeding
Step 1. Choose the Right Time:
Timing is crucial when it comes to feeding your azaleas with foliar feed. The best time to apply the spray is early in the morning or late in the afternoon.
During these times, the temperature is cooler, and the sun is not as intense, which helps prevent the leaves from burning. Early morning is particularly ideal because the plant’s stomata (tiny pores on the leaves) are open, allowing for better nutrient absorption.
Avoid spraying during the heat of the day or in windy conditions, as this can reduce the effectiveness of the feeding and may cause the solution to evaporate too quickly. Additionally, make sure the weather forecast is clear to ensure there’s no chance of rain washing away your efforts.
Step 2. Prepare the Nutrient Solution:
To prepare the nutrient solution, start by selecting a high-quality, water-soluble fertilizer suitable for the type of plants you are growing. Carefully read the manufacturer’s instructions to determine the recommended dosage, as using too much fertilizer can harm your plants, while too little may not provide the necessary nutrients.
Fill a clean sprayer or watering can with the correct amount of water, ensuring it is neither too cold nor too hot, as extreme temperatures can shock plant systems. Gradually mix in the fertilizer, stirring or shaking the container until it is completely dissolved. Then, apply the fertilizer to the soil around your plants, avoiding getting any on the leaves or stems, as this can cause burning.
Step 3. Test the Spray:
Before applying the spray to all your plants, it is crucial to test it on a small section or a single plant. This allows you to assess how the fertilizer mixture interacts with your plants and ensures there are no adverse effects, such as leaf discoloration, wilting, or burning. Choose a healthy plant or a less prominent area for the initial test, and apply the spray sparingly.
Observe the plant over the next 24 to 48 hours, checking for any signs of stress or damage. If the plant shows no negative reactions and appears healthy, you can proceed with applying the mixture to the rest of your garden. Testing helps prevent widespread damage and ensures the fertilizer concentration is appropriate for your plant’s needs.
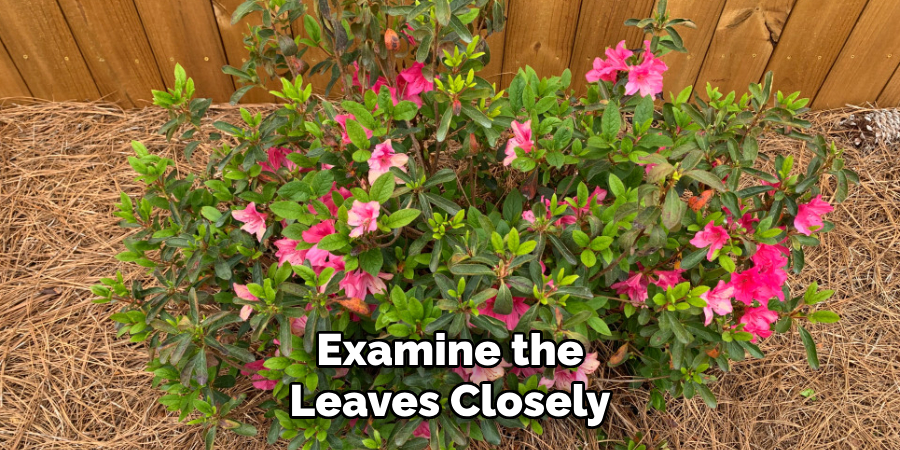
Step 4. Check the Leaves:
Examine the leaves closely for any signs of discoloration, spotting, curling, or other irregularities. Healthy leaves should appear vibrant, uniform in color, and free from blemishes. If you notice any wilting, browning, or yellowing, it could signal an issue with water balance, nutrient deficiencies, or even pest infestation.
Pay attention to both the top and underside of the leaves, as pests like aphids or mites often hide on the undersides. Additionally, check for any sticky residue or webbing, which could indicate a pest problem. By carefully monitoring the leaves, you can catch early warning signs of trouble and take timely action to protect your garden. Regular inspection ensures your plants remain healthy and thriving.
Step 5. Use Proper Equipment:
Using proper equipment is crucial for maintaining a healthy and efficient gardening routine. The right tools not only make tasks easier but also help prevent damage to your plants and reduce physical strain. Invest in high-quality equipment such as sharp pruners, durable spades, and ergonomically designed tools to enhance your gardening experience.
Always ensure your tools are clean and in good condition, as rusty or dull tools can spread diseases or damage plant tissue. For larger tasks, such as tilling or pruning trees, consider using specialized equipment, like a sturdy hoe or a telescopic pruner, to ensure precision and safety. Remember to wear protective gear, including gloves, knee pads, and sturdy footwear, to protect yourself while working.
Step 6. Spray the Undersides of Leaves:
One of the most effective ways to combat pests and diseases is by targeting the undersides of plant leaves. This area is often overlooked, but it is where many insects, such as aphids, spider mites, and whiteflies, tend to hide and lay their eggs. To ensure thorough coverage, use a fine mist sprayer and adjust it to reach underneath the leaves without damaging the plant.
Use natural or organic solutions, such as neem oil or a diluted soap spray, which are gentle on plants but effective against pests. Avoid spraying during the heat of the day, as direct sunlight combined with wet leaves can lead to scorching. Early morning or late afternoon is the ideal time to treat your plants, ensuring effective pest management while protecting your garden’s health.
Step 7. Spray Evenly:
Evenly spraying your plants is crucial to ensure comprehensive pest control and to avoid leaving vulnerable areas untreated. Begin by positioning the sprayer at a consistent distance from the plant, usually about 12-18 inches, to provide uniform coverage without oversaturating the foliage.

Be methodical in your approach, starting from the top of the plant and working your way down, ensuring the spray reaches both the upper and lower surfaces of the leaves, as pests often hide underneath. Move in slow, steady sweeps, overlapping slightly to guarantee no areas are missed. Pay extra attention to dense or heavily infested areas of the plant, where pests are likely to congregate.
Step 8. Repeat as Necessary:
If the pest problem persists after the initial application, it may be necessary to repeat the treatment to eradicate the infestation fully. Check the plant regularly over the following weeks for any signs of recurring pests or new damage.
Apply a follow-up treatment as needed, but be sure to follow the recommended intervals specified on the pesticide label to avoid overuse, which can harm the plant or lead to pest resistance. Additionally, consider integrating preventative measures, such as maintaining proper plant hygiene, removing debris, and encouraging beneficial insects, to reduce the likelihood of future infestations. Persistence and careful monitoring are key to long-term pest control success.
By following these steps, you can ensure your azaleas receive the nutrients they need for robust growth and vibrant blooms.

Conclusion
Foliar feeding is an effective method to provide your azaleas with essential nutrients quickly and efficiently.
By applying a well-balanced liquid fertilizer directly to the leaves, you can help the plant absorb nutrients rapidly, especially during periods of stress or nutrient deficiency. Always make sure to use a fertilizer specifically formulated for azaleas and apply it in the early morning or late evening to prevent leaf burn. Combining foliar feeding with proper soil care and maintenance practices will promote healthy growth and vibrant, long-lasting blooms.
Hopefully, the article on how to azalea foliar feeding has shed light on this beneficial gardening practice.