A well-maintained lawn is a hallmark of a healthy, vibrant outdoor space, but issues like dead grass, bare spots, pet damage, or compacted soil can create unsightly patches. These lawn patch problems not only detract from the overall aesthetic appeal of your yard but can also serve as entry points for invasive weeds and pests, further compromising your lawn’s health. Understanding how to repair lawn patches is essential for restoring your lawn’s lush, even appearance and ensuring its long-term vitality.
This article provides a comprehensive, step-by-step guide to diagnosing the causes of lawn patches and implementing effective repair strategies. We will walk you through the process from evaluating underlying issues to planting and nurturing new grass. By following these tips, you’ll be equipped to revive your lawn and prevent future damage, helping you maintain a thriving, visually appealing yard for years.
Identifying the Cause of Lawn Patches
Before taking any corrective action, it is crucial to identify the underlying cause of lawn patches. Diagnosing the problem accurately will ensure that your repair efforts are effective and long-lasting.
Common Causes
Lawn patches can stem from a variety of sources. Pet urine is a frequently encountered culprit, as it can leave behind concentrated nitrogen that damages grass. Heavy foot traffic may compact the soil, preventing proper root growth and water penetration. Pests such as grubs, insects, and fungal diseases can also lead to dead or thinning grass. Environmental factors like lack of sunlight or prolonged drought also weaken the lawn’s health.
Diagnosing the Problem
Observing your lawn closely can help pinpoint the issue. Look for telltale signs, such as discolored or thinning grass, unusually hard or compacted soil, or pests or insects. Pay attention to patterns, as they may reveal specific causes—for example, circular patches could indicate fungal infections, while sporadic brown areas may suggest insect damage.
Importance of Correct Diagnosis
Properly identifying the cause of the patches is essential for applying the right repair method. Mistreating the lawn based on incorrect assumptions can lead to wasted effort and recurring issues. By diagnosing correctly, you’ll be better equipped to address the source of the problem and prevent it from happening again.
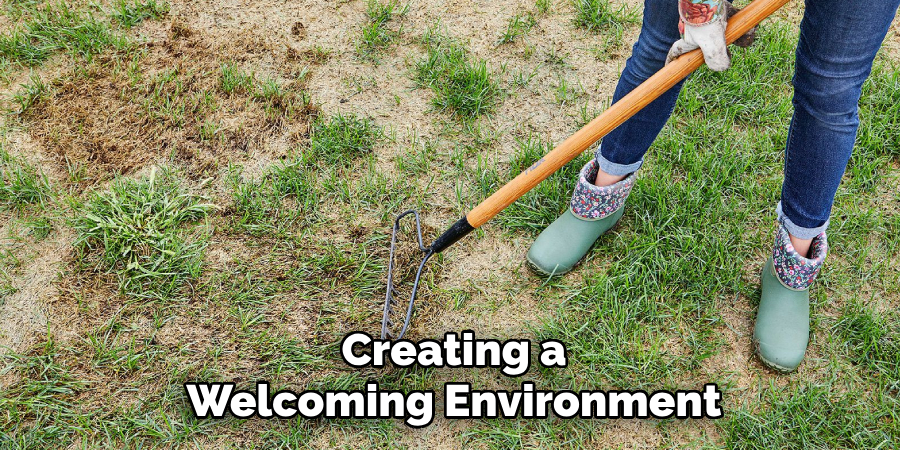
Preparing the Patch Area
Clearing Debris
The first step in repairing a patchy lawn is clearing the area of debris. Remove all dead grass, thatch, and weeds from the spot to create a clean base for restoration. Use a rake to gather and dispose of loose materials thoroughly, ensuring no obstructions remain that could impede new growth.
Loosening the Soil
Once the area is clear, the next step is to break up compacted soil. Use a rake or hand tiller to loosen the soil, working to a few inches depth. This process improves aeration and allows water and nutrients to penetrate the ground more effectively, creating a welcoming environment for seeds or sod.
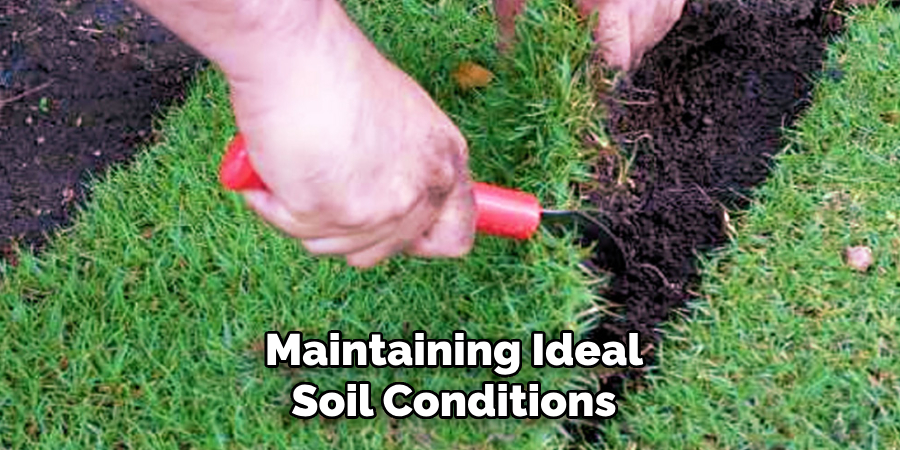
Soil Amendment (if needed)
Consider adding a soil amendment if the patchy area shows signs of poor drainage or nutrient deficiencies. Mix in compost, topsoil, or other organic matter to enrich the soil and enhance its ability to retain moisture while supporting healthy root development.
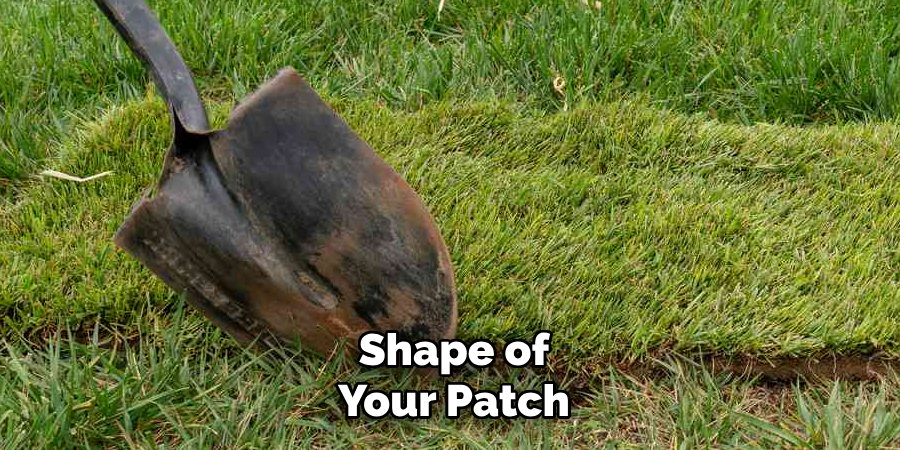
Leveling the Surface
Finally, ensure the patch is level with the surrounding lawn. Use a rake to smooth the surface, filling in any low spots or dips. Leveling is essential to prevent water pooling, which can lead to further damage or uneven growth in the future. Proper preparation of the patch area sets the stage for successful lawn recovery.
Choosing the Right Repair Method
When repairing damaged lawn areas, selecting the right method is crucial for achieving lasting and seamless results. Each approach has its unique advantages, depending on the size of the affected area, the type of grass, and the desired recovery speed.
Seed Repair
Seed repair is an excellent option for large areas or situations where matching the existing grass type is essential. Start by selecting high-quality grass seed that is compatible with your climate and the current lawn. For instance, cool-season grasses like fescue thrive in temperate regions, while warm-season grasses are better for hotter climates. Once you’ve prepared the soil, spread the seed evenly and gently rake it to ensure good soil-to-seed contact. Water the area regularly to moisten the soil, promoting consistent germination and healthy growth.
Sod Patching
Sod patching is ideal for quickly repairing smaller areas or high-traffic spots that require immediate results. Begin by cutting sod pieces to fit the size and shape of your patch. Carefully place the sod over the prepared area, ensuring the edges align seamlessly with the surrounding lawn. Press down firmly and water thoroughly to help the sod establish roots. This method creates an instant repair with little wait time, giving a visually appealing finish.
Grass Plugs
For warm-season grasses like Bermuda or Zoysia, grass plugs are a practical choice. These small, pre-rooted sections of grass can be planted evenly across the damaged area. Space the plugs 6–12 inches apart, depending on the growth rate of the chosen variety. Over time, the plugs will spread and fill in the patch, creating a compact and resilient lawn. Regular watering and maintenance during establishment are key to success.
How to Repair Lawn Patches: Planting and Initial Care
Sowing grass seed properly ensures the best chance for healthy growth. Begin by spreading the seed evenly across the prepared soil, aiming for consistent coverage to avoid bare spots. Use a lawn spreader for larger areas to achieve uniformity. After spreading the seed, press it gently into the soil using a lawn roller or by lightly stepping on the area to improve seed-to-soil contact. Cover the seeds with a thin layer of soil, no more than 1/4 inch deep, to protect them while still allowing light penetration, which is crucial for germination.
Watering the Patch
Keeping the newly seeded area consistently moist is essential for successful grass establishment. Water the patch lightly but frequently, aiming to keep the top layer of soil damp without creating puddles. Typically, this means watering 1–2 times per day for the first couple of weeks, gradually reducing frequency as the seedlings grow stronger. Adjust the watering schedule depending on weather conditions to prevent drying out.
Applying Mulch or Straw
Consider applying a light layer of mulch or straw over the seeded area. This helps retain moisture, regulate soil temperature, and protect the seeds from being disturbed by birds. Use clean, weed-free straw or a specialized biodegradable mulch to avoid introducing unwanted plants.
Post-Planting Fertilizer
Once the grass germinates, apply a light fertilizer designed for early growth. Choose a product with a balanced nutrient profile or one specifically tailored for new seedlings to encourage fast root development. This additional nourishment will help the grass establish a resilient, lush lawn.
Ongoing Maintenance and Growth Monitoring
Watering Schedule
Once the grass has germinated and started to grow, it’s essential to adjust the watering routine to support deep root development. Transition from frequent, light watering to infrequent but deeper watering sessions. This typically involves watering 2-3 times per week, providing about one inch of water each time to encourage roots to grow deeper and strengthen the grass’s resilience to drought and stress.
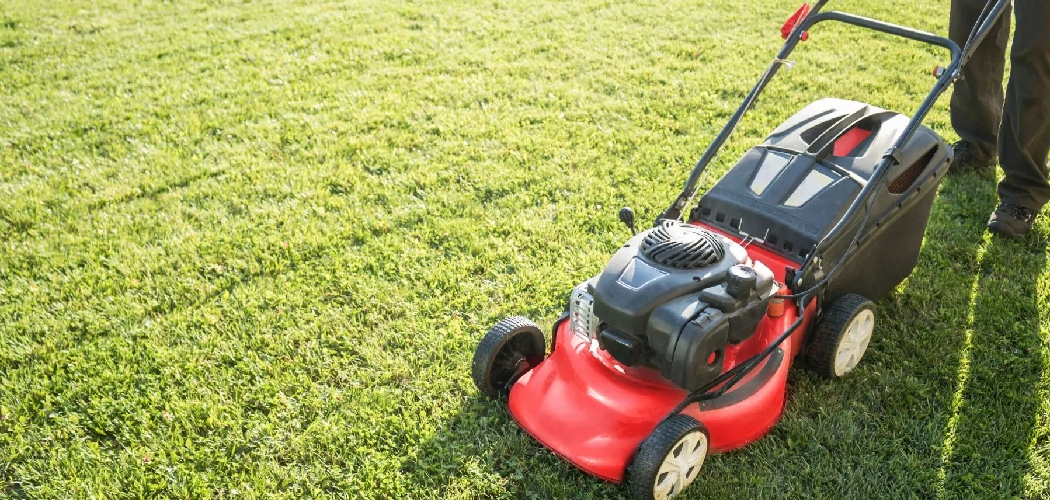
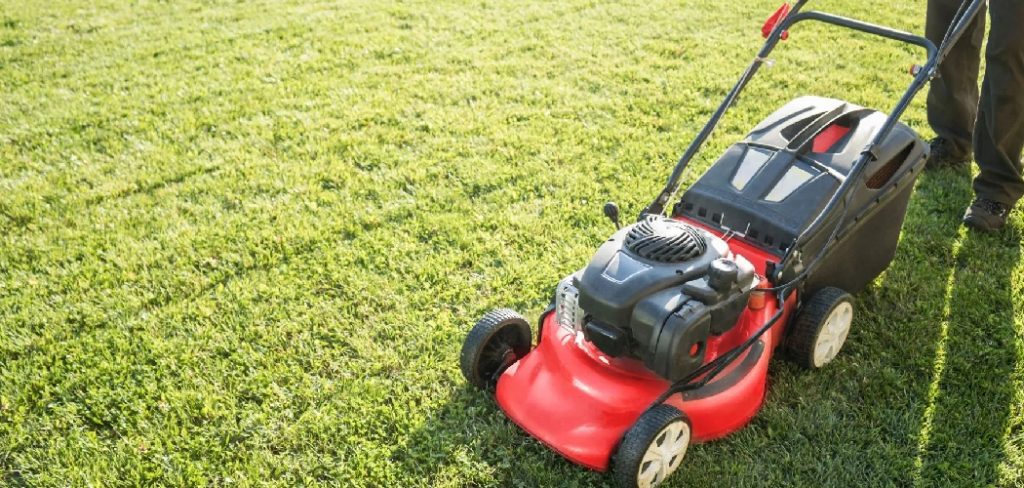
Mowing Guidelines
Newly sprouted grass should not be mowed until it reaches a height of at least 3-4 inches. Use a sharp mower blade and set the cutting height high to avoid cutting more than one-third of the blade length at a time. This ensures the grass stays healthy and reduces stress on the young plants. Regular, gentle mowing will also encourage the grass to grow thicker and more uniform.
Fertilization Timing
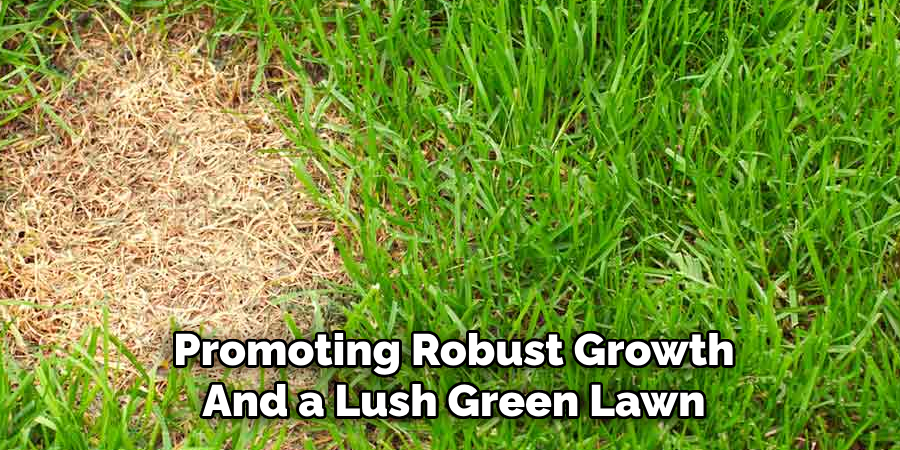
About 4-6 weeks after initial growth, it’s time to apply a second round of fertilizer. Use a product formulated for established lawns to provide essential nutrients, promoting robust growth and a lush, green lawn. Follow the manufacturer’s instructions for application rates to avoid over-fertilizing.
Monitoring for Weeds
During this period, look for weeds that might compete with your grass. Spot-treat weeds using a selective herbicide appropriate for young lawns or manually remove them to prevent damage to the new grass. Maintaining vigilance will ensure your lawn remains healthy as it continues to establish.
Preventing Future Lawn Patches
Proper Lawn Care Routine
A consistent lawn care routine is essential to prevent the development of bare or patchy areas. Regularly mow your lawn to the proper height based on your grass type, ensuring that you never cut more than one-third of the blade length at a time. Water deeply but infrequently to promote strong root growth, and apply fertilizer as needed to maintain nutrient balance. Aerating the soil at least once a year will improve oxygen flow and prevent soil compaction, contributing to a healthier lawn.
Traffic Management
Manage foot traffic effectively to prevent soil compaction and damage to your lawn. Use stepping stones, paved pathways, or barriers in high-traffic zones to reduce wear and tear on the grass. Redirect activities to designated areas to preserve the integrity of your lawn.
Pest and Disease Monitoring
Keep an eye out for signs of pests or diseases that could jeopardize your lawn’s health. Early detection and treatment are critical in managing these threats before they create patches or spread further. Consider using preventative measures, such as applying organic pesticides or maintaining ideal soil conditions, to minimize risks.
Pet Spot Treatment
Pets can contribute to patchy lawns due to the nitrogen content in their urine. Rinse affected areas with water immediately after your pet urinates to dilute the effects and prevent grass damage. Alternatively, train your pets to use designated zones for their activities, preserving your lawn’s overall health and appearance.
Common Mistakes to Avoid
Skipping Soil Prep
Failing to prepare the soil properly can lead to poor germination or sod failure. Without testing and amending the soil as needed, essential nutrients might be lacking, preventing grass from taking root and thriving.
Overwatering or Underwatering
Both overwatering and underwatering newly planted grass can harm its development. Overwatering causes seeds to rot, while underwatering leaves them dry and unable to sprout effectively. Striking the right balance is essential.
Mowing Too Early
Cutting new grass before it is fully established can weaken its roots and stunt growth. Wait until the blades are long and sturdy before the first mowing.
Using the Wrong Grass Type
Selecting a grass type incompatible with your region or existing lawn conditions can lead to poor results. Consider climate, sunlight, and soil type when choosing the ideal grass to ensure proper growth.

Conclusion
Learning how to repair lawn patches involves a systematic approach to ensure a lush, healthy yard. Begin by diagnosing the issue to identify the underlying cause, then prepare the area by removing debris and improving soil conditions. Next, plant the appropriate grass seed and follow up with consistent watering and nurturing. Patience and proper maintenance are crucial during regrowth, as grass takes time to establish firmly. To maintain long-term lawn health, incorporate preventive measures like using the right grass type and avoiding overmowing. By following these steps, your lawn will thrive beautifully for years to come.