
Are you about to get a yucca plant for your home? Or, have you recently bought one and are unsure how to care for it properly?
Yucca plants are hardy and versatile, making them a popular choice for both indoor and outdoor spaces. Known for their striking sword-like leaves and adaptability, yucca plants require minimal upkeep to thrive. Whether you’re a seasoned gardener or a beginner, understanding their basic care needs will ensure your yucca plant remains healthy and vibrant. Additionally, by learning how to propagate your yucca plant, you can expand your collection or share it with friends and family.
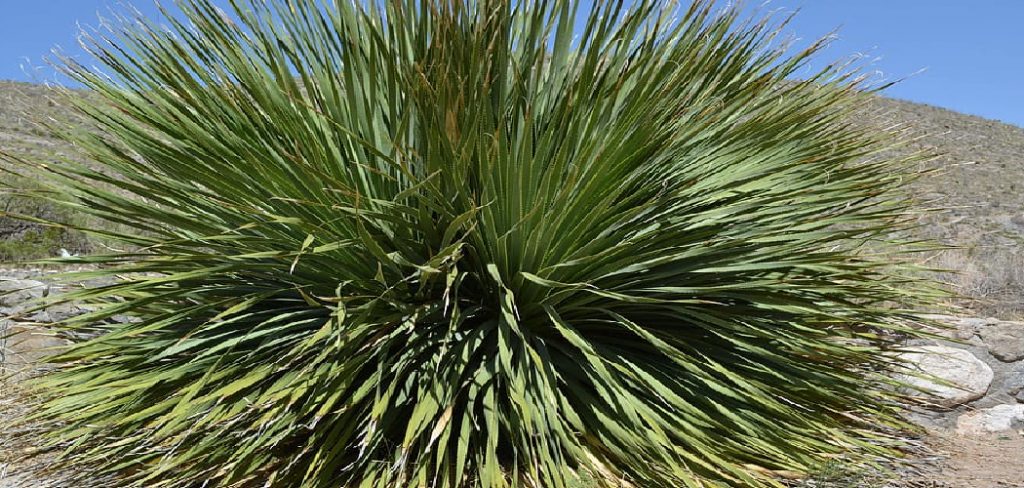
By paying attention to factors like light, watering, and soil conditions, you can easily provide the ideal environment for these resilient plants. Let’s dive into how to take care of yucca plants.
What Will You Need?
- Potting Soil: A well-draining, sandy soil is best for yucca plants. You can also mix in some perlite or sand to improve drainage.
- Container: Choose a container with good drainage holes and one that is slightly larger than the root ball of your plant. Yuccas have shallow roots, so they don’t need a lot of space.
- Fertilizer: Yuccas are low-maintenance plants, but they will appreciate a dose of balanced fertilizer once or twice during the growing season to promote healthy growth.
10 Easy Steps on How to Take Care of Yucca Plants
Step 1. Choose the Right Location:
Selecting the ideal location for your yucca plant is essential for its growth and overall health. Yuccas thrive in bright, indirect sunlight and can even tolerate a few hours of direct sun each day. Ensure the location you choose receives ample natural light to replicate their native, sunlit environments. If you’re placing the plant indoors, position it near a south- or west-facing window to maximize exposure to light. Avoid areas with low light or complete shade, as this can lead to stunted growth and weak, leggy foliage.
Step 2. Watering:
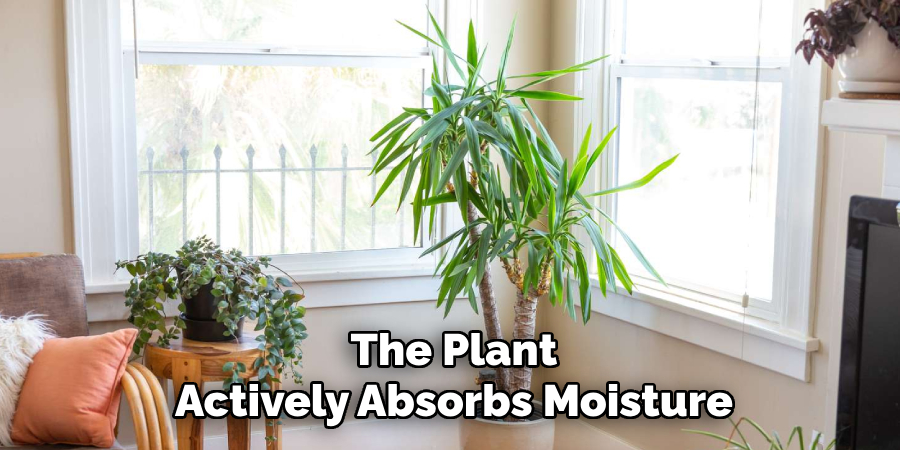
Proper watering is crucial for maintaining a healthy yucca plant. Yuccas are drought-tolerant plants that thrive on infrequent but thorough watering. Generally, you should allow the top 2 to 3 inches of soil to dry out completely between waterings. Overwatering is a common mistake and can lead to root rot, a condition that can severely harm or kill your plant. During the growing season, typically spring and summer, you may need to water more frequently as the plant actively absorbs moisture.
However, in fall and winter, yucca plants require considerably less water due to their slower growth rates. Always ensure that the pot has adequate drainage holes to prevent water from pooling at the bottom, as stagnant water can damage the roots. For best results, use well-draining soil and water thoroughly until you see excess water escaping through the drainage holes.
Step 3. Temperature and Humidity:
Yucca plants thrive in a wide range of temperatures but prefer conditions that mimic their natural arid environment. Ideally, maintain a temperature range of 65°F to 75°F (18°C to 24°C) during the day, and avoid exposing the plant to temperatures below 50°F (10°C) for prolonged periods, as this can stress the plant. While yucca plants are relatively adaptable, they prefer low to moderate humidity levels and do not tolerate excessive moisture in the air.
If you live in a particularly humid area, ensure adequate ventilation around the plant to prevent fungal issues or rot. Conversely, during dry winter months, if your indoor air becomes too dry, consider using a humidifier or misting sparingly, but be cautious not to overdo it, as yuccas are naturally drought-tolerant and prone to overwatering issues.
Step 4. Pruning:
Pruning is an essential part of maintaining a healthy and attractive yucca plant. While yuccas are generally low-maintenance, occasional pruning helps maintain their shape, removes damaged or diseased leaves, and promotes new growth. Begin by inspecting your yucca for any yellowing, browning, or dead leaves at the base of the plant.
Using clean, sharp pruning shears, carefully trim these away to improve air circulation and prevent potential pest or disease issues. If your yucca has grown too tall or leggy, you can also prune the stem or trunk. When cutting the stem, make your cut just above a node to encourage branching.
Step 5. Repotting:
When repotting your yucca plant, choose a pot that is slightly larger than the current one, ensuring it has adequate drainage holes to prevent waterlogging. Start by filling the bottom of the new pot with a layer of well-draining soil, ideally a cactus or succulent mix. Carefully remove the yucca from its current pot, taking care not to damage the roots.
Gently shake off excess soil and inspect the roots for any signs of rot or damage, trimming unhealthy sections with sterilized pruning shears if necessary. Place the yucca in the new pot, ensuring it sits at the same depth as before, and fill in around the roots with fresh soil. Press down the soil lightly to eliminate air pockets but avoid compacting it too much. After repotting, water the plant thoroughly and place it in a location with bright, indirect light.

Step 6. Fertilizing:
After repotting, it is important to allow the yucca plant some time to adjust to its new environment before applying fertilizer. Typically, waiting about 4 to 6 weeks after repotting is recommended to give the roots time to recover and establish themselves in the fresh soil. Once this waiting period has passed, choose a balanced, water-soluble fertilizer, such as one with a 10-10-10 or 20-20-20 NPK ratio. Dilute the fertilizer to half of its recommended strength to avoid over-fertilizing, as yucca plants are relatively low-maintenance and don’t require excessive nutrients.
Step 7. Pests and Diseases:
Yucca plants are generally hardy and resistant to many pests and diseases, but they are not entirely immune. Common pests that can affect yucca plants include mealybugs, spider mites, and scale insects. These pests typically feed on the plant’s sap, weakening it and sometimes causing discoloration or deformities on the leaves.
If you notice any signs of an infestation, such as sticky residue, small moving spots, or webbing, treat the plant promptly with insecticidal soap or neem oil. For more severe infestations, consider using a commercial pesticide specifically designed for houseplants, but always follow the product instructions carefully.
Step 8. Propagation:
Propagation is an exciting way to create new plants from existing ones, and it can be done through several methods, depending on the plant species. The most common techniques include stem cuttings, division, or leaf cuttings. For propagation through stems, select a healthy portion of the plant with several nodes and cut it using sterile tools to prevent the spread of disease.
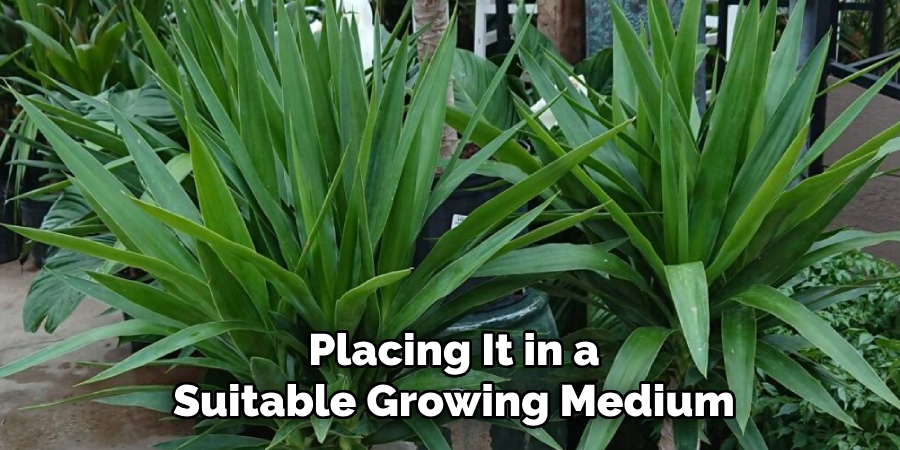
Allow the cut end to dry or develop calluses if needed, then place it in water or moist soil, ensuring the nodes are submerged to encourage root growth. For division, gently separate the plant’s root system into multiple sections, ensuring each section has healthy roots and foliage. Then, replant these sections in separate containers. Leaf cutting propagation is most effective for certain plants, which involves cutting a mature leaf and placing it in a suitable growing medium.
Step 9. Sunlight Adjustments:
Adjusting sunlight exposure is crucial for the health and growth of your plants, as different species have varying light requirements. Evaluate the natural light conditions in your space and identify whether your plant thrives in full sun, partial sun, or low light. Full-sun plants typically require six or more hours of direct sunlight daily and are best placed near south-facing windows.
Partial sun plants thrive in bright, indirect light or a few hours of direct morning sunlight, making east- or west-facing windows an ideal spot. Low-light plants can thrive in shaded areas or rooms with minimal natural light, such as those with north-facing windows or corners that receive little direct sunlight. Consider supplemental lighting, such as grow lights, if natural light levels are insufficient.
Step 10. Enjoy Your Plant:
Take time to appreciate the beauty and benefits your plant brings to your space. Not only does it enhance the aesthetic of your home, but it also contributes to better air quality and creates a calming atmosphere. Regularly observe its growth and changes, as this can be a rewarding and therapeutic experience. Whether it’s a vibrant flower blooming or new leaves unfurling, each stage of your plant’s development is a reminder of the care and attention you’ve provided.
By following these simple tips, you can ensure your plant stays healthy and thriving. Remember to adjust your care routine as needed and seek out additional information tailored to your plant’s specific needs.

Conclusion
How to take care of yucca plants is both straightforward and rewarding. By providing them with ample sunlight, well-draining soil, and a careful watering routine, you can ensure their long-term health.
Regular pruning and occasional fertilization will also promote growth and maintain their striking appearance. Remember to monitor for signs of pests or overwatering, as these are common issues that can affect yucca plant health.
With proper attention and care, your yucca plant can thrive as a low-maintenance yet stunning addition to your home or garden.