Citronella plants are not only known for their delightful lemony aroma but also for their natural ability to repel mosquitoes. Propagating these plants allows gardeners to expand their collection and enjoy the benefits of citronella in multiple areas of their homes or gardens.

This guide on how to propagate citronella plants will walk you through the simple steps needed to propagate citronella plants successfully, ensuring they thrive and enhance your outdoor spaces.
What is Propagation?
Propagation is the process of creating new plants from existing ones, either through sexual or asexual means.
Sexual propagation involves using seeds, while asexual propagation uses vegetative methods such as stem cuttings or division. In this guide, we will focus on asexual propagation methods for citronella plants.
Benefits of Growing Citronella Plants
Aside from their fragrant leaves and lovely appearance, citronella plants also have several benefits that make them a great addition to any garden. Here are some reasons why you should consider growing citronella plants:
Natural Mosquito Repellent:
The most well-known benefit of citronella plants is their ability to repel mosquitoes. This makes them a perfect plant for outdoor spaces where you want to enjoy a mosquito-free environment.
Easy Maintenance:
Citronella plants are low-maintenance and do not require much attention once established. They can thrive in various soil and weather conditions, making them a great choice for any garden.
Versatile Use:
Aside from repelling mosquitoes, citronella plants can also be used in various ways. The leaves of the plant can be crushed and rubbed onto the skin to act as a natural insect repellent. They can also be dried and made into candles or oils for indoor use.
Beautiful Addition to Your Garden:
Citronella plants have lovely green foliage and produce small, delicate flowers that add beauty to any garden or outdoor space. Their tall, grass-like appearance makes them perfect for creating borders or acting as a backdrop for other plants.
Pet-Friendly:
Unlike many chemical mosquito repellents, citronella is safe for pets. It can be used in gardens or outdoor areas without worrying about harming your furry friends.
Easy to Grow:
Citronella plants are easy to grow, making them an ideal choice for novice gardeners. They thrive in warm and sunny environments, but can also tolerate some shade. With proper care and watering, they can reach heights of up to 5 feet tall.
Materials Needed
Before embarking on propagating your citronella plant, you will need to gather some materials, including:
- Healthy and Mature Citronella Plant(S)
- A Sharp Pair of Pruning Shears
- Potting Soil Mix
- Pots or Containers With Drainage Holes
- Rooting Hormone (Optional)
8 Step-by-Step Guides on How to Propagate Citronella Plants
Step 1: Preparing the Parent Plant
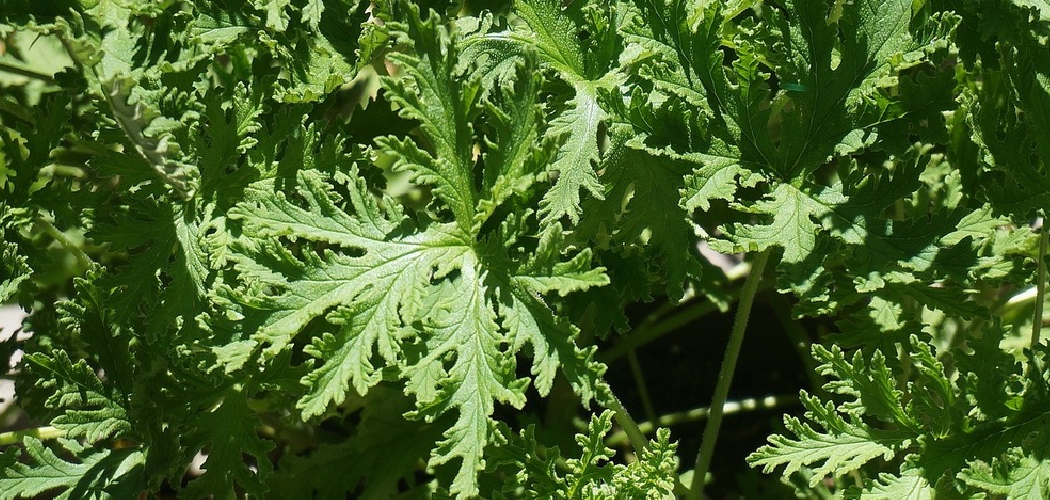
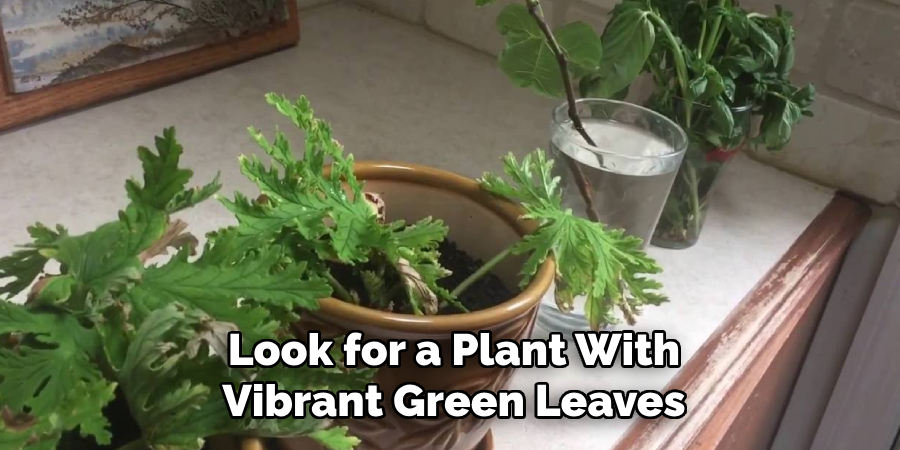
To ensure successful propagation, begin by selecting a healthy and mature citronella plant. Look for a plant with vibrant green leaves and no signs of disease or pests.
Using a clean and sharp pair of pruning shears, trim off any damaged or dead leaves from the parent plant. This step ensures the plant can focus its energy on producing strong, viable cuttings for propagation. Additionally, water the parent plant a day before taking cuttings to ensure it remains hydrated and in optimal health.
Step 2: Choose a Method of Propagation
There are two primary methods for propagating citronella plants: water propagation and soil propagation. Each method has its own advantages, so choose the one that best suits your preferences and available resources. For water propagation, place the cuttings into a jar of clean water, ensuring that the lower nodes are submerged but the leaves remain above the surface.
Keep the jar in a warm, well-lit area and change the water every few days to prevent stagnation. For soil propagation, prepare a pot with well-draining soil and plant the cuttings, ensuring that at least one node is buried in the soil. Keep the soil consistently moist but not waterlogged, and place the pot in a location that receives indirect sunlight. Both methods require patience, as roots typically begin to develop within a couple of weeks.
Step 3: Taking Stem Cuttings
To propagate your plant successfully, carefully choose healthy, mature stems for cutting. Using clean, sharp scissors or pruning shears, cut just below a node, ensuring that each cutting is 4-6 inches long and contains a few nodes and leaves.
Remove the lower leaves on the cutting to expose the nodes, as these are key areas where new roots will grow. It’s important to make clean cuts to minimize damage and reduce the risk of infection. Once prepared, the cuttings are ready for propagation in water or soil, depending on your chosen method.
Step 4: Preparing the Cuttings
Remove any lower leaves from the stem, leaving only a few at the top. This will allow more energy to be directed towards root growth instead of supporting leaf growth.
Next, dip the cut end of each stem into rooting hormone to promote faster and stronger root development. Then, plant each cutting in a pot filled with well-draining soil mix, making sure that at least one node is buried in the soil.
Step 5: Caring for Cuttings
Place the potted cuttings in a warm and humid environment, such as a greenhouse or under a clear plastic bag. This will help to maintain moisture and promote faster root growth. Make sure to check regularly for any signs of pests or diseases, and remove any damaged or dead leaves.

Water the cuttings regularly, keeping the soil evenly moist but not waterlogged. Too much water can cause root rot, while too little can lead to wilting and death of the cutting. Fertilize the cuttings with a diluted liquid fertilizer every two weeks to provide essential nutrients for healthy growth.
Step 6: Transplanting Cuttings
After a few weeks, you should start to see new growth on your cuttings. Once they have at least 2-3 inches of new root growth, it is time to transplant them into individual containers. Use a well-draining potting mix and gently remove the cuttings from the rooting medium, being careful not to damage the delicate new roots.
Place each cutting in its own container and lightly pack the soil around the base of the stem. Water thoroughly and place in a warm, bright location with indirect sunlight. Make sure to keep the soil moist but not waterlogged.
Step 7: Caring for Newly Transplanted Cuttings
It is important to continue caring for your newly transplanted cuttings to ensure their successful growth. Keep them in a warm, bright location with indirect sunlight and regularly water them to maintain evenly moist soil.
You may also want to consider using a rooting hormone to further encourage root growth. Simply dip the cut end of the stem in the rooting hormone before planting it in soil.
During this stage, it is crucial to monitor your cuttings for any signs of stress or wilting. If you notice any yellowing leaves or drooping stems, adjust their location or watering schedule accordingly.
Step 8: Transplanting Cuttings Outdoors
Once your cuttings have established strong roots and are showing new growth, they can be transplanted outdoors into their permanent location.
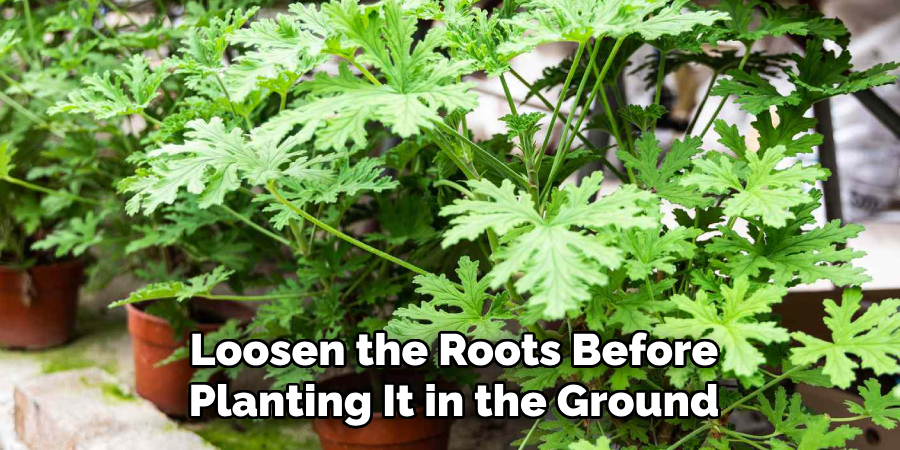
Choose a spot with well-draining soil and partial shade, as direct sunlight may cause stress on the young plants. Gently remove the cutting from its container and loosen the roots before planting it in the ground.
Following these steps on how to propagate citronella plants, you can easily create a beautiful and aromatic addition to your garden.
Frequently Asked Questions
Q: How Often Should I Water My Citronella Plant?
A: Citronella plants prefer to be kept in moist soil, so make sure to water them regularly. However, avoid overwatering as this can lead to root rot. The frequency of watering will depend on your climate and the type of soil you have. Check the soil moisture regularly and water accordingly.
Q: Can Citronella Plants Be Grown Indoors?
A: Yes, citronella plants can be grown indoors as long as they receive enough sunlight. Place them near a sunny window or use artificial grow lights to provide them with sufficient light. Make sure to also provide good air circulation by opening windows or using a fan.
Q: Will Citronella Plants Repel Mosquitoes?
A: While citronella plants do have a strong scent that is said to repel mosquitoes, they are not as effective as other methods such as citronella candles or sprays. However, having a few citronella plants in your home can still help to deter mosquitoes and other insects.
Q: How Often Should I Water My Citronella Plant?
A: Citronella plants prefer well-draining soil and should be watered when the top inch of soil is dry. This may vary depending on the climate and time of year, but typically they should be watered every 1-2 weeks.

Conclusion
Citronella plants are a delightful addition to any home or garden, offering both practical and aesthetic benefits. While they may not be the most effective standalone solution for repelling mosquitoes, they contribute to a pleasant environment with their refreshing scent and vibrant appearance.
By providing proper care, including appropriate watering and well-draining soil, you can ensure your citronella plant thrives and remains a charming feature of your space. Thanks for reading this article on how to propagate citronella plants.