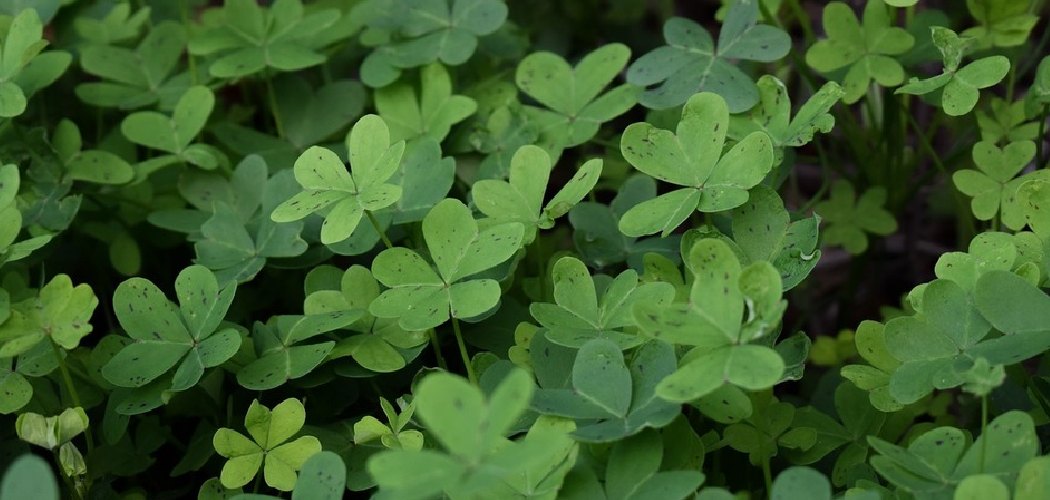
Are you looking for a low-maintenance, yet beautiful and unique indoor plant? Look no further than the shamrock plant! With its vibrant green leaves and delicate white flowers, this plant adds a touch of charm to any room.
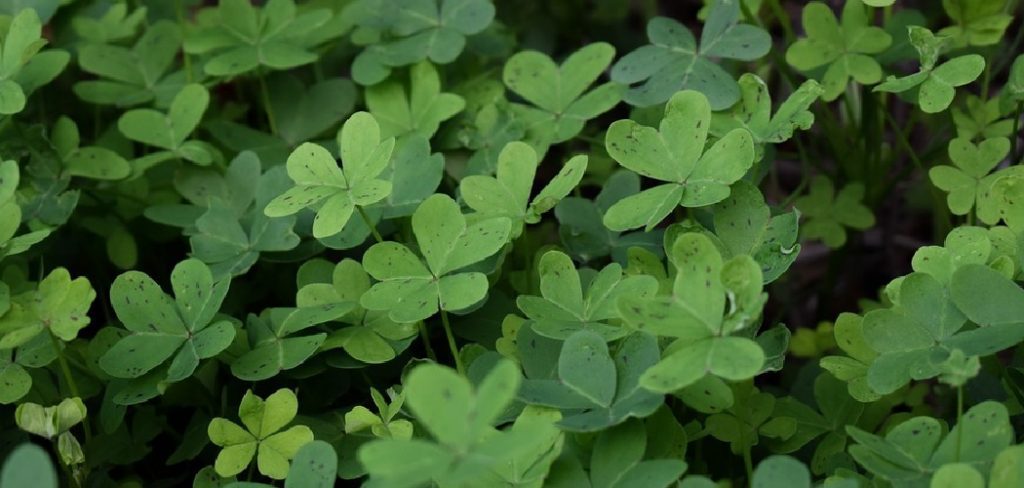
Shamrock plants, with their delicate trifoliate leaves and charming flowers, make for a delightful addition to any indoor space. Native to parts of Europe and South America, these plants are relatively easy to care for, provided they are given the right conditions. Whether you’re an experienced plant enthusiast or a beginner, learning to maintain the appropriate light, water, and temperature for shamrock plants will help them thrive indoors.
This guide on how to care for shamrock plants indoors will walk you through the essential steps to ensure your shamrock plant remains healthy and vibrant all year round.
What Are the Benefits of Growing Shamrock Plants Indoors?
Growing shamrock plants indoors not only adds beauty and charm to your living space, but several other benefits come with it. Indoor plants have been proven to improve air quality by absorbing harmful toxins and releasing oxygen. This can lead to better respiratory health and overall well-being for you and your family.
Moreover, caring for a plant can be therapeutic and provide a sense of purpose, especially during times of stress or anxiety. Shamrock plants are relatively low maintenance, making them an excellent choice for beginners who want to start their indoor gardening journey.
What Will You Need?
To successfully care for a shamrock plant, you will need a few essential items. These include:
- A Pot or Container: Choose a pot that is slightly larger than the plant’s root ball and has drainage holes at the bottom to prevent overwatering.
- Potting Soil: Use well-draining, nutrient-rich soil specifically designed for indoor plants.
- Water: Shamrock plants prefer consistently moist but not waterlogged soil. Avoid using hard or softened water, as it can be harmful to the plant.
- Fertilizer: During the growing season (spring and summer), feed your shamrock plant with a balanced liquid fertilizer every two weeks.
- Pruning Shears: These are handy for removing dead or damaged leaves and for shaping the plant.
- Spray Bottle: Use a spray bottle to mist your shamrock plant regularly. This will help increase humidity and prevent spider mites from infesting the plant.
Once you have all the necessary supplies, follow these general care tips to keep your shamrock plant thriving
10 Easy Steps on How to Care for Shamrock Plants Indoors
Step 1. Choose the Right Location:
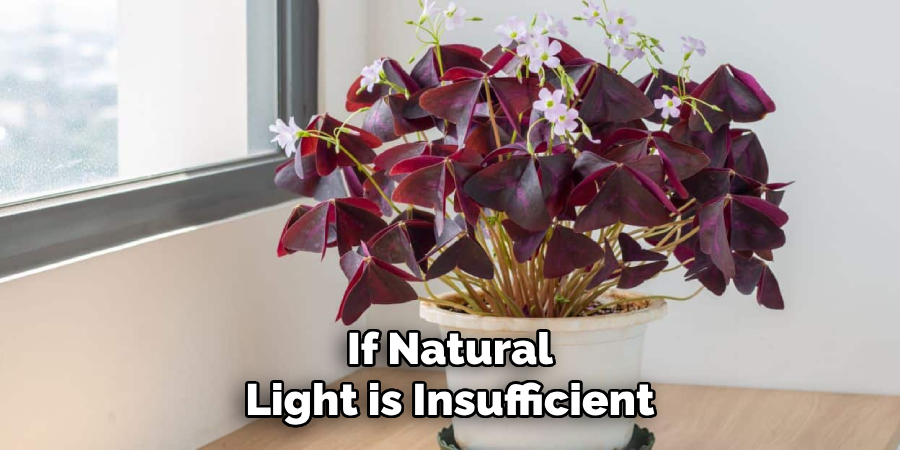
Place your shamrock plant in a location with bright, indirect sunlight. A spot near a north or east-facing window is ideal, as it provides enough light without exposing the plant to direct, harsh sun, which can scorch its delicate leaves. Shamrock plants thrive in stable environments, so avoid placing them near drafty windows, air vents, or heaters, as sudden changes in temperature can stress the plant. Maintaining the right balance of light is crucial for healthy growth and vibrant foliage. If natural light is insufficient, consider using a grow light to supplement its needs.
Step 2. Maintain Proper Temperature:
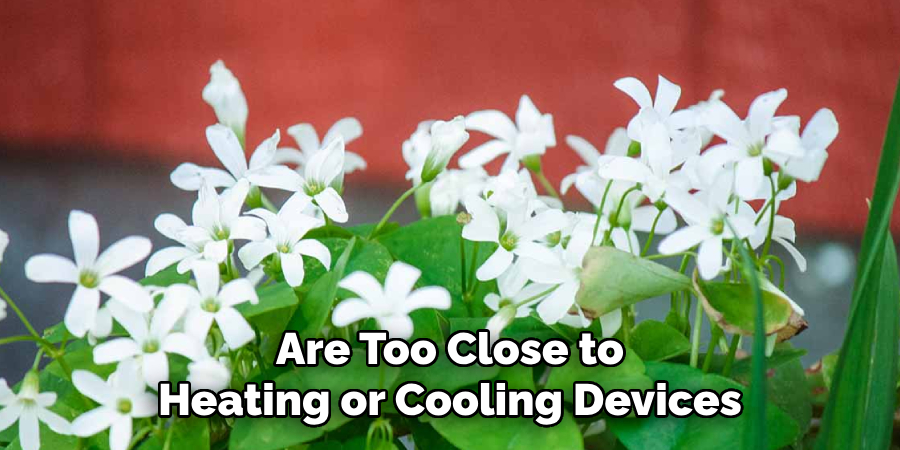
Shamrock plants prefer moderate temperatures, ideally ranging between 60°F to 75°F (15°C to 24°C). Avoid exposing the plant to temperatures that fall below 50°F (10°C) or exceed 80°F (27°C), as this can hinder growth and potentially damage the plant. Consistency is key, so it’s essential to monitor the environment and maintain a stable temperature. If you live in an area with fluctuating weather, consider placing your shamrock plant in a room where temperature swings are minimal. During the winter months, keep the plant away from drafty windows or doors, and in the summer, avoid locations that receive intense heat from direct sunlight or are too close to heating or cooling devices.
Step 3. Watering:
Watering your shamrock plant requires a delicate balance to ensure its health and growth. Shamrock plants prefer consistently moist soil, but overwatering can lead to root rot. Allow the top inch of soil to dry out slightly between waterings, and use a pot with drainage holes to prevent excess moisture from accumulating. During the plant’s active growing season, you may need to water more frequently, while in its dormant period, reduce watering significantly. Always use room-temperature water to avoid shocking the roots, and check that the water drains freely from the pot after watering.
Step 4. Provide Adequate Humidity:
Shamrock plants prefer environments with moderate humidity, as excessively dry air can cause their leaves to become brittle and stressed. To maintain adequate humidity, you can place a small tray filled with water and pebbles near the plant, ensuring the bottom of the pot doesn’t touch the water. Alternatively, you may use a humidifier in the room during particularly dry seasons. Grouping plants can also help increase local humidity naturally.
Step 5. Fertilizing:
Fertilizing is a crucial step in promoting healthy growth and vibrant foliage for your plant. Use a balanced, water-soluble fertilizer to provide essential nutrients like nitrogen, phosphorus, and potassium. Apply fertilizer during the plant’s active growing season, usually spring and summer, following the recommended dosage on the product label. Over-fertilizing can damage the plant, so it’s better to err on the side of caution. Reduce or stop fertilizing during the dormancy period in fall and winter, as the plant’s nutrient needs are lower at this time.
Step 6. Pruning and Maintenance:
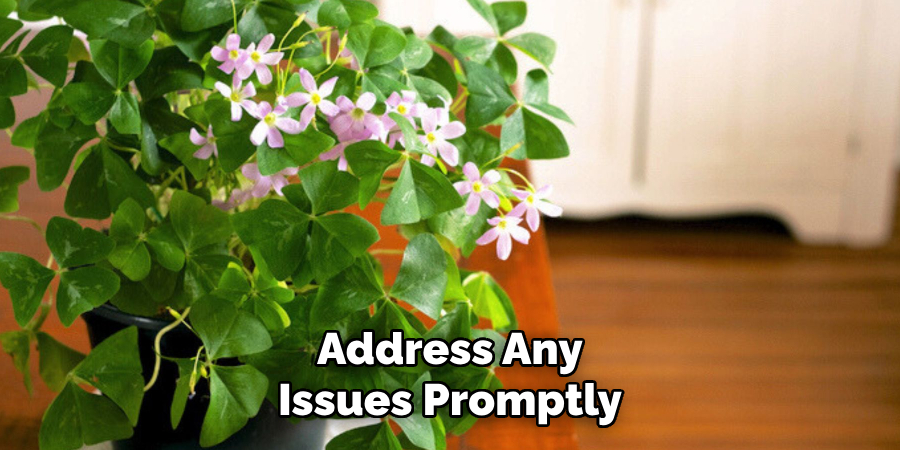
Regular pruning and maintenance are crucial for keeping your plant healthy and promoting growth. Begin by removing any dead, yellowing, or damaged leaves to prevent disease and pests. Use clean, sharp pruning shears to make precise cuts, and always sterilize your tools before and after use. Prune overgrown stems and branches to shape the plant and encourage fuller, bushier growth. For flowering plants, remove spent blooms to support continued flowering. Additionally, inspect the plant regularly for signs of pests or diseases and address any issues promptly.
Step 7. Repotting:
Repotting is essential to maintain the health and growth of your plants. Start by selecting a pot that is slightly larger than the current one, ensuring it has proper drainage holes. Carefully remove the plant from its existing pot, being mindful not to damage the roots. Gently shake off excess old soil and inspect the roots for any signs of rot or damage, trimming those areas if necessary. Place the plant in the new pot with fresh, high-quality potting soil, ensuring it sits at the same depth as before. Water thoroughly after repotting to help the plant settle into its new environment, and avoid fertilizing for a few weeks to prevent stress.
Step 8. Allow a Dormancy Period:
During the dormancy period, the plant requires less water and no additional fertilization. This rest phase is crucial for the plant’s health as it conserves energy and prepares for the next growth cycle. Place the plant in a cooler, low-light environment if appropriate for its species, and monitor its condition to ensure it remains healthy. Be patient, as this period is a natural part of the plant’s life cycle and is essential for robust growth in the future.
Step 9. Pest Prevention:
Pest prevention is a vital aspect of maintaining a healthy plant. Regularly inspect your plant for any signs of pests, such as discolored leaves, holes, sticky residue, or visible insects. Common pests include spider mites, aphids, and mealybugs, which can quickly spread and damage your plant if left untreated. To prevent infestations, ensure proper air circulation around your plant and avoid overwatering, as excessive moisture can attract pests. If pests are detected, promptly remove them using methods suitable for your plant, such as wiping leaves with a damp cloth, spraying with a diluted insecticidal soap, or introducing natural predators like ladybugs. Consistent monitoring and proactive care will help keep your plant pest-free.
Step 10. Monitor for Signs of Stress:
Plants can exhibit signs of stress due to various factors, such as improper watering, insufficient light, or temperature changes. Watch for warning signs like yellowing leaves, wilting, stunted growth, or brown leaf tips. These indicators may point to underlying issues that require immediate attention. Take time to assess the plant’s environment and make any necessary adjustments, such as altering the watering schedule, relocating to a more suitable light source, or regulating temperature and humidity levels. Early detection and intervention are key to ensuring your plant thrives and remains healthy in its environment.
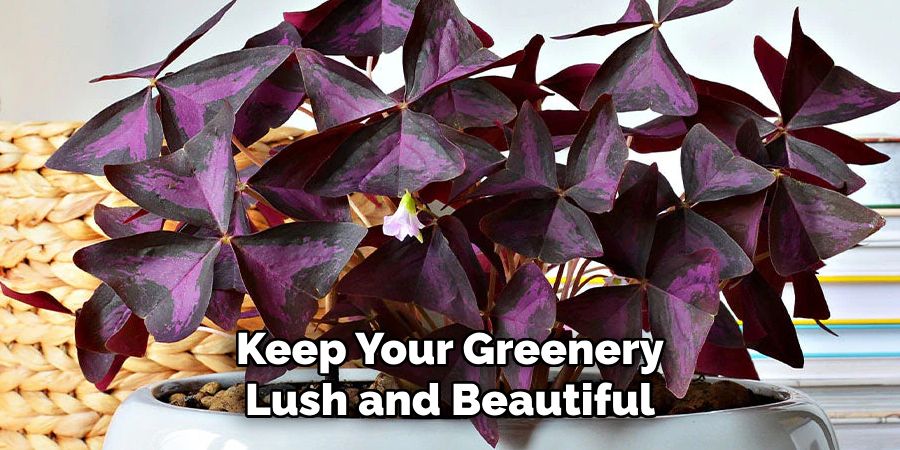
By following these simple tips and regularly monitoring your plant’s health, you can prevent common problems and keep your greenery lush and beautiful.
Conclusion
How to care for shamrock plants indoors requires attention to their specific needs and a consistent care routine.
Providing the right balance of sunlight, watering appropriately, and maintaining suitable temperature and humidity levels will create an ideal environment for these plants to thrive. Regular monitoring and quick action to address any issues, such as pests or signs of overwatering, will help ensure your shamrock plant remains healthy and vibrant. With proper care, these charming plants will reward you with their lush foliage and delicate blooms, bringing life and beauty to your indoor space.
Hopefully, this guide has provided you with the necessary information to successfully care for your shamrock plant.