Are you a plant lover? Do you have a shamrock plant that needs to be repotted?
How to repot a shamrock plant is a simple yet essential task that helps ensure its health and longevity. Over time, the plant can outgrow its current pot, leading to crowded roots and depleted soil nutrients. By repotting, you provide fresh soil, ample space for root growth, and an opportunity to inspect the plant for any signs of pests or damage. Whether you’re nurturing an existing shamrock or transferring a new plant, repotting is a rewarding process that encourages vibrant growth and lush foliage.

With the right tools and techniques, you can easily give your shamrock plant a refreshed environment to thrive. Let’s take a look at the steps involved in repotting your shamrock.
What Are the Benefits of Repotting Your Shamrock?
Repotting your shamrock has several benefits that contribute to the overall health and well-being of your plant. Some of the key benefits include:
- Providing Fresh Soil: Over time, the soil in a pot can become depleted of nutrients and compacted, making it difficult for roots to absorb water and oxygen. By repotting, you give your shamrock access to fresh, nutrient-rich soil that will support its growth.
- Encouraging Root Growth: As plants grow, their roots also grow and can quickly outgrow their current pot. Repotting allows for more space for root development, which leads to stronger and healthier plants.
- Inspecting for Pests: When repotting, it’s a good opportunity to closely inspect your plant for any signs of pests or diseases. If you spot any, you can take immediate action and prevent them from spreading to your other plants.
- Pruning and Grooming: During the repotting process, you may notice that some of the roots are damaged or rotting. This is a great time to prune those unhealthy roots and groom the remaining ones to encourage better growth.
What Will You Need?
To successfully repot your houseplants, you will need the following items:
- Pot: Choose a pot that is one size larger than the current one, with good drainage holes.
- Potting Mix: Select a high-quality potting mix suitable for indoor plants.
- Tools: You may need tools such as scissors or pruning shears to trim roots or remove any damaged parts of the plant.
- Watering Can: Have a watering can ready to water the plant after repotting.
10 Easy Steps on How to Repot a Shamrock Plant
Step 1. Prepare Your Workspace:
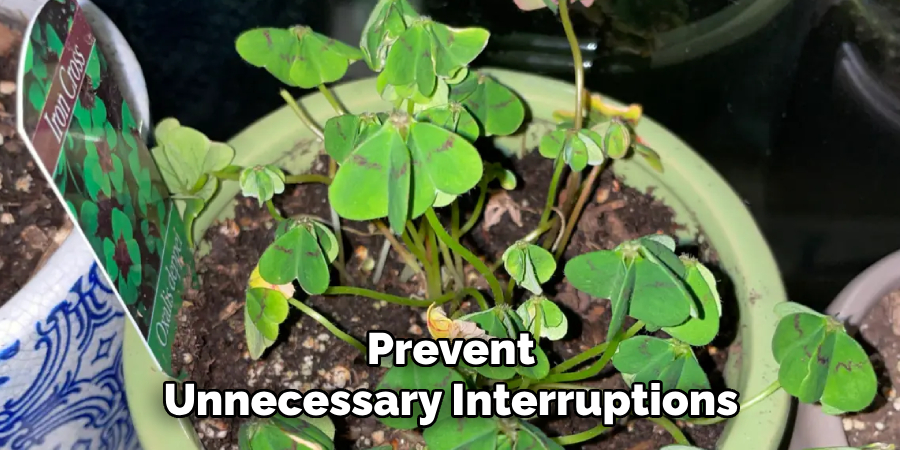
Make sure your workspace is clean and free from clutter to avoid any accidents or mess. Choose a flat, sturdy surface like a table or countertop and cover it with newspaper, plastic, or an old towel to catch any spilled soil. Having all your tools and materials within reach will make the process smoother and prevent unnecessary interruptions. Ensure there is adequate lighting so you can see what you’re doing, especially when handling delicate roots. This preparation step will set the stage for a stress-free repotting experience.
Step 2. Choose the Right Pot:
When selecting a pot, ensure it is slightly larger than the current one to give the plant room to grow without overwhelming its root system. A pot that is too large can lead to overwatering, as the excess soil retains more moisture than the plant can absorb.
Choose a pot with proper drainage holes to prevent water from accumulating at the bottom, as poor drainage can cause root rot. Additionally, consider the material of the pot—ceramic, plastic, or terracotta—based on your plant’s needs and your aesthetic preferences. The right pot will not only support healthy growth but also complement your plant and living space.
Step 3. Water the Plant:
Watering your plant properly is essential to its health and growth. Begin by researching your plant’s specific watering needs, as different plants require different amounts of water. Always check the soil before watering—insert your finger about an inch into the soil to feel if it’s dry.
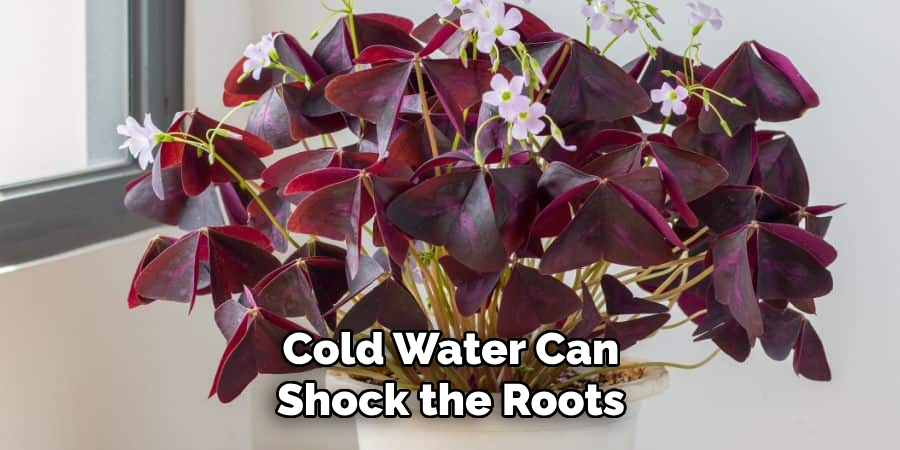
If the soil is still moist, wait a few days before checking again to avoid overwatering. Use room-temperature water, as extremely hot or cold water can shock the roots. Pour water slowly and evenly over the soil until it begins to drip out from the drainage holes at the bottom of the pot. Make sure to discard any excess water collected in the saucer to prevent root rot. Regular observation of your plant will help you recognize its unique watering patterns and ensure it thrives.
Step 4. Remove the Plant From Its Pot:
Gently turn the pot on its side and tap the sides to loosen the soil. Supporting the base of the plant with one hand, carefully slide the plant out of the pot. If the plant is stubborn and does not come out easily, you can use a small tool, like a butter knife or a plastic potting tool, to loosen the edges around the pot. Be cautious to avoid damaging the roots during this process. Inspect the roots once the plant is removed, and trim any that appear rotten or overly tangled to promote healthy growth.
Step 5. The Roots:
Once the plant is out of its pot, focus on the root system. Gently tease apart any roots that have become tightly wound or compacted. This process, known as “root pruning” or “root teasing,” encourages the plant to grow outward into its new soil, rather than remaining confined to its previous shape. Be sure to remove any dead or mushy roots, as these can lead to rot or hinder the plant’s overall health. Healthy roots should appear firm and white or light tan.
Step 6. Add Potting Mix to the New Pot:
Begin by adding a layer of fresh potting mix to the bottom of the new pot. This provides a solid foundation for the plant and ensures its roots have access to fresh nutrients. Position the plant in the center of the pot, holding it steady as you gradually fill in the sides with additional potting mix. Gently firm the soil around the roots to eliminate air pockets, but be careful not to compact it too much, as this can impede drainage and root growth. Leave a small gap between the soil surface and the rim of the pot to make watering easier and prevent overflow.
Step 7. Position the Plant:
Place the newly potted plant in a suitable location that matches its light and temperature requirements. Consider whether the plant prefers direct sunlight, partial shade, or low light, and ensure it receives the appropriate amount of exposure. Additionally, avoid placing the plant in areas with extreme drafts, such as near open windows or air vents, as this can stress the plant and hinder its growth.
Step 8. Fill with Potting Mix:
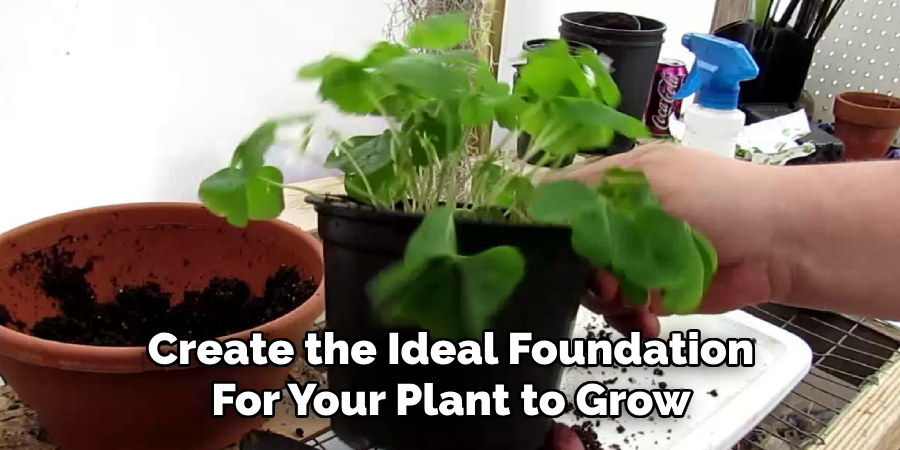
Carefully fill the pot with a high-quality potting mix that is suitable for your specific plant type. Ensure that the mix provides adequate drainage while retaining enough moisture for the plant’s roots. Leave some space at the top of the pot to prevent water from spilling over when you water the plant. Lightly press the soil to eliminate air pockets, but avoid compacting it too much, as this can restrict root growth. A well-chosen potting mix will provide essential nutrients and create the ideal foundation for your plant to grow.
Step 9. Water Thoroughly:
Water the plant evenly until water begins to flow out of the drainage holes at the bottom of the pot. This ensures that the soil is thoroughly moistened and that excess water does not remain trapped, which could lead to root rot. Use room-temperature water to avoid shocking the plant. Allow the pot to drain completely before placing it back in its designated spot, as a soggy base can harm the roots and attract pests. Proper watering promotes healthy growth and helps your plant adapt to its new environment.
Step 10. Care for the Plant:
Now that your plant is properly potted and watered, ongoing care is essential to ensure its health and longevity. Place the plant in a location that matches its light requirements—whether it prefers bright indirect light, partial shade, or full sunlight. Monitor the soil moisture regularly, watering when the top inch feels dry. Feed your plant with an appropriate fertilizer during its active growing season, typically spring and summer, to provide essential nutrients. Prune away dead or yellowing leaves to stimulate new growth and improve its appearance. Keep an eye out for pests or signs of disease, and address any issues promptly.
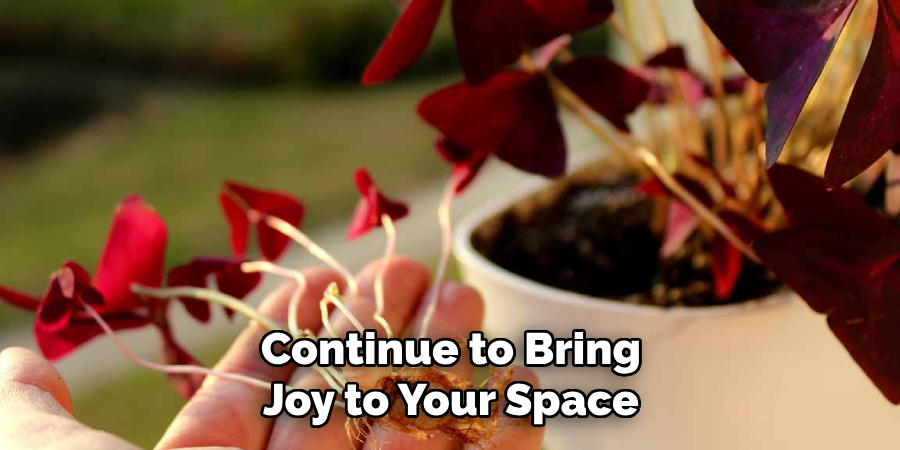
By following these steps, your shamrock plant will thrive in its new pot and continue to bring joy to your space!
Conclusion
How to repot a shamrock plant may seem like a delicate process, but with the right steps and a little patience, it can be done successfully.
By selecting an appropriate pot, preparing fresh soil, and carefully handling the plant during the transfer, you give it the best chance to adapt and flourish in its new environment. Regular care, such as proper watering, pruning, and monitoring for pests, will ensure that your shamrock plant remains healthy and vibrant.
With these techniques, your repotted shamrock plant will continue to enhance your home with its unique charm and beauty.