
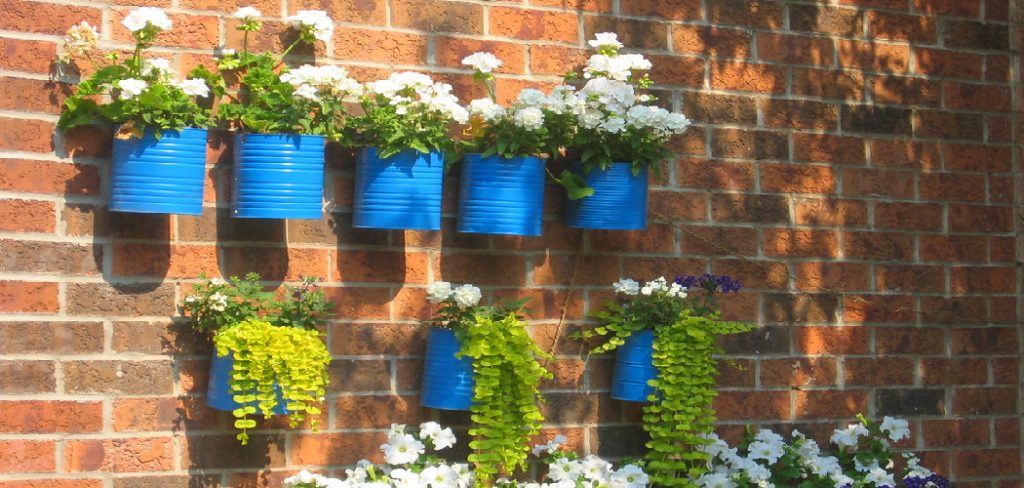
Hanging planters on a wall is a creative and space-saving way to bring greenery into your home or outdoor area. Whether you’re looking to enhance your décor, grow herbs, or display vibrant flowers, wall-mounted planters are an excellent solution. This guide will walk you through the steps of how to hang planters on wall, ensuring they add life and charm to your space.
Why Hanging Planters on Walls is a Great Idea
Hanging planters on walls is an excellent way to maximize the use of vertical space, especially in smaller areas like apartments or compact outdoor patios. They allow you to incorporate greenery without occupying precious floor space, making them ideal for creating a lush, natural ambiance in otherwise unused areas. Additionally, wall planters can serve as a striking decorative feature, turning bare walls into vibrant, living art pieces. Beyond aesthetics, they can improve air quality, reduce stress, and promote a sense of well-being, making your space not just more beautiful but also healthier and more serene.
Where to Hang Wall Planters
Wall planters can be hung in a variety of locations to maximize their impact and utility. Indoors, consider placing them in living rooms, kitchens, or even bathrooms to add a touch of greenery to your daily spaces. They are perfect for brightening up blank walls or adding interest to small corners. Outdoors, wall planters work wonderfully on patios, balconies, fences, or garden walls, creating a vertical garden that’s both functional and decorative. Make sure to hang them in spots with appropriate lighting for the plants you choose, ensuring they receive enough sunlight or shade based on their needs. By carefully selecting the location, you can enhance both the beauty and practicality of your wall planters.
10 Methods How to Hang Planters on Wall
1. Use Wall-Mounted Brackets for Heavier Planters
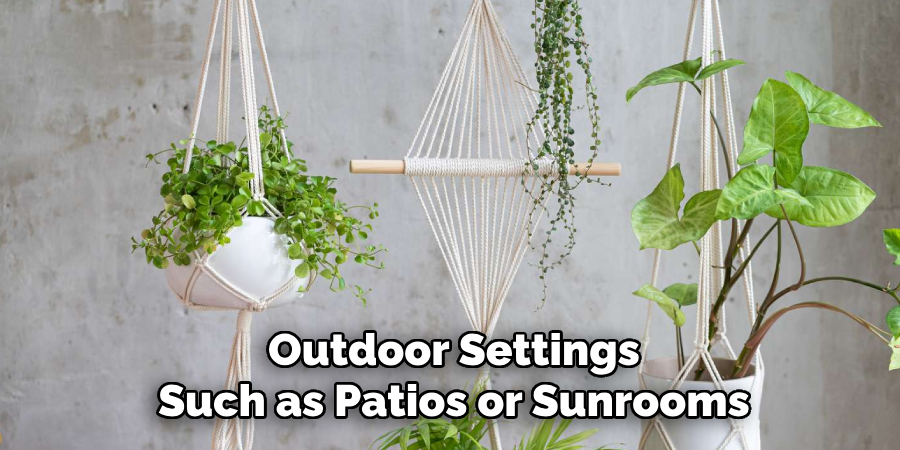
One of the most traditional and sturdy methods of hanging planters on a wall is using L-shaped metal brackets or wall hooks. These are ideal for holding heavier pots made of ceramic or terracotta. Choose brackets rated for the weight of your planter and ensure they are secured into wall studs or use heavy-duty wall anchors if drilling into drywall. Mark the placement carefully using a level, and space them based on the planter size. This method offers excellent stability and works well for both indoor and outdoor settings, such as patios or sunrooms.
2. Hang with Macramé and Wall Hooks
For a more decorative approach, macramé plant hangers add a boho-chic flair while being functional. These woven holders cradle pots and can be suspended from simple ceiling or wall-mounted hooks. To hang macramé planters on walls, install a strong hook or a wooden dowel horizontally on the wall, and suspend the macramé cords from it. This method works best for lightweight planters with trailing vines like pothos or string-of-pearls. It’s ideal for renters too, since it often requires minimal drilling and can be attached to removable hooks.
3. Install Floating Shelves for Planter Displays
If you want versatility and easy rearrangement, floating shelves offer a clean and practical solution. Choose solid wood or metal shelves that complement your decor and can handle the weight of your plants. Install shelves securely using wall anchors or into studs to bear the planter’s load. You can then place multiple planters on each shelf, creating a layered plant wall look. This method is ideal for plant lovers who rotate or water plants often, as it allows easy access and repositioning without unmounting anything.
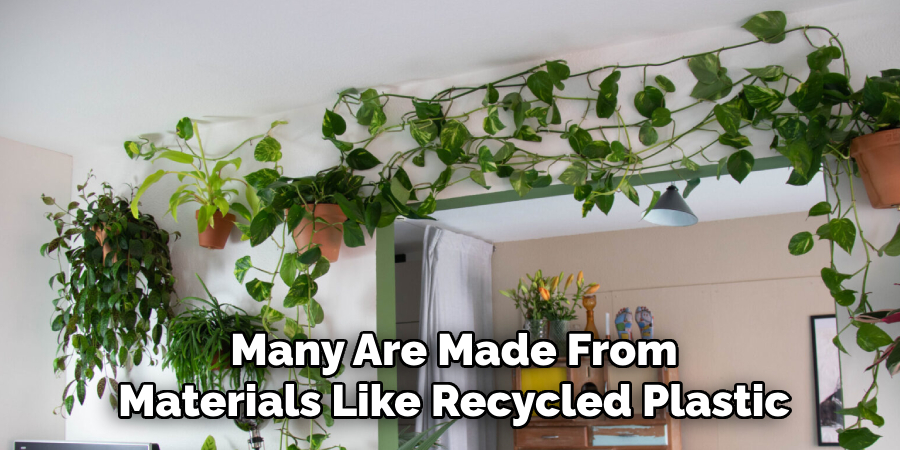
4. Use a Vertical Wall Garden System
Pre-built vertical garden systems or wall planter kits make hanging multiple planters easy and stylish. These systems usually include a grid or frame that mounts directly to the wall, allowing you to hang small pots or insert plants into built-in pockets. This is especially popular for herb gardens in kitchens or decorative plant walls in living rooms. Many are made from materials like recycled plastic or metal and offer integrated irrigation features, making them both practical and eco-friendly.
5. Repurpose Wooden Pallets or Crates
For a rustic, upcycled approach, repurpose an old wooden pallet or crate into a vertical planter. Clean the pallet, sand any rough edges, and optionally paint or stain it. Attach small pots or planter boxes to the slats using nails or zip ties. Secure the entire pallet to the wall with heavy-duty anchors or lean it safely against a wall outdoors. This approach adds texture and interest to the space and is perfect for seasonal planting or decorative arrangements.
6. Try Pegboard for a Customizable Plant Wall
Pegboards, typically used for organizing tools, can double as flexible plant-hanging systems. Attach a pegboard panel to your wall and insert pegs or hooks wherever you want to hang planters. Use S-hooks or hanging containers designed for pegboards, or hang baskets and lightweight pots using attached wire. This is perfect for small apartments or craft rooms, where customization is key. Plus, it allows you to move planters as your needs or design preferences change, making it one of the most adaptable solutions.
7. Mount Curtain Rods or Rails for Hanging Planters
If you’re looking for a way to hang several planters in a straight line, consider installing a curtain rod or metal rail horizontally across the wall. Choose a rod with strong wall anchors and rings with clips or hooks. Suspend lightweight planters, like small ceramic pots with handles or hanging baskets, from these hooks. This method is ideal for hanging herbs in a kitchen window or along a hallway wall. It also allows planters to swing slightly, giving a natural movement that adds visual interest.
8. Use Adhesive Hooks for Lightweight Planters
For renters or those who wish to avoid wall damage, adhesive hooks offer a non-invasive option. Available in various sizes and weight ratings, adhesive wall hooks can be used to suspend small hanging planters or baskets, especially those made of fabric, lightweight plastic, or thin metal. Clean the surface thoroughly before attaching, and give it time to bond before hanging any weight. Although not suitable for heavier pots or outdoor use, this is a great temporary or decorative method for light greenery like air plants or succulents.
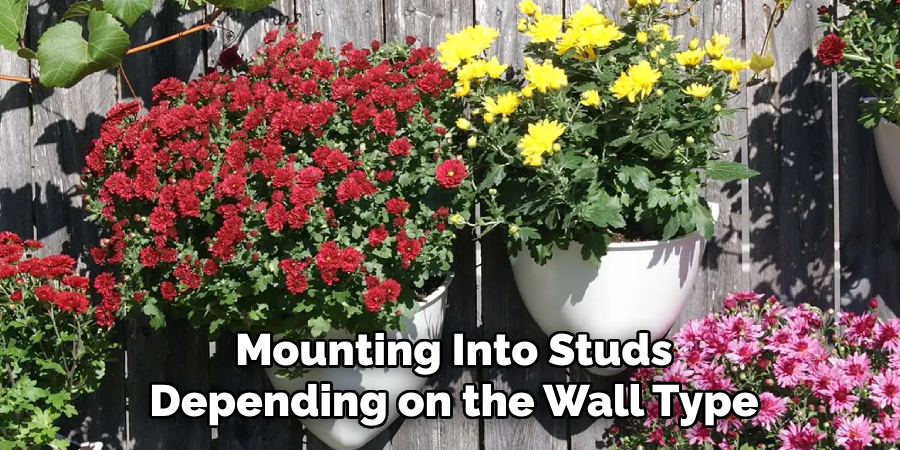
9. Screw in Wall-Mounted Plant Rings
Wall-mounted plant rings hold round pots securely and make a minimalistic, modern statement. These are typically metal rings mounted directly to the wall that cradle the planter without the need for a full shelf. To install, drill holes into the wall where the ring brackets will attach, using anchors or mounting into studs depending on the wall type. Choose planters that fit snugly into the rings to prevent slipping. This method works well for displaying matching planters in a symmetrical layout and is especially suitable for smaller walls where space is limited.
10. Create a Framed Plant Gallery
Combine art and greenery by making a living plant wall using shallow shadowboxes or frames. Secure a backing material like chicken wire or mesh inside a frame, then attach air plants, moss, or small planters with wires or clips. Mount the entire frame onto the wall using standard picture hanging hardware. This decorative approach turns your plants into a work of art while maintaining a low profile. It’s particularly well-suited for air plants, succulents, or even faux greenery in spaces with low light or tricky conditions.
Things to Consider When Creating a Living Plant Wall
When planning a living plant wall, it’s important to consider the lighting conditions of the space. Many plants thrive in bright, indirect light, so take note of the natural light available or consider supplementing with grow lights. Additionally, choose plants that match your maintenance habits—low-maintenance options like succulents or air plants are ideal for those with busy schedules. Proper watering is also crucial; be mindful of drainage to prevent water damage to your wall or floors. Lastly, think about the overall weight of the frame, particularly if you are mounting it onto drywall, and ensure that your hardware can securely support the installation. With thoughtful preparation, your plant wall can thrive and elevate your space.
Common Mistakes to Avoid
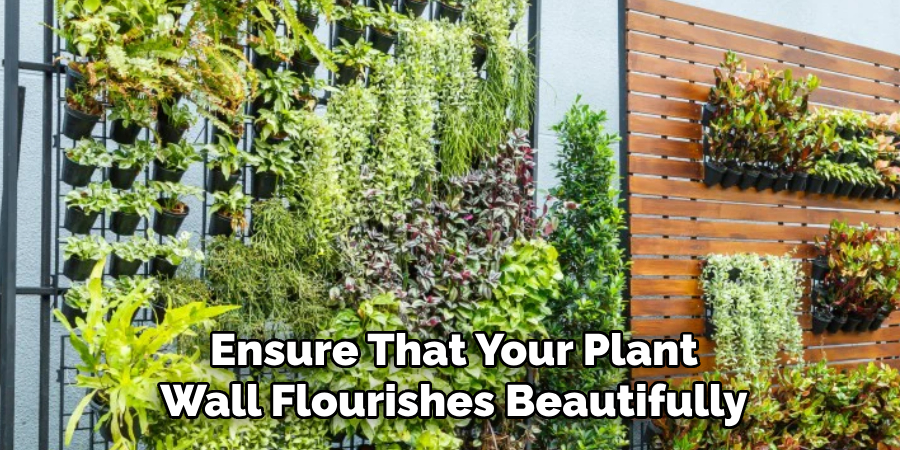
When creating a plant wall, certain pitfalls can hinder your success. One common mistake is selecting plants that require vastly different care levels, leading to uneven growth or unhealthy plants. Overwatering is another frequent issue, which can lead to root rot and damage both your plants and the surrounding surfaces. Failing to account for adequate sunlight is also problematic—plants need the appropriate amount of light for their specific needs, so choose a location carefully. Additionally, neglecting to check the strength of your wall or mounting hardware may result in an unstable installation. By avoiding these mistakes and planning ahead, you can ensure that your plant wall flourishes beautifully.
Conclusion
Hanging planters on walls isn’t just about saving space—it’s about adding personality and life to your home. Whether you’re using rustic pallets, sleek metal rings, or a full vertical garden system, the method you choose should suit your aesthetic, plant type, and home structure. With these ten methods, you have a versatile toolbox for transforming blank walls into flourishing botanical displays. From renters looking for no-damage solutions to homeowners designing statement plant walls, there’s an approach for every skill level and style. Thanks for reading our blog post on how to hang planters on wall! We hope you found it helpful and informative.