Transplanting agave plants can seem like a daunting task, but with the right approach, it’s a manageable and rewarding process. Whether you’re relocating a mature plant or propagating a new one, careful preparation and technique are essential to ensure the plant thrives in its new location.

Agave plants, known for their striking appearance and low-maintenance nature, can add a stunning focal point to any landscape when properly transplanted. This guide will walk you through the steps of how to transplant agave plants.
Best Time to Transplant Agave Plants
Timing is crucial when it comes to transplanting agave plants to maximize their chances of survival and successful growth. The ideal time to transplant agave is during the warmer months, preferably in late spring or early summer. This period allows the plant to establish its roots in the new location before the onset of cooler temperatures.
Avoid transplanting during winter or during periods of heavy rain, as excessive moisture can lead to root rot or other complications. By choosing the right season, you set the foundation for a healthy, thriving agave in its new home.
Tools and Materials Needed
To successfully transplant an agave, you will need the following tools and materials:
- Shovel or spade – For digging around the root system and preparing the new planting site.
- Gardening gloves – To protect your hands from sharp spines and edges on the agave leaves.
- Pruning shears – For trimming any damaged or dead leaves before transplantation.
- Wheelbarrow – To safely move the plant to its new location without straining yourself.
- Well-draining soil – Essential for replanting, as agave thrives in soil that does not retain excessive water.
- Mulch – Useful for covering the base of the plant to retain moisture and regulate soil temperature.
- Tarp or large container – To hold and transport the plant during the process, minimizing damage to the roots.
Having these tools and materials ready beforehand will ensure a smoother and more efficient transplanting process.
10 Methods How to Transplant Agave Plants
1. Choose the Right Time for Transplanting
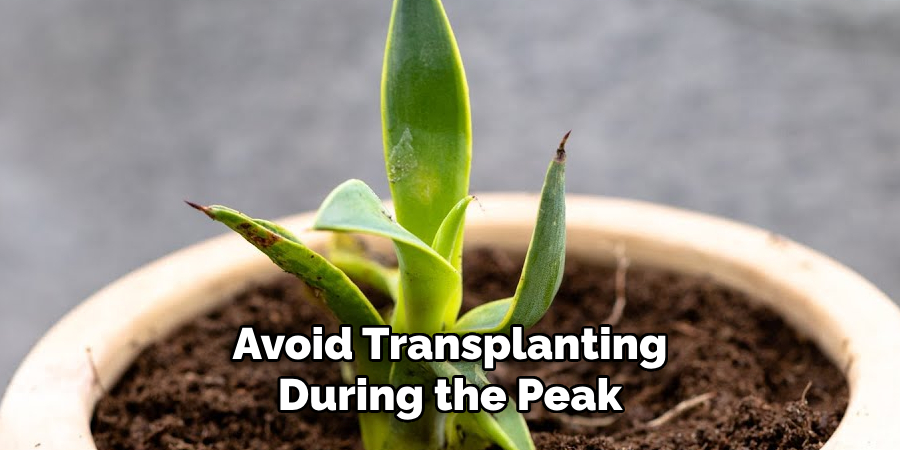
Timing is crucial when transplanting agave plants. The best time to transplant is during the late spring or early fall when the weather is mild. Avoid transplanting during the peak of summer or winter when the plant is either too stressed from heat or dormant from cold. Transplanting during active growing seasons allows the agave to establish new roots quickly.
Mild temperatures reduce transplant shock and ensure a smoother transition to the new location.
2. Select an Appropriate New Location
Before you move your agave, evaluate the new planting site. Agaves prefer full sun and well-draining soil. Choose a location that receives at least 6 to 8 hours of direct sunlight daily and is free from soggy conditions. Avoid areas with clay or compacted soil unless you amend it with sand, pumice, or gravel. The new spot should also accommodate the mature size of the agave—some species can grow several feet wide—so give it plenty of space.
3. Water the Plant a Day Before Digging
While agaves are drought-tolerant, watering the plant a day before transplanting makes the soil slightly moist, helping you remove the plant with less damage to the roots. Avoid soaking the soil, as wet soil can be heavy and increase the risk of root breakage. A little moisture helps loosen the soil and supports root health during the transplanting process.
4. Wear Protective Gear
Many agave species have sharp spines or serrated edges that can cut skin easily. Before you begin the digging process, wear thick gloves, long sleeves, and protective eyewear. If you’re dealing with a large agave, leather gloves and even padded clothing may be necessary. Safety is essential, especially when handling large mature agaves that can be heavy and difficult to maneuver without injury.
5. Dig Carefully Around the Root Zone
To remove the agave, start digging a wide circle around the base—at least 6 to 12 inches from the plant, depending on its size. Use a sharp spade or garden fork to loosen the soil gently. Try to get as much of the root ball as possible, taking care not to slice through the main roots. Agaves have a shallow but spreading root system, and preserving these roots minimizes shock and encourages faster establishment in the new location.
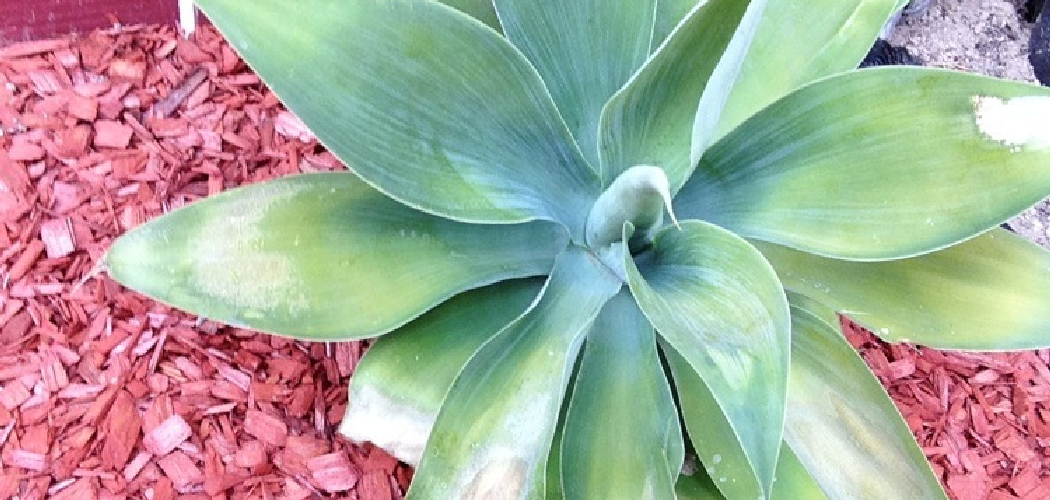
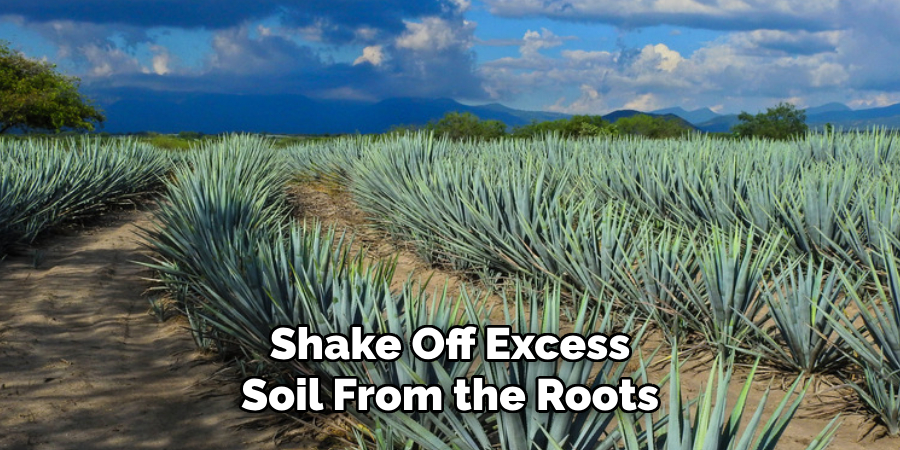
6. Remove and Inspect the Plant
Once the agave is loose, lift it gently from the ground. For larger plants, you may need a second person to help lift and balance it. Shake off excess soil from the roots and inspect them for rot, pests, or damage. Trim off any rotten or broken roots with sterilized pruning shears. If you’re transplanting a pup (offset), ensure it has its own root system before replanting.
7. Let the Plant Heal (Cure) Before Replanting
Agaves benefit from a brief healing period before replanting—especially if any roots were damaged or trimmed. Set the agave in a shaded, dry area for 2 to 3 days to allow the cut or broken roots to form calluses. This step reduces the risk of rot and infection once planted in new soil. This curing method is particularly effective in dry climates and with thick-rooted agave varieties.
8. Prepare the New Planting Hole
While the agave is curing, prepare its new home. Dig a hole that’s twice as wide and about the same depth as the agave’s root ball. Mix in plenty of sand, gravel, or pumice to improve drainage if the soil is heavy or clay-based. Creating a slight mound in the center of the hole can help water drain away from the plant’s base, preventing rot—a common issue in overwatered agaves.
9. Plant the Agave at the Right Depth
Place the agave into the hole so that the base (crown) of the plant sits slightly above the soil level. Burying the crown too deep can cause water to collect around the base, leading to rot. Backfill the hole with the amended soil, gently pressing around the root ball to remove air pockets. Avoid compacting the soil too tightly. After planting, leave a shallow basin around the base to guide water to the roots during early watering sessions.
10. Water Sparingly After Transplanting
Unlike many other plants, agaves require minimal watering after transplanting. Wait about 5 to 7 days before watering for the first time to allow any disturbed roots to recover. Then give the plant a light watering to help it settle. Going forward, water only when the soil is completely dry.
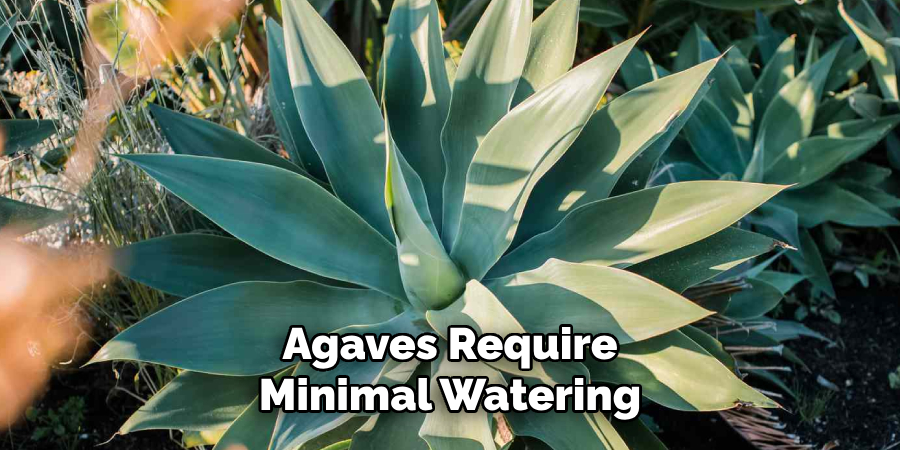
Overwatering is the most common cause of transplant failure in agaves. Once the plant shows signs of new growth, reduce watering further and transition to its regular drought-tolerant routine.
Things to Consider When Transplanting Agaves
- Choosing the Right Location
Ensure the new location has well-draining soil and receives plenty of sunlight. Agaves thrive in areas that mimic their natural desert-like habitat, so avoid spots prone to waterlogging.
- Handling with Care
Agave plants have sharp spines and sap that can cause skin irritation. Always wear gloves and protective clothing when handling or transplanting agaves to avoid injury.
- Timing the Transplant
The best time to transplant agaves is during their dormant season, typically in late fall or early spring. This minimizes stress on the plant and improves its chances of survival.
- Inspecting the Roots
Before replanting, check the roots for any signs of rot or damage. Trim away unhealthy roots with sterilized pruning tools to promote healthy growth in the new location.
- Spacing and Depth
Plant the agave at the same depth it was growing previously, and provide sufficient space for its mature size. Crowding can lead to poor air circulation and increased risk of disease.
Common Mistakes to Avoid
Overwatering
Agave plants are drought-tolerant and do not require frequent watering. Overwatering can lead to root rot and other health issues, so it is essential to allow the soil to dry out between watering sessions.
Planting in Poorly Drained Soil
Agaves thrive in well-drained soil. Planting them in heavy clay or waterlogged areas can suffocate the roots and cause the plant to deteriorate over time.
Ignoring Sunlight Requirements
Most agave species prefer full sun. Planting them in shaded areas can hinder their growth and affect their overall appearance.
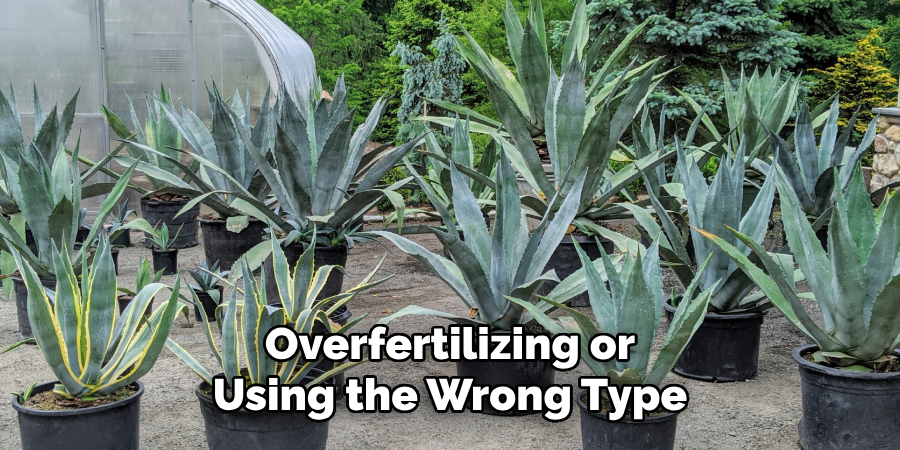
Using Incorrect Fertilizer
Overfertilizing or using the wrong type of fertilizer can damage the agave. Use a balanced, low-nitrogen fertilizer sparingly to encourage healthy growth.
Failing to Protect from Frost
While many agaves are hardy, exposing them to prolonged frost without protection can lead to tissue damage. Cover your agave plants or move potted ones indoors during freezing temperatures.
Conclusion
Transplanting agave plants can be a seamless process when approached with care and knowledge. Each of the ten methods above plays a vital role in reducing stress on the plant and ensuring a successful relocation.
From choosing the right season and location to handling the plant safely, curing its roots, and adjusting watering habits, every step contributes to your agave’s ability to thrive in its new environment. So, there you have it – a quick and easy guide on how to transplant agave plants.