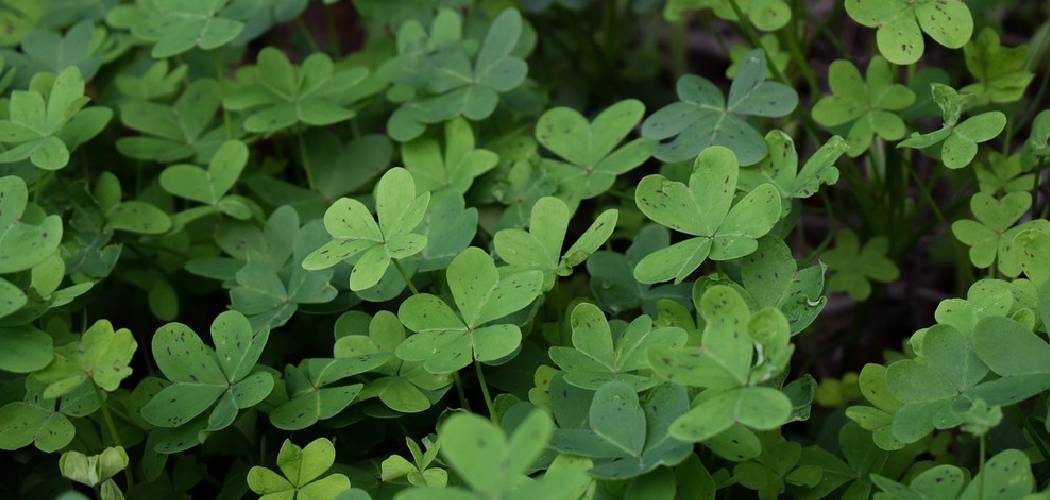
Are you looking to add some greenery to your home? A shamrock plant is a perfect choice! Not only are they beautiful and easy to care for, but they also symbolize good luck.
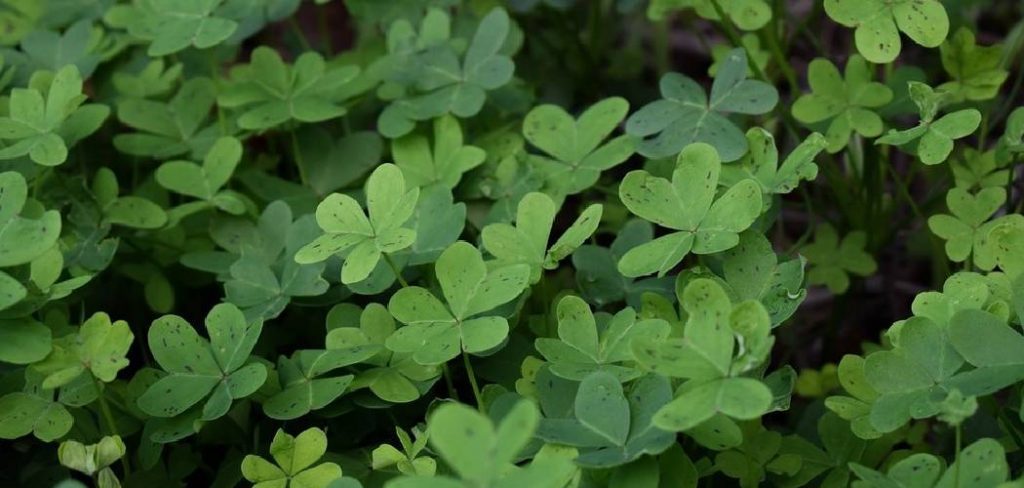
How to divide a shamrock plant is a simple and rewarding process that helps maintain its health and encourages new growth. These charming plants, known for their vibrant green or purple foliage and delicate flowers, can become overcrowded over time, making division necessary. By splitting the plant into smaller sections, you not only give it more room to thrive but also create additional plants to enjoy or share with others.
Whether you’re an experienced gardener or a beginner, this guide will help you divide your shamrock plant with confidence and care. Let’s get started!
What Are the Benefits of Dividing a Shamrock Plant?
Dividing a shamrock plant has several benefits, including:
- Promotes New Growth: As mentioned earlier, dividing a shamrock plant gives it more space to grow and develop new shoots. This can rejuvenate the plant and make it healthier.
- Increases Aesthetic Appeal: By dividing your shamrock plant, you are essentially creating multiple smaller plants that can be placed in different areas of your home or garden. This adds visual interest and variety to your space.
- Saves Money: Instead of purchasing multiple shamrock plants, you can simply divide one large plant into smaller ones. This reduces the need for additional purchases, saving you money in the long run.
- Teaches Patience and Care: Dividing a shamrock plant requires patience and care, as you need to carefully separate the roots and ensure that each division has enough nutrients and space to grow. This process can teach valuable lessons in patience and caring for plants.
What Will You Need?
To successfully divide a shamrock plant, you will need the following materials:
- A healthy and well-established shamrock plant
- A sharp, clean knife or pair of scissors
- Potting soil
- Pots or containers for each divided section
- Watering can or spray bottle
Once you have gathered all the necessary materials, you can begin the process of dividing your shamrock plant.
10 Easy Steps on How to Divide a Shamrock Plant
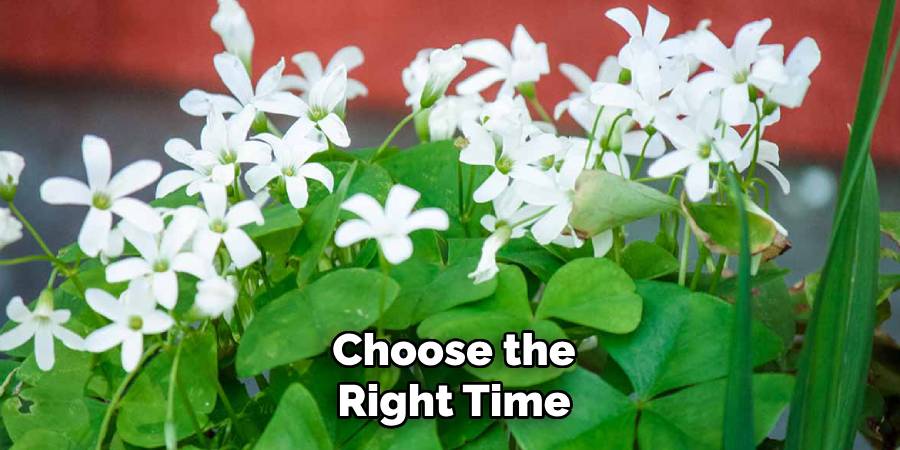
Step 1. Choose the Right Time
The best time to divide a shamrock plant is during its growing season, typically in spring or early summer. Avoid dividing the plant when it is dormant, as this can stress the plant and hinder its recovery. Make sure the plant is healthy and actively growing to ensure the divided sections establish well in their new pots. Take note of the plant’s condition and schedule the process accordingly to maximize success.
Step 2. Prepare Your Tools and Workspace
Before dividing your shamrock plant, gather all the necessary tools and set up a clean and organized workspace. You’ll need a sharp, sterilized knife or garden shears, fresh potting soil, and appropriately sized pots with drainage holes. Prepare a clean work surface and ensure your tools are sanitized to prevent the spread of disease. Having all your materials ready and within reach will make the process smoother and less stressful for both you and the plant.
Step 3. Water the Shamrock Plant
Water the shamrock plant thoroughly a day before dividing it. This ensures the roots are well-hydrated and makes them easier to work with during the division process. Avoid overwatering, but ensure the soil is moist enough to help loosen the roots. Proper hydration also minimizes stress on the plant, promoting a successful recovery after the division.
Step 4. Remove the Plant from Its Pot
Carefully remove the shamrock plant from its pot by gently tilting the pot and tapping its sides to loosen the soil. Use your hand to support the base of the plant while sliding it out to avoid damaging the stems or leaves. If the plant is stuck, you can use a blunt knife or trowel to run along the edges of the pot and free the root ball. Once removed, inspect the roots for any signs of damage or disease and remove excess soil clinging to the roots, being cautious not to break them.
Step 5. Inspect the Root System
Healthy roots are crucial for a thriving plant. Begin by examining the roots carefully. Look for firm, white, or light-colored roots, as these are signs of a healthy root system. If you notice any brown, mushy, or foul-smelling roots, this could indicate root rot or disease. Use sterilized scissors or pruning shears to trim away any damaged or dead roots. Avoid cutting too much, as the plant still needs a robust root system for proper growth. After inspection and trimming, you may gently untangle any tightly bound roots to promote better development once the plant is repotted.
Step 6. Separate the Plant into Sections
If your plant has grown large or has multiple stems, you can consider dividing it into smaller sections. This process is beneficial for propagating new plants or managing the size of the current one. Gently pull apart the root system, ensuring each section has a healthy amount of roots and foliage. If the roots are densely tangled, use your hands to carefully tease them apart or a clean knife for thicker roots. Be patient and deliberate to avoid unnecessary damage. Once separated, each section can be repotted individually to continue thriving.
Step 7. Trim Any Damaged Roots
Using clean and sharp pruning shears or scissors, carefully inspect the roots for any signs of damage or rot. Damaged roots may appear mushy, blackened, or brittle. Trim away these sections to prevent potential diseases from spreading to the healthy roots. Aim to make clean cuts rather than tearing to minimize stress on the plant. This step promotes strong future growth by allowing the plant to redirect energy to healthier areas.
Step 8. Prepare the New Pots
Choose pots that are slightly larger than the plant’s current containers to give the roots room to grow. Ensure the pots have proper drainage holes to prevent water from pooling at the bottom, which can lead to root rot. Fill the base of each pot with a layer of fresh, well-draining potting mix suitable for the plant type. This creates a stable foundation and ensures adequate nutrient intake. For larger pots, consider placing a layer of gravel or small stones at the bottom to improve drainage further.
Step 9. Plant Each Division
Carefully place each division into the prepared pots, ensuring that the roots are spread out evenly and not overly compacted. Position the plant so that the crown sits just above the soil level, then gently fill in around the roots with additional potting mix. Lightly press the soil to secure the plant but avoid packing it too tightly, as this can hinder root growth. Water the newly potted divisions thoroughly, allowing excess water to drain freely. Finally, place the pots in an appropriate location with the correct amount of light and temperature suited for the plant species to encourage healthy growth.
Step 10. Water and Care for the New Plants
After the initial thorough watering, allow the top inch of soil to dry out before watering again, as overwatering can lead to root rot. Monitor the plants regularly for signs of stress, such as wilting or yellowing leaves, and adjust care accordingly. Depending on the plant species, consider misting the foliage to maintain humidity, especially in drier environments. Keep the pots in a location with stable conditions, avoiding drafts or sudden temperature changes, to help the plants acclimate. Over time, maintain a consistent watering schedule and check that the plants are receiving adequate light to support their growth and development.
By following these 10 steps, you can successfully divide your shamrock plant and enjoy multiple thriving plants!
5 Things You Should Avoid
- Dividing During the Active Growing Season
Avoid dividing your shamrock plant while it is actively growing or flowering, as this can stress the plant and hinder its recovery. It is best to wait until the plant enters a dormant phase before attempting to divide it.
- Using Dull or Unclean Tools
Never use dull or dirty tools when dividing your plant, as this can damage the roots and increase the risk of infection. Always ensure your tools are sharp and sterilized before use.
- Overwatering Immediately After Division
Watering too much right after dividing the plant can lead to root rot or fungal growth. Instead, provide moderate watering and allow the soil to dry slightly between waterings while the plant establishes itself.
- Separating Too Few or Too Small Sections
Avoid creating sections that are too small or have insufficient roots to support new growth. Ensure each divided section contains a healthy clump of stems and roots for the best chance of survival.
- Placing in Inappropriate Light Conditions
Do not expose newly divided plants to intense direct sunlight or overly dim environments. Shamrock plants require indirect but bright light to thrive; extreme lighting conditions can stress or damage them.
Conclusion
How to divide a shamrock plant can be an effective way to encourage growth and propagation, but it requires careful attention to the plant’s needs.
By ensuring clean tools, selecting healthy sections for division, and providing proper care after transplantation, you can increase the chances of successful growth. Remember to avoid common mistakes like overwatering, planting in unsuitable light conditions, or dividing the plant too aggressively.
With patience and proper techniques, you can enjoy thriving shamrock plants for years to come.