
Are you someone who loves gardening and wants to add a unique touch to your collection of indoor plants? Then you should consider growing jade plants! Not only are they low maintenance, but they also have a beautiful appearance that will enhance any living space.
Jade plants, also known as Crassula ovata, are succulent plants native to South Africa. They are part of the stonecrop family and are closely related to other popular succulents such as the Aloe vera plant. Jade plants can grow up to three feet tall and have thick, fleshy leaves that store water for long periods, making them perfect for dry climates or forgetful gardeners.
In this guide on how to grow jade plants, we will cover everything you need to know to successfully grow and care for these beautiful succulents.
What Are the Benefits of Growing Jade Plants?
Jade plants have become increasingly popular in recent years due to their many benefits. Here are just a few reasons why you should consider growing jade plants in your home or garden:
- Low Maintenance: As mentioned, jade plants are perfect for those who may forget to water their plants frequently. Their thick leaves store water and can survive long periods without watering.
- Air Purifying: Jade plants are known for absorbing toxins from the air, making them great indoor plants for improving air quality.
- Aesthetically Pleasing: With their vibrant green leaves and unique tree-like appearance, jade plants make beautiful additions to any living space.
- Good luck Symbol: In Chinese culture, jade is believed to bring good luck and prosperity, making jade plants popular housewarming gifts.
- Easy to Propagate: Jade plants are easy to propagate through stem or leaf cuttings, making it possible to create multiple plants from just one.
What Will You Need?
- Potting Soil: Jade plants grow best in well-draining, sandy soil.
- Pots with Drainage Holes: It’s important to choose pots with drainage holes to prevent over-watering and root rot.
- Fertilizer: Jade plants benefit from a balanced fertilizer applied once a month during the growing season.
- Pruning Shears: Regular pruning helps promote healthy growth and prevents leggy, unbalanced plants.
10 Easy Steps on How to Grow Jade Plants
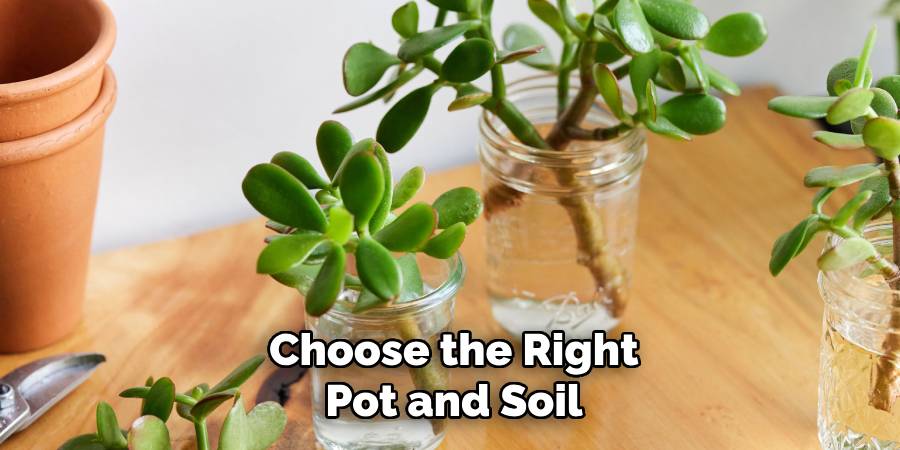
Step 1. Choose the Right Pot and Soil:
Select a pot with adequate drainage holes to ensure excess water can escape, preventing root rot. For the soil, opt for a well-draining mix, such as a cactus or succulent-specific soil. If necessary, you can create your mix by combining regular potting soil with sand or perlite to enhance drainage. Proper pot and soil selection are essential for maintaining the health of your jade plant.
Step 2. Plant the Jade Cutting or Seedling:
Begin by filling the pot with your prepared soil mix, leaving enough space at the top for the cutting or seedling. If you are planting a cutting, allow the cut end to callus over for a few days before planting to minimize the risk of rot. Once ready, create a small hole in the soil and gently place the cutting or seedling into it, ensuring the roots or stem base are covered with soil. Lightly press the soil around the base for stability, but avoid compacting it too much, as this can hinder drainage and airflow. After planting, avoid watering immediately to allow the plant to settle in its new environment.
Step 3. Position in Bright, Indirect Light:
Place the plant in a location where it can receive bright, indirect light for most of the day. Direct sunlight can scorch delicate leaves or stems, so it’s crucial to avoid exposing the plant to harsh rays, especially during midday. If natural light is insufficient, consider using a grow light to provide the necessary illumination. Maintaining this balance ensures the plant thrives without enduring stress or damage, promoting healthy growth and development. Rotate the plant occasionally to ensure even exposure to light on all sides.
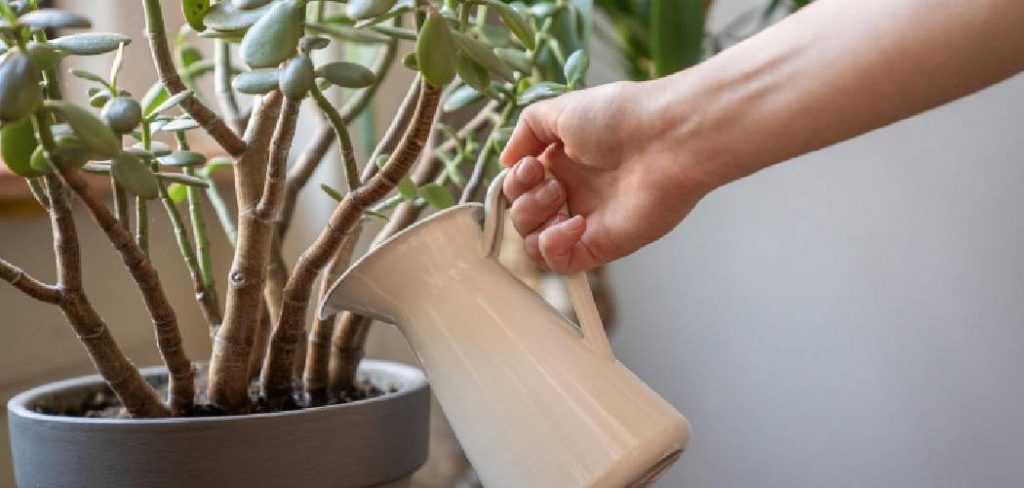
Step 4. Water Sparingly:
Watering sparingly is essential to prevent overwatering, which can lead to root rot and other issues. Allow the top inch of soil to dry out completely before watering again. Use a well-draining pot or container to ensure excess water can escape easily, preventing water from pooling at the bottom. It’s better to be slightly underwater than overwater, as most plants can recover from drought better than from overly moist soil. Adjust your watering schedule based on the season, as plants generally require less water during cooler months. Always observe your plant for signs of overwatering, such as yellowing leaves or a mushy stem, and adjust your care routine accordingly.
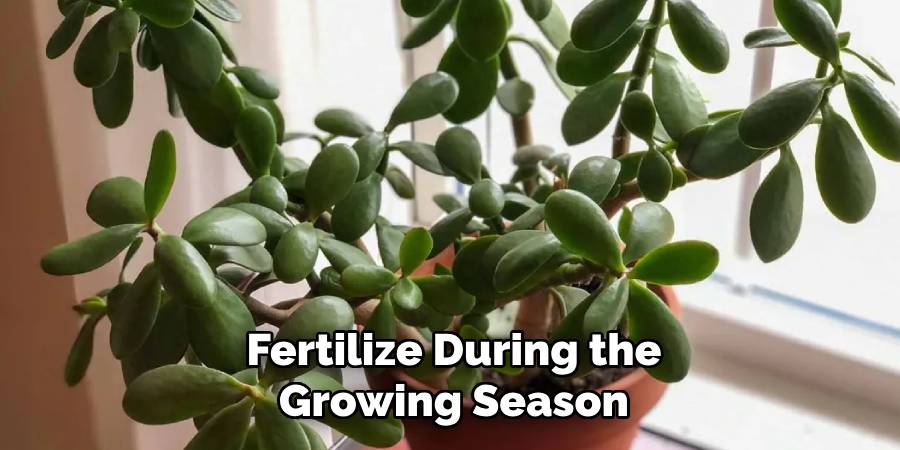
Step 5. Fertilize During the Growing Season:
Fertilizing your plants during their active growing season is essential for providing the nutrients they need to thrive. Use a well-balanced, water-soluble fertilizer every two to four weeks, depending on the specific needs of your plant. Be careful not to over-fertilize, as this can lead to harmful salt buildup in the soil, causing root burn and stunted growth. Always dilute the fertilizer according to the instructions on the label, and ensure the soil is slightly damp before applying to avoid damaging the roots. Regular feeding during the growing season promotes healthy foliage, vibrant blooms, and robust overall plant development.
Step 6. Rotate the Plant:
Rotating your plant regularly ensures even exposure to sunlight, preventing uneven growth and promoting a balanced shape. Most plants naturally grow toward the light source, so turning the pot by a quarter turn every few weeks helps maintain symmetry and encourages uniform development. This practice is especially important for indoor plants placed near windows where light reaches from only one side. Make it a part of your routine to rotate the plant when watering or checking for maintenance needs.
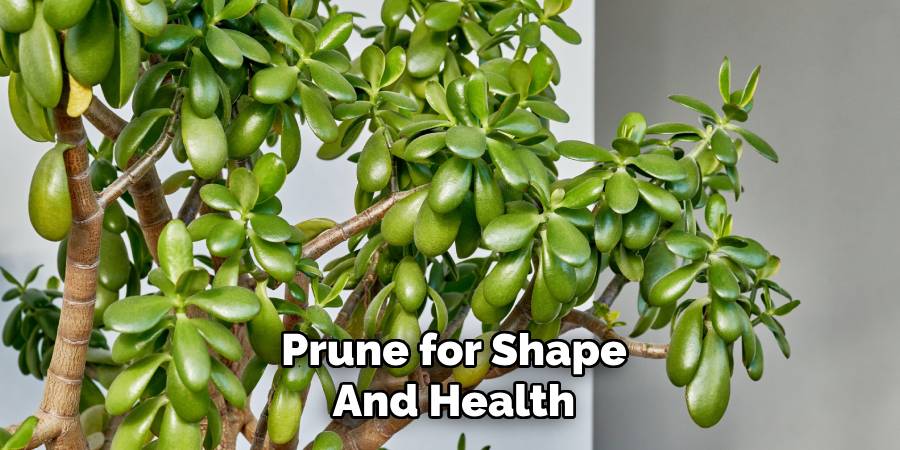
Step 7. Prune for Shape and Health:
Pruning is an essential practice for keeping your plant healthy and aesthetically pleasing. Start by removing any dead, yellowing, or damaged leaves, as these can drain energy from the plant. Next, trim back overgrown areas to encourage new growth and maintain the desired shape. Be sure to use clean, sharp scissors or pruning shears to avoid causing unnecessary stress or damage to the plant. Regular pruning also helps improve air circulation around the foliage, reducing the risk of pests and diseases. Remember to research your specific plant’s growth habits to understand its unique pruning needs, ensuring it thrives in your care.
Step 8. Watch for Pests and Diseases:
Regularly inspect your plants for signs of pests and diseases to ensure their health and longevity. Look for abnormalities such as discolored leaves, holes, spots, or webbing, which can indicate common issues like insects or fungal infections. If pests are detected, use appropriate methods such as insecticidal soap, neem oil, or manual removal to address the problem promptly. For diseases, remove affected parts of the plant and consider applying fungicides when necessary. Maintaining proper watering, airflow, and cleanliness around your plants can help prevent many problems before they occur, promoting a thriving and pest-free environment.
Step 9. Repot When Necessary:
Repotting is essential for the continued health and growth of your plants. Over time, plants can outgrow their pots, becoming root-bound and limiting their ability to access nutrients and water. To repot, gently remove the plant from its current container, loosen the roots, and trim away any that are damaged or excessively long. Choose a slightly larger pot with proper drainage, and fill it with fresh, nutrient-rich potting soil. Place the plant in the new pot, ensuring it is at the same depth as before, and water thoroughly to help it settle in. Regularly assessing your plants for signs of overcrowded roots or soil depletion will ensure they have the space and resources needed to thrive.
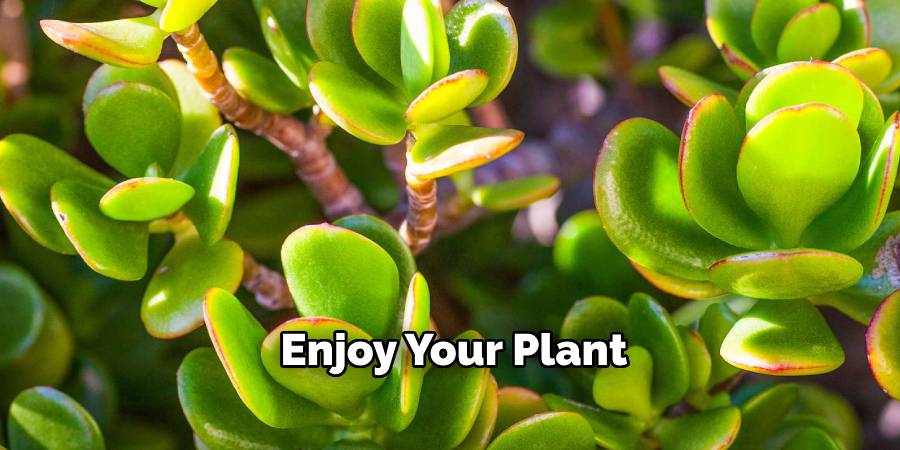
Step 10. Enjoy Your Plant:
Now that your plant is settled in its new home, take time to appreciate the beauty and life it brings to your space. Observe its growth, admire its foliage, and enjoy the calming presence it adds to your environment. Caring for plants not only enhances your home but also promotes mindfulness and a connection to nature. Celebrate the results of your effort and dedication by making your plant a cherished part of your daily life.
By following these basic steps, you can successfully transplant your plant and give it the best chance to thrive.
5 Things You Should Avoid
- Overwatering
Jade plants are succulents, which means they store water in their leaves. Overwatering can lead to root rot and other health issues. Always allow the soil to dry out completely between waterings.
- Using the Wrong Soil
Avoid using heavy, water-retentive soil, as it can cause poor drainage. Instead, opt for a well-draining cactus or succulent mix to keep your jade plant thriving.
- Lack of Sunlight
Jade plants require plenty of bright, indirect sunlight to grow properly. Avoid placing them in low-light areas, as this can cause slow growth and leggy stems.
- Neglecting Temperature Needs
Jade plants prefer warm temperatures. Exposing them to cold drafts or freezing temperatures can damage their leaves or even kill the plant. Always keep them in a stable, warm environment.
- Over-fertilizing
Excessive use of fertilizer can harm jade plants by causing salt accumulation in the soil. Use a balanced, diluted fertilizer sparingly during the growing season and avoid feeding during winter.
Conclusion
How to grow jade plants successfully requires attention to their specific needs, but with the right care, they can thrive for many years.
Ensure they are placed in a location with adequate sunlight, water them sparingly to avoid root rot, and use well-draining soil to support healthy growth. Maintain a warm, stable environment and avoid exposing them to freezing temperatures. Fertilize moderately during the growing season, and always monitor their condition for signs of stress or imbalance.
With consistent care, jade plants can become a stunning, long-lasting addition to any home or garden.