Are you looking for a beautiful and low-maintenance plant to add to your indoor or outdoor garden? Look no further than the shamrock plant!

Shamrock plants are a popular choice for both indoor and outdoor gardening, known for their charming clover-like leaves and vibrant flowers. These low-maintenance plants are often associated with good luck and are a staple in many households, especially around St. Patrick’s Day. How to grow shamrock plants can be a rewarding experience, as they thrive with minimal effort and add a touch of greenery and elegance to any space.
Whether you’re a seasoned gardener or a beginner, learning the basics of how to care for and nurture shamrock plants will ensure they grow healthy and lush year-round.
What Are the Benefits of Growing Shamrock Plants?
Growing shamrock plants can bring numerous benefits to both your physical and mental well-being. Here are some reasons why you should consider adding them to your indoor or outdoor plant collection:
- Air Purification: Like many other houseplants, shamrock plants have been proven to filter out toxins and pollutants from the air, improving its quality and making it easier for you to breathe.
- Stress Relief: Taking care of plants has been known to be a therapeutic activity that can reduce stress and anxiety levels. The process of nurturing and watching your shamrock plant grow can have a calming effect on your mind.
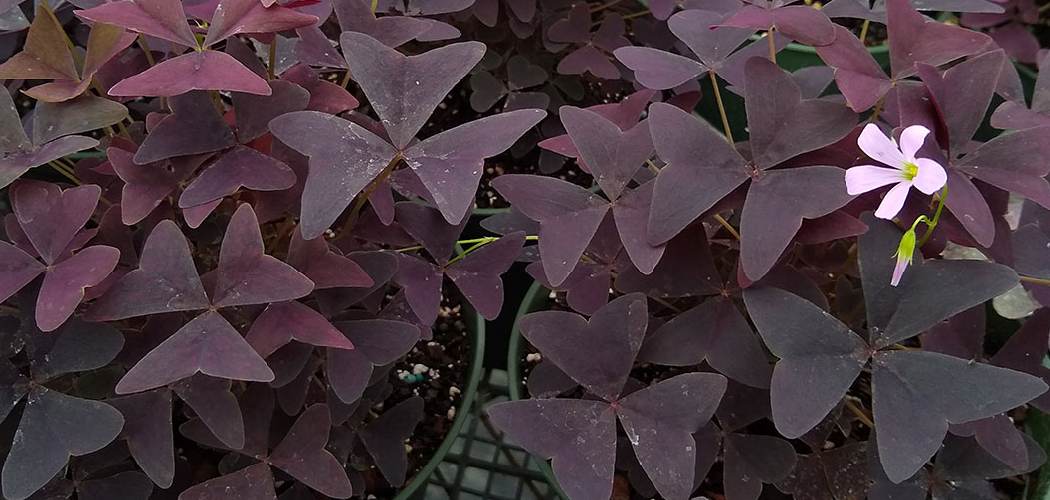
- Aesthetics: With their vibrant green color and unique shape, shamrock plants make for a beautiful addition to any room in your home. They can add a pop of color and liveliness to dull spaces.
- Easy Maintenance: Shamrock plants are relatively low maintenance, making them perfect for beginner plant owners or those with busy schedules. They require minimal watering and can thrive in various lighting conditions.
- Irish Tradition: Shamrock plants hold significance in Irish culture as they are believed to bring good luck and prosperity. St. Patrick is said to have used the shamrock plant as a symbol when explaining the Holy Trinity.
What Will You Need?
To successfully grow and care for a shamrock plant, you will need the following items:
- A small pot with drainage holes
- Well-draining soil suitable for indoor plants
- Watering can or spray bottle
- Fertilizer specifically formulated for houseplants
- Indoor plant fertilizer sticks (optional)
Once you have all of the necessary items, you can begin your journey in growing and caring for a shamrock plant.
10 Easy Steps on How to Grow Shamrock Plants
Step 1. Choose the Right Pot
Selecting the right pot is crucial to ensure the healthy growth of your shamrock plant. Opt for a small to medium-sized pot with sufficient drainage holes at the bottom to prevent waterlogging, which can lead to root rot. The material of the pot can vary—ceramic, plastic, or clay—but ensure it is sturdy and provides stability for the plant.

If you plan to keep the shamrock plant indoors, consider choosing a pot that complements your home décor. Additionally, it is recommended to use a tray or saucer beneath the pot to catch any excess water, making maintenance easier.
Step 2. Prepare the Soil
To prepare the soil for your shamrock plant, choose a well-draining potting mix to promote healthy root development. A mix that contains peat moss, perlite, and organic matter works particularly well for providing the necessary nutrients while preventing water retention.
Before planting, gently loosen the soil to aerate it and remove any clumps or debris. If you prefer, you can enhance the mix by adding a small amount of compost for extra nutrients. Ensuring the soil is light and fluffy will create the ideal environment for your shamrock plant to thrive.
Step 3. Plant the Bulbs
Place the shamrock bulbs in the prepared soil with the pointed end facing upwards. Ensure they are spaced about 1 to 2 inches apart to allow enough room for growth. Gently press the bulbs into the soil, making sure they are covered with about half an inch of soil on top. Avoid planting the bulbs too deeply, as they require adequate exposure to light for healthy sprouting. Once the bulbs are in place, lightly water the soil to settle it around the bulbs and encourage initial growth.
Step 4. Find the Ideal Location
Choose a location that receives plenty of sunlight, as most bulbs thrive in well-lit environments. Ensure the area has well-draining soil to prevent waterlogging, which can lead to bulb rot. If your chosen spot is susceptible to strong winds, consider planting near a fence or shrubbery to provide some protection.

Additionally, evaluate the space to ensure it has sufficient room for the plants to grow and spread without overcrowding. A location with a balance of sunlight, protection, and good drainage will create the perfect setting for your bulbs to flourish.
Step 5. Water Properly
Watering bulbs correctly is crucial for their healthy growth and development. After planting, give the bulbs a deep watering to settle the soil and eliminate air pockets around the roots. Once established, bulbs generally require consistent moisture, but be cautious not to overwater, as this can cause rot.
During dry periods, ensure the soil remains slightly damp by watering once or twice a week, depending on the weather conditions. Always adjust your watering routine based on seasonal changes and the specific needs of your bulb varieties.
Step 6. Maintain Proper Humidity
Maintaining the correct humidity levels is essential for healthy bulb growth, especially in indoor or greenhouse environments. Bulbs generally thrive in moderate humidity, as overly dry air can cause the soil and bulbs to dry out, while excessive humidity may promote fungal growth.
To maintain proper humidity, consider using a humidifier in arid environments or placing a tray of water near your plants to increase moisture levels naturally. Additionally, ensure proper ventilation to prevent stagnant air and reduce the risk of mold. Regularly monitor the humidity levels and adjust as needed based on the specific requirements of your bulb varieties.
Step 7. Fertilize as Needed
Fertilizing your plants appropriately is crucial to ensure healthy growth and vibrant blooms. Start by using a balanced, water-soluble fertilizer designed for bulbs, applying it according to the instructions on the label. Typically, bulbs benefit from fertilizer during their active growing season, particularly in spring and early summer.

Avoid over-fertilizing, as excessive nutrients can harm the plant and lead to weak growth. To foster root and flower development, look for fertilizers with a higher phosphorus content. Always water your plants after feeding to help the nutrients penetrate the soil and reach the roots.
Step 8. Monitor and Prune
Regular monitoring of your plants is crucial to ensure they remain healthy and thrive. Check for signs of pests, diseases, or environmental stress, such as yellowing leaves or stunted growth. If you notice any issues, address them promptly using appropriate remedies. Pruning is an essential part of plant care, as it helps to remove dead or damaged foliage, encourages air circulation, and promotes new growth.
Be sure to use clean, sharp tools to prevent infections and make precise cuts just above a node or bud. Monitoring and pruning are ongoing tasks that keep your plants vibrant and flourishing throughout their growing season.
Step 9. Watch for Dormancy
During certain times of the year, many plants enter a stage of dormancy, where growth slows or temporarily stops. This is a natural process that allows plants to conserve energy and survive adverse conditions, such as colder weather or reduced sunlight. While a dormant plant may appear inactive or lifeless, it is preparing for its next growth phase.
To care for dormant plants, reduce watering and feeding, as their nutrient and water needs decrease during this period. Keep the environment stable and avoid drastic temperature changes. Understanding and respecting a plant’s dormancy cycle is crucial for ensuring its long-term health and vitality.
Step 10. Revive After Dormancy
After a plant’s dormancy period has ended, it is essential to reintroduce care gradually to avoid shocking the plant. Begin by increasing water and light exposure incrementally, as too much at once can overwhelm the plant. Prune any dead or damaged foliage to encourage new growth, and consider repotting if the plant has outgrown its current container.

Reintroduce feeding slowly with a balanced fertilizer to provide essential nutrients. Observing the plant closely during this phase will help you adjust care as needed and ensure the plant transitions smoothly back to its active growth cycle.
By following these tips and providing your plant with proper care, you can successfully bring a dormant plant back to life.
Conclusion
How to grow shamrock plants can be a rewarding experience when given the right care and attention.
By ensuring they receive bright, indirect light, well-draining soil, and regular watering without over-saturating, you create an ideal environment for healthy growth. Additionally, providing proper nutrients during their active growing season and allowing them a period of dormancy supports their natural life cycle.
With patience and consistent care, shamrock plants can thrive and bring vibrancy to your indoor or outdoor spaces.