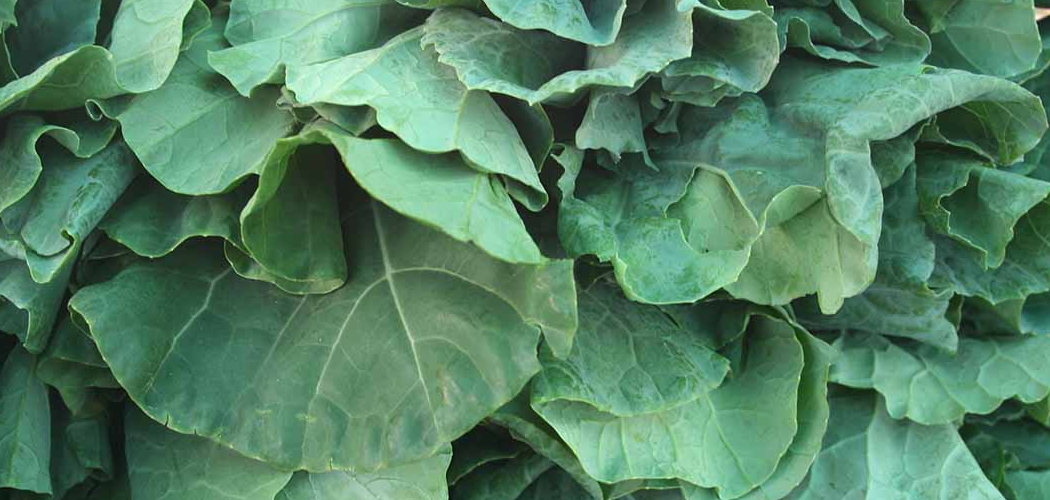
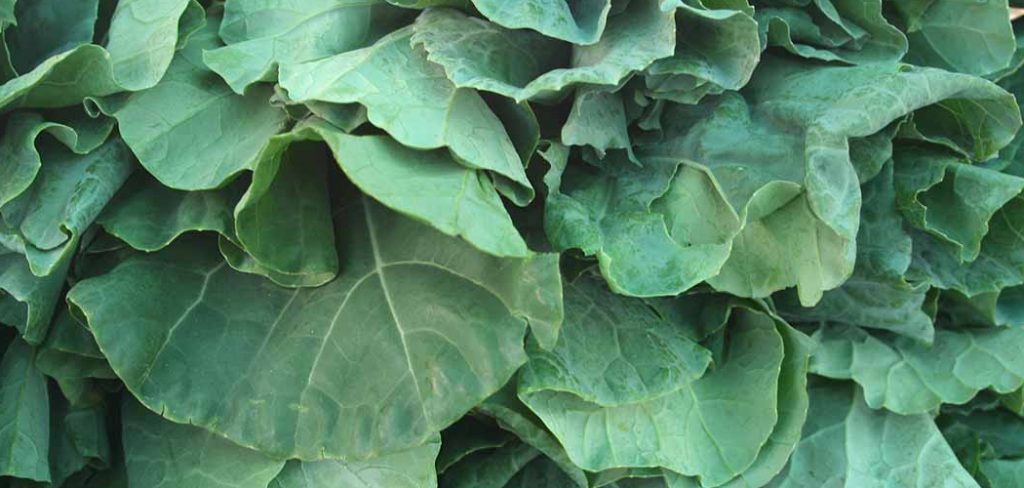
Collard greens are a nutritious and versatile leafy green vegetable that can be enjoyed in a variety of dishes. Harvesting collard greens at the right time and in the correct manner ensures a continuous supply of fresh, tender leaves throughout the growing season. Whether you are a seasoned gardener or a first-time grower, understanding the basics of how to harvest collard greens is essential to make the most of this leafy crop.
When to Harvest Collard Greens
The best time to harvest collard greens is when the leaves have grown to a usable size but are still tender. Typically, this occurs about 6 to 8 weeks after planting, depending on the variety and growing conditions. For optimal flavor, harvest the leaves when they are dark green and around 10-12 inches long. It’s important to pick the outer leaves first, leaving the central growing point intact to allow the plant to continue producing new leaves.
Additionally, collard greens taste their best when harvested during cooler weather, as their flavor becomes sweeter after a light frost. Avoid waiting too long to harvest, as older leaves may become tough and less flavorful.
Tools and Materials You’ll Need
To ensure a successful harvest of collard greens, you’ll need a few essential tools and materials. Begin with a pair of sharp garden scissors or pruning shears to easily cut the leaves without damaging the plant. A garden basket or bucket is helpful for collecting the harvested leaves and keeping them clean.
Gloves can protect your hands while working, especially if you encounter any rough edges on the leaves or stems. If you’re growing your collard greens, having a high-quality organic fertilizer and a watering can or hose ensures the plants remain healthy for continuous growth. Finally, consider using a soil moisture meter to monitor the soil and keep it at an optimal level for thriving collards.
10 Methods How to Harvest Collard Greens
1. Harvest the Outer Leaves First
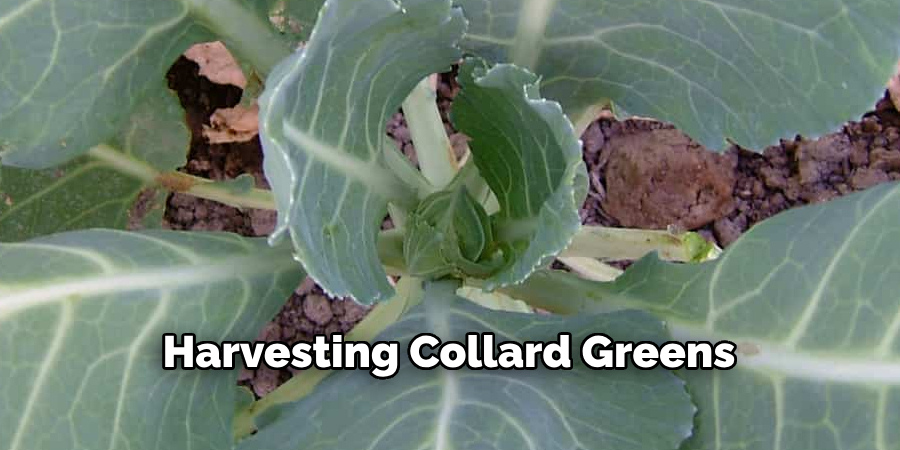
The most common and sustainable method of harvesting collard greens is the “cut-and-come-again” approach. In this method, you begin by removing the largest, outermost leaves from the bottom of the plant. These leaves are usually the oldest and most mature, making them ideal for picking.
Using clean, sharp scissors or garden shears, snip the leaf stem close to the main stalk, being careful not to damage the central growing point. By only removing the outer leaves, you allow the plant to continue producing new growth from the center.
2. Wait Until the Leaves Reach Full Size
Patience plays a key role in harvesting collard greens. Although the leaves are edible at various stages, waiting until they reach a mature size—usually 10 to 12 inches long—ensures the best balance of tenderness and flavor. Younger leaves may be more tender but offer less yield per plant. Inspect each leaf for firmness and color; healthy, harvest-ready collards are deep green and slightly leathery.
Avoid harvesting too early unless you’re intentionally picking baby greens for a tender salad mix.
3. Harvest in the Morning
For the crispest, most flavorful collard greens, plan to harvest them early in the morning. During this time, the leaves are fully hydrated and refreshed from overnight moisture, which enhances their taste and texture. Morning harvests also reduce the chance of wilting, especially in warmer climates.
Immediately after harvesting, place the leaves in a cool, shady area or a basket lined with a damp towel to retain moisture and freshness until you’re ready to use or refrigerate them.
4. Use Clean, Sharp Tools
Whether you’re using garden shears, scissors, or a small harvesting knife, ensure your tools are sharp and sanitized before each use. Dull or dirty tools can tear the stems, making the plant more susceptible to disease and slowing regrowth. A clean cut heals faster and helps maintain the plant’s overall health. After harvesting, disinfect your tools with rubbing alcohol or a mild bleach solution to prevent the spread of bacteria or fungal spores from plant to plant.
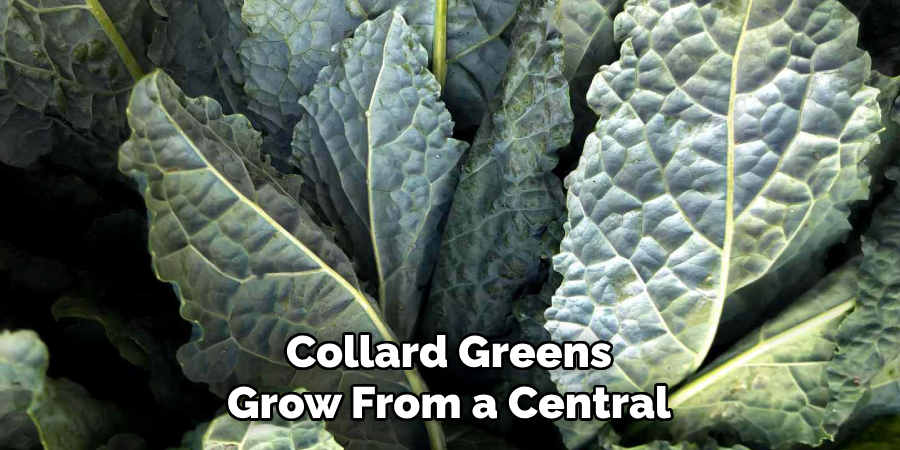
5. Avoid Damaging the Growing Crown
Collard greens grow from a central crown where new leaves continuously emerge. It’s crucial to avoid damaging this area when harvesting. Cutting too close to the center or accidentally snapping new growth can stunt the plant and reduce yield. Always direct your harvest toward the outer leaves and give the crown enough space to breathe and develop. Treat it as the engine of the plant—protecting it ensures a long and productive harvest season.
6. Pick Leaves Regularly to Encourage New Growth
Frequent harvesting promotes continual leaf production in collard plants. Rather than waiting to harvest a large batch all at once, consider picking a few leaves every few days. This mimics natural leaf shedding and signals to the plant that it should keep growing. In cooler climates, this can result in months of fresh greens from the same plant. Regular picking also reduces the risk of leaves becoming too tough or developing pest infestations.
7. Monitor for Pest-Damaged Leaves
Before harvesting, inspect the plant carefully for signs of pest damage, such as holes, yellowing, or chewed edges. Aphids, cabbage loopers, and flea beetles are common enemies of collard greens. While slightly damaged leaves are still edible after washing and trimming, it’s best to remove severely infested ones from the garden entirely. If possible, harvest the healthiest-looking leaves and remove those with heavy pest activity to help prevent further spread and stress on the plant.
8. Harvest Before or After a Light Frost
Interestingly, a light frost can enhance the flavor of collard greens, making them sweeter and less bitter. The natural sugars in the leaves become more concentrated when temperatures drop. If you live in a region with fall or winter growing seasons, aim to harvest just after the first frost. However, don’t delay too long, as heavy frosts can damage the leaves. If a cold snap is forecasted, consider harvesting the bulk of your mature leaves beforehand and covering the rest with a frost cloth.
9. Cut the Whole Plant for a Final Harvest
At the end of the growing season, or if you’re ready to replace your collard greens with a different crop, you can opt for a full harvest. Use a sharp knife or shears to cut the plant at the base, just above the soil line. This method is ideal if the plant is nearing the end of its lifecycle or has become too woody or pest-ridden to continue. The harvested whole plant can then be washed, trimmed, and stored for immediate use or freezing.
10. Handle and Store Leaves Carefully Post-Harvest
After harvesting, it’s important to handle collard greens gently to avoid bruising or crushing the leaves, which can reduce shelf life. Rinse the leaves thoroughly under cool water to remove dirt and insects.
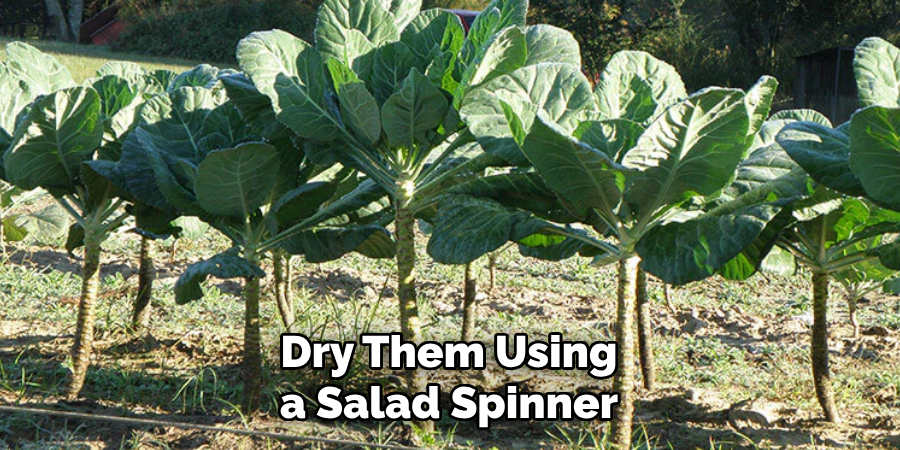
Dry them using a salad spinner or pat them dry with a clean towel. For short-term storage, wrap the leaves loosely in a damp paper towel and place them in a perforated plastic bag in the refrigerator. Stored this way, collard greens can stay fresh for up to a week. For long-term use, consider blanching and freezing the leaves.
Tips for Continuous Harvesting
To enjoy a steady supply of fresh collard greens, practice continuous harvesting techniques. Start by picking the outermost, mature leaves first, as this allows the inner leaves to keep growing and ensures you don’t damage the plant. Aim to harvest regularly, removing leaves every one to two weeks depending on the plant’s growth rate.
Always use clean, sharp shears or scissors to avoid tearing the plants, which can make them susceptible to disease. Keep an eye on your plants for any signs of pests or discoloration, as addressing issues early can help maintain healthy growth. By following these steps, you can keep your collard greens thriving and productive throughout the season.
Common Mistakes to Avoid
- Overharvesting – Removing too many leaves at once can weaken the plant, making it harder for it to recover and continue producing. Aim to harvest only a few mature leaves at a time.
- Neglecting Pest Control – Ignoring signs of pests such as holes in the leaves or discoloration can lead to infestations that harm the plant. Regularly inspecting your plants ensures you can address issues quickly.
- Improper Watering – Either under-watering or over-watering can stress your collard greens. Make sure the soil stays consistently moist but not waterlogged to promote healthy growth.
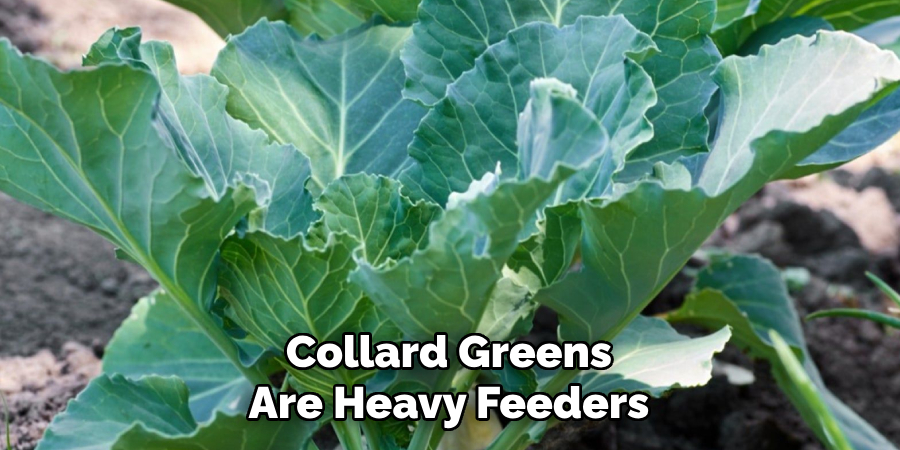
- Skipping Fertilization – Collard greens are heavy feeders, so neglecting to replenish the soil with nutrients can lead to slow growth and smaller leaves. Use a balanced fertilizer according to the plant’s needs.
- Crowded Plants – Planting collard greens too close together prevents adequate air circulation, increasing the risk of disease. Always provide enough spacing between plants to allow them to grow properly.
Avoiding these common pitfalls can ensure your collard greens grow strong, healthy, and abundant throughout the season.
Conclusion
Harvesting collard greens is not just about picking leaves—it’s a continuous process that, when done mindfully, ensures healthy plants, maximum yield, and flavorful results. From choosing the right time of day to cutting techniques and post-harvest storage, each step contributes to your success. Thanks for reading, and we hope this has given you some inspiration on how to harvest collard greens!