
Deadheading celosia is an essential gardening practice that promotes healthy growth and vibrant blooms throughout the growing season. This low-maintenance task not only enhances the plant’s appearance but also encourages the production of new flowers, ensuring your garden remains colorful and lively. Understanding the basics of deadheading celosia can help you keep your plants thriving and looking their best.
In this article on how to deadhead celosia, we will discuss the importance of deadheading and provide a step-by-step guide on how to properly execute this task.
Understanding Celosia and Its Flowering Habit
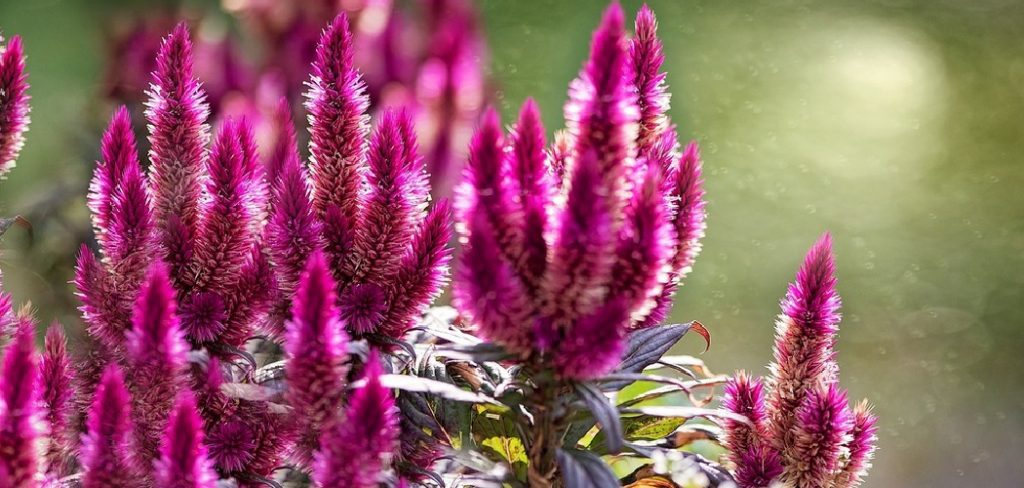
Celosia, commonly known as cockscomb or woolflowers, is a vibrant and eye-catching plant valued for its unique blooms and vivid colors. These annual plants thrive in warm climates and are known for their ability to produce flowers throughout the growing season. Celosia comes in various types, including plume-like, spiky, or crested flowers, offering a variety of textures and shapes that can enhance any garden.
Their flowering habit is continuous when provided with optimal care, and they can flourish in well-drained soil and full sunlight. Regular maintenance, such as deadheading, plays a crucial role in encouraging prolonged blooming, ensuring the plant channels its energy into creating new, healthy flowers rather than producing seeds. Understanding these characteristics can help gardeners unlock the full potential of celosia in their landscapes.
What is Deadheading and Why Is It Essential?
Deadheading is the practice of removing spent or faded blooms from a plant. This process not only improves the plant’s aesthetic by keeping it tidy and vibrant but also plays a vital role in encouraging new growth and prolonging the blooming season. When flowers are left to wither and develop seeds, the plant redirects its energy into seed production rather than creating new blooms.
By deadheading regularly, gardeners can ensure that the plant focuses its energy on producing fresh, healthy flowers, resulting in a more vibrant and long-lasting display. Additionally, deadheading helps prevent the spread of unwanted seeds, which can lead to overcrowding and competition among plants. For celosias, this simple yet effective practice is key to maintaining their colorful and striking appearance throughout the growing season.
Tools and Materials Needed
- Clean, Sharp Scissors or Pruning Shears.
- Garden Gloves for Protection (Optional).
- Small Container or Bag to Collect Dead Flowers.
When to Deadhead Celosia?
The best time to deadhead celosia is as soon as the flowers begin to fade or wilt. Regularly inspecting your plants for spent blooms is important to ensure they continue to channel energy into producing new flowers rather than setting seeds.
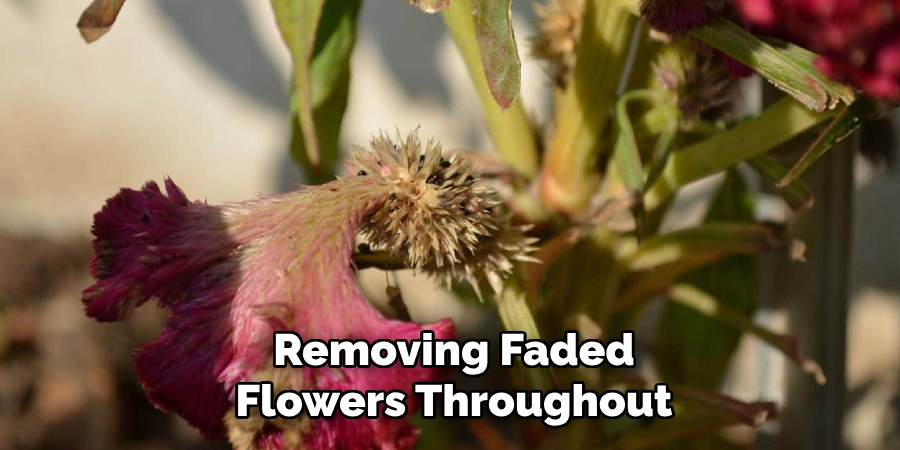
Early mornings, when the weather is cooler, are ideal for deadheading, as plants are less stressed during this time. By consistently removing faded flowers throughout the growing season, you can help your celosia plants maintain their vibrancy and extend their blooming period.
7 Step-by-Step Guidelines on How to Deadhead Celosia:
Step 1: Identify Spent Blooms
Begin by carefully examining your celosia plants to locate faded or withered flowers. Spent blooms often appear dull or discolored compared to fresh, vibrant flowers. Additionally, the petals may start to feel dry and begin to shrivel up.
Identifying these older blooms is the first step in ensuring your plant’s energy is redirected toward producing new, healthy flowers. Take your time to distinguish between flowers that are past their prime and those still in full bloom.
Step 2: Remove the Faded Flower Stem
Once you have identified the spent blooms, use a pair of clean and sharp pruning shears or scissors to carefully remove them. Make the cut just above a set of healthy leaves or a new bud on the stem. This encourages the plant to focus its energy on producing fresh flowers and foliage rather than sustaining old blooms.
Avoid tugging or pulling the flower heads off by hand, as this can damage the stem and potentially hinder new growth. Regularly removing faded stems will help maintain your celosia’s health and vibrant appearance throughout the growing season.
Step 3: Dispose of the Spent Blooms
Once you have removed the faded blooms, it is important to dispose of them properly. Gather the spent flowers and place them in your compost bin if you have one, as they can contribute to creating nutrient-rich compost for your garden.
Alternatively, you can dispose of them with other garden waste, ensuring they are placed in an appropriate yard waste container. Proper disposal helps prevent the spread of any possible plant diseases and keeps your garden area tidy and healthy.
Step 4: Water and Fertilize
After removing the spent blooms, it’s essential to provide your plants with the nourishment they need to thrive. Begin by watering the plants thoroughly, ensuring the soil is evenly moist but not waterlogged.
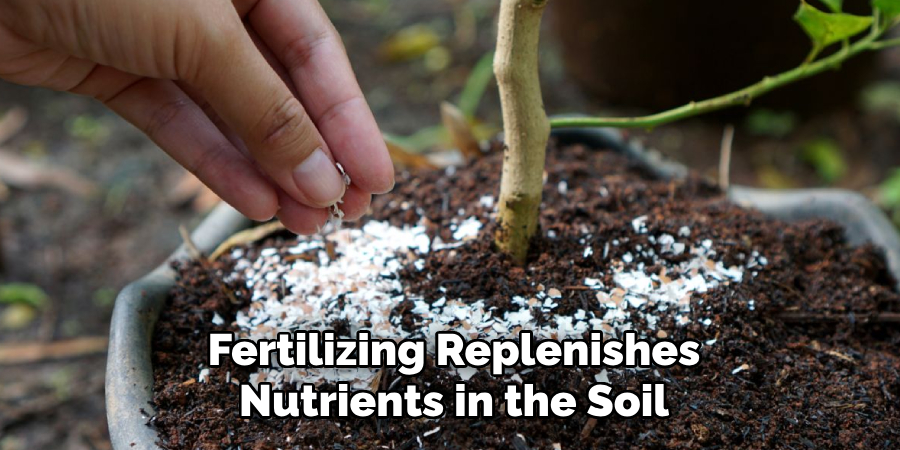
This will help support healthy root growth and overall plant vitality. Following watering, apply a balanced fertilizer suited to your plant type. Fertilizing replenishes nutrients in the soil and promotes blooming and growth. Be sure to follow the instructions on the fertilizer packaging to avoid overfeeding, as this can harm your plants. Regular watering and fertilizing will keep your garden vibrant and flourishing.
Step 5: Repeat regularly
Consistency is key to maintaining a thriving garden. Make a habit of watering and fertilizing your plants as needed, based on their specific requirements and the season.
Regularly monitor the soil moisture and plant health to adjust your care routine accordingly. Repeating these steps ensures your garden remains vibrant, healthy, and full of life throughout the growing season.
Step 6: Properly Dispose of Pruned Materials
After pruning, it is important to properly dispose of the removed branches, leaves, and other plant debris. Composting is an excellent option, allowing organic materials to break down and recycle nutrients back into the soil. However, avoid composting diseased or pest-infested plant material to prevent contamination of your garden.
Alternatively, you can dispose of the debris through local yard waste collection services if composting is not feasible. Proper disposal keeps your garden tidy while promoting a healthy and sustainable environment.
Step 7: Consider Using Pruning Shears
For larger plants or thicker branches, it may be helpful to invest in a pair of pruning shears. These specialized tools make pruning easier and more precise, especially for woody plants like shrubs and trees.
Following these steps on how to deadhead celosia, you can easily maintain a beautiful and healthy garden. Remember to always use sharp and clean tools for pruning to prevent any damage or disease to your plants.
Additional Celosia Care After Deadheading
Once you have successfully deadheaded your celosia, ongoing care is crucial to keep your plants thriving. Regularly check the soil moisture to ensure it remains consistently damp but not waterlogged, as celosia plants prefer well-draining soil. Providing a balanced, water-soluble fertilizer every few weeks can promote healthy growth and vibrant blooms.
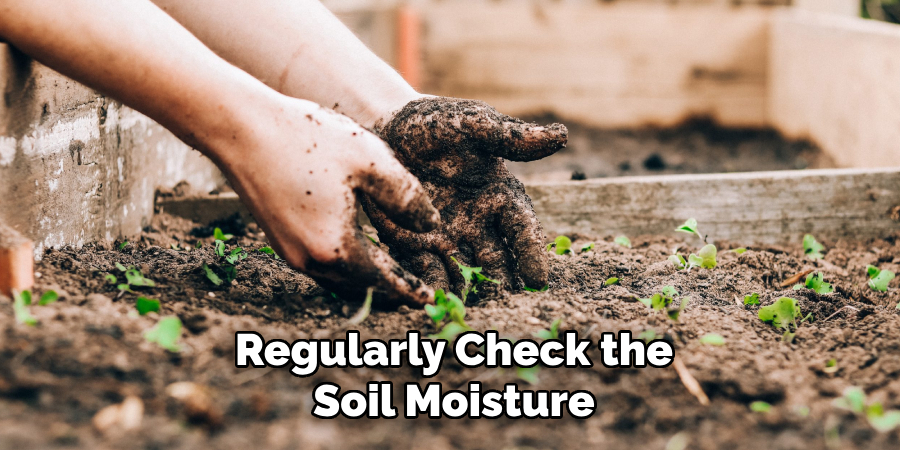
It’s also important to monitor your plants for signs of pests or diseases, as early detection can prevent larger issues. Finally, ensure your celosia is receiving ample sunlight, as they flourish best in full sun conditions. With proper care after deadheading, your celosia will continue to bring vibrant color and texture to your garden.
Common Mistakes to Avoid
When cultivating celosia, several common mistakes can hinder its growth and vibrancy. One frequent error is overwatering, which can lead to root rot and damage the plant. Ensure the soil is well-draining and only water when the top layer feels dry. Another mistake is planting celosia in shaded areas, as they thrive in full sunlight and may become leggy and weak without sufficient light.
Neglecting to deadhead spent blooms is also a common oversight, which can limit the production of new flowers. Finally, failing to address pest infestations or diseases promptly can result in significant harm to your plants. By avoiding these pitfalls, you can ensure your celosia remains healthy and vibrant throughout the growing season.
Frequently Asked Questions:
Q: How Often Should I Water Celosia Plants?
A: Celosia plants should be watered once or twice a week, depending on the climate and soil conditions. It’s important to keep the soil evenly moist but not soggy, as overwatering can lead to root rot.
Q: Can I Grow Celosia in Containers?
A: Yes, celosia can be grown in containers as long as the container has good drainage and is large enough to accommodate the plant’s root system. Be sure to use a well-draining potting mix and water regularly.
Q: Do Celosia Plants Require Full Sun?
A: Yes, celosia plants thrive in full sun and require at least 6 hours of direct sunlight per day. Plant them in a spot that receives ample sunlight for optimal growth and flowering.
Q: How Do I Prune Celosia Plants?
A: To promote bushier growth, pinch off the top inch of new growth from the main stem. Deadhead any spent flowers to encourage continuous blooming. If your celosia becomes leggy or overgrown, you can also prune back the entire plant by 1/3 of its height.
Conclusion
Deadheading celosia is a simple yet effective way to keep your garden vibrant and thriving. By regularly removing spent blooms and maintaining proper care, you can encourage continuous flowering and promote the overall health of your plants.
With the right tools and attention to detail, your celosia will be a stunning focal point in your garden all season long. Remember, a little effort goes a long way in achieving a flourishing and colorful garden! Thanks for reading this article on how to deadhead celosia.