
Growing maple trees from cuttings is an excellent way to propagate these beautiful and iconic trees, whether for landscaping or simply to enjoy their vibrant foliage.
This method allows you to cultivate young trees from healthy parent plants, ensuring the desired traits are preserved. While it requires patience and care, growing maples from cuttings can be a rewarding process for both beginner and experienced gardeners.
By following the right steps on how to grow maple trees from cuttings and providing the appropriate environment, you can successfully nurture your cuttings into thriving maple trees.
Understanding Maple Tree Propagation
Propagation is the process of creating new plants from a variety of sources such as seeds, cuttings, or other plant parts. When it comes to maple trees, two primary methods are commonly used for propagation: growing from seeds and growing from cuttings. Each method has its own set of advantages and challenges. Propagating maples from seeds requires proper seed collection, stratification, and germination, often resulting in genetic diversity among the seedlings.
On the other hand, propagation from cuttings allows for the exact replication of the parent tree’s traits, making it a preferred choice for those seeking specific characteristics such as leaf coloration or growth habits. Understanding the basics of these methods is crucial for anyone looking to expand their knowledge or collection of maple trees.
Best Time to Take Maple Tree Cuttings
The ideal time to take cuttings from a maple tree is during the late spring to early summer when the tree is actively growing. During this period, the branches are supple and rich with nutrients, making them more likely to root successfully. It’s best to select softwood cuttings, which are new growth from the current season, as they are more responsive to rooting than older, woody stems.
Early morning is an optimal time to harvest cuttings since the plants are well-hydrated and less stressed. Proper timing and preparation ensure a better success rate in propagating new maple trees.
Choosing the Right Cutting Material
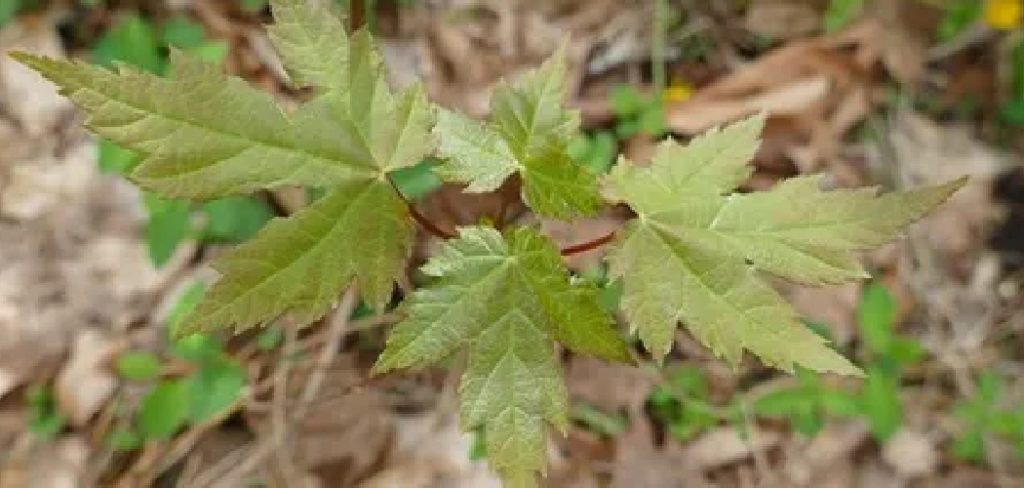
Selecting the appropriate cutting material is crucial to ensure successful propagation. Look for healthy, disease-free branches that exhibit vibrant growth but are not overly mature. The ideal cutting should be about 4 to 6 inches long and have several sets of leaves.
Remove any flowers or buds from the cutting, as these can divert energy away from root development. Additionally, ensure that the cutting is neither too soft, which can make it prone to rot, nor too woody, which can hinder rooting. Properly chosen material provides the foundation for strong and resilient new maple trees.
Tools and Materials Needed
- Clean, Sharp Pruning Shears or Scissors
- Rooting Hormone (Optional but Boosts Success Rates)
- Small Pots or Trays With Well-draining Soil or Rooting Medium (Perlite, Peat Moss Mix)
- Humidity Dome, Plastic Bags, or Clear Container
- Spray Bottle for Misting
5 Simple Step-by-Step Guides on How to Grow Maple Trees From Cuttings
Step 1: Prepare Your Tools and Materials
To successfully propagate your cuttings, gather all the necessary tools and materials in advance. You’ll need a pair of clean, sharp pruning shears or scissors to make precise cuts without damaging the stems. Have a small container of water ready to place the cuttings in immediately after trimming to prevent them from drying out.
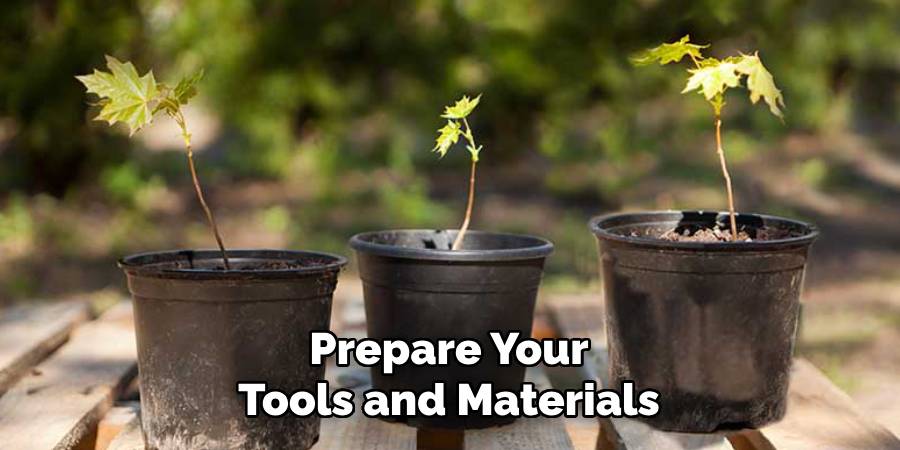
Additionally, prepare a container filled with a well-draining potting mix or a blend of perlite and peat for planting the cuttings. If desired, have rooting hormone powder or gel on hand to boost the chances of successful root development. Ensuring your tools are sanitized and organized will streamline the process and promote healthy growth.
Step 2: Choose the Right Time for Taking Cuttings
The timing of your cutting is crucial for success. The best time to take cuttings from maple trees is during late spring to early summer when the plants are actively growing. During this period, the stems are semi-hardwood—firm enough to handle but still pliable for propagation.
Avoid taking cuttings during the dormant season or intense heat waves, as these conditions can reduce the chances of successful rooting. By selecting the right time, you’ll provide the cuttings with the optimal conditions to thrive.
Step 3: Select Healthy Branches to Take Cuttings From
Choosing the right branches is essential to ensure successful propagation. Look for healthy, disease-free branches with vibrant green leaves and no visible signs of pests or damage. Ideally, select branches that are about 6 to 8 inches long and have a firm yet flexible structure.
These should be young, semi-hardwood stems, as older, woody sections are generally less likely to root successfully. Avoid branches with flowers or seed pods, as these can divert energy from the rooting process. By focusing on robust and thriving branches, you’ll give your cuttings the best chance to grow into strong, healthy plants.
Step 4: Take and Prepare the Cuttings
Using a clean, sharp pair of pruning shears or a knife, make a straight cut just below a leaf node, as this is where roots are most likely to develop. Ensure each cutting is about 6 to 8 inches long and has at least three to four healthy leaves.
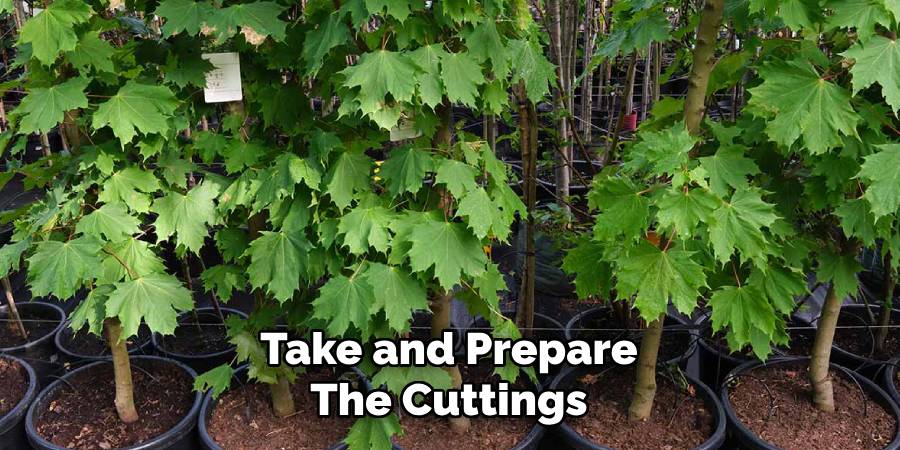
Remove any leaves from the lower half of the cutting to prevent them from sitting in water or soil during the rooting process. If the plant’s leaves are particularly large, you can trim them in half to reduce water loss through transpiration. Once prepared, place the cuttings in a container of clean water or directly into a rooting medium, depending on your preferred propagation method. Proper preparation at this stage is critical for successful root development.
Step 5: Plant and Care for Your Cuttings
Once the cuttings have developed strong roots, they are ready to be planted. Select a suitable pot or garden spot with well-draining soil to prevent waterlogging. Gently plant the cuttings, ensuring that the rooted portion is covered by soil while the stem and leaves remain above the surface. Water the soil lightly to help it settle around the roots, but avoid overwatering.
Place the newly planted cuttings in a location with indirect sunlight, as direct exposure can stress the young plants. Monitor the cuttings closely, maintaining consistent moisture and protecting them from harsh environmental conditions until they establish themselves and show signs of new growth.
Following these steps on how to grow maple trees from cuttings can lead to a successful propagation process. However, it is important to note that not all cuttings will successfully root and grow into full trees. It may take multiple attempts and patience to achieve success in propagating maple trees from cuttings.
Transplanting and Ongoing Care
Once the maple cuttings have developed strong roots, they are ready to be transplanted into larger containers or directly into the ground. If transplanting outdoors, choose a location that receives adequate sunlight and has well-draining soil. Prepare the area by digging a hole large enough to accommodate the root system without crowding. Gently place the sapling into the hole, backfill with soil, and water thoroughly to settle the soil around the roots.

After transplanting, ongoing care is essential for the healthy growth of the young maple tree. Regularly water the tree, especially during dry periods, but avoid overwatering as this can lead to root rot. Mulching around the base of the tree helps retain soil moisture and regulate temperature while also suppressing weed growth. Monitor the tree for signs of pests or diseases and take appropriate action if needed. Additionally, prune any dead or damaged branches to encourage strong development. With proper care and attention, the transplanted maple tree will continue to thrive and grow into a mature, beautiful specimen.
Common Mistakes to Avoid
When transplanting a maple tree, several common mistakes can hinder its growth or even cause it to fail altogether. One major error is planting the tree too deep, which can suffocate the roots and limit oxygen intake. Similarly, failing to properly water the tree during its initial establishment phase can lead to stress and poor root development. Using an excessive amount of fertilizer shortly after transplanting is another common issue, as it can burn the roots and harm the tree.
Neglecting to mulch or applying mulch too close to the trunk can also result in pest issues or fungal infections. Finally, ignoring early signs of pests, disease, or stress can exacerbate problems and make recovery more difficult. By being mindful of these pitfalls, you can set your maple tree up for long-term success.
Frequently Asked Questions
Q1: Can I Prune My Maple Tree?
Yes, it is recommended to prune your maple tree during its dormant season in late winter or early spring. This will promote new growth and maintain the overall shape of the tree.

Q2: How Much Water Does a Maple Tree Need?
A newly transplanted maple tree should be watered deeply once a week for the first few months. After that, established trees typically only need watering during periods of drought.
Q3: What Kind of Soil Does a Maple Tree Prefer?
Maple trees prefer well-draining soil with a slightly acidic pH level. It is important to test your soil and make any necessary amendments before planting your maple tree.
Conclusion
Caring for a maple tree requires attention to its specific needs, such as proper pruning, consistent watering during early growth stages, and selecting the right soil conditions. By understanding and meeting these requirements, you can ensure the health and longevity of your maple tree, allowing it to thrive and enrich your landscape for years to come.
Maple trees are not only a beautiful addition to any yard but also a rewarding investment in nature’s beauty. Thanks for reading this article on how to grow maple trees from cuttings.