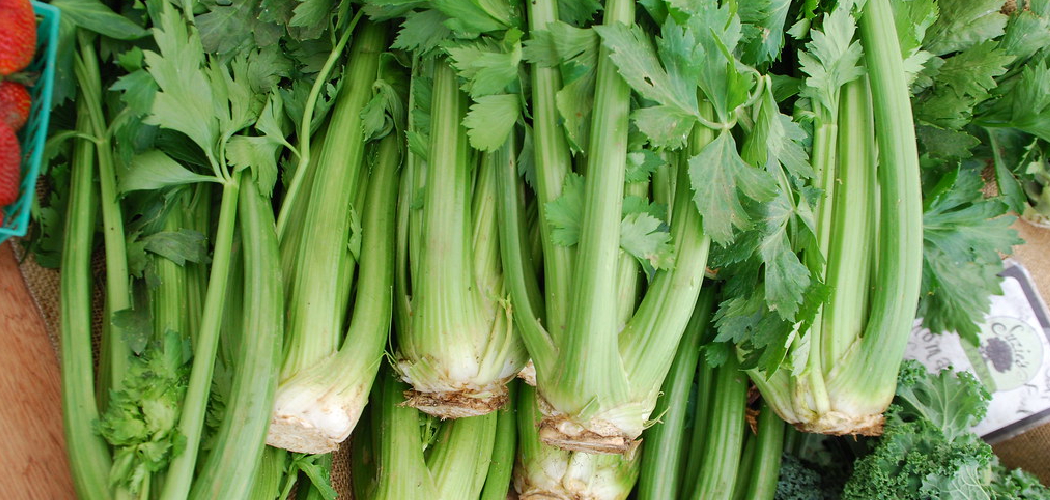
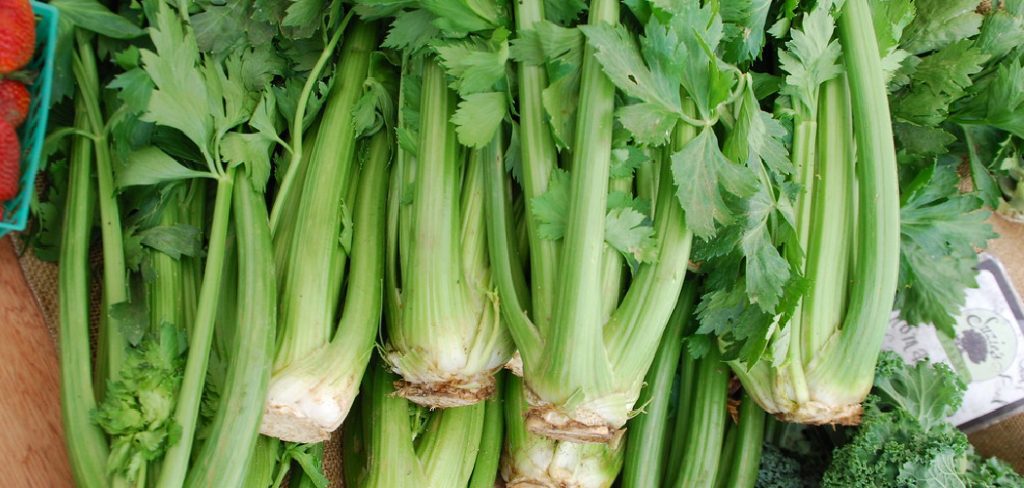
Blanching celery plants is an essential gardening technique that improves the flavor, texture, and appearance of this vegetable. This method involves covering celery stalks to block sunlight, which halts the production of chlorophyll and reduces bitterness. The result is sweeter, tender, and pale-green celery that works perfectly in salads, soups, or as a crunchy snack.
Whether you’re a backyard gardener or an experienced grower looking to refine your harvest, learning how to blanch celery plants will ensure you enjoy the finest quality produce. This guide breaks down the steps, provides tips for success, and answers common questions.
Understanding Celery and Blanching
What Is Celery Blanching?
Blanching is a horticultural practice that involves partially covering plants, typically vegetables like celery, to improve their taste and texture. By blocking sunlight, the chlorophyll process that gives plants their deep green color is inhibited. For celery, this means paler stalks with a milder, sweeter taste. This process dates back centuries and remains a key step for producing high-quality crops.
Benefits of Blanching Celery
Blanching celery offers multiple advantages. Foremost is the flavor transformation—it neutralizes the natural bitterness of celery, replacing it with a sweeter and smoother profile. Texture-wise, blanched celery tends to be crisper and more tender, making it highly desirable both in raw and cooked meals. From visual appeal to improved flavor, this method greatly enhances your harvest’s versatility and market value.
Blanching celery is also a fantastic way for gardeners to control aesthetics. Pale-green or nearly white stalks are not only visually pleasing but are often more appealing to consumers. Additionally, the practice can protect celery from pests and environmental damage.
Preparing for Blanching
Timing the Blanching Process
Timing is crucial for successful blanching. Begin the process when the celery plants are nearing maturity, about 10–14 weeks after planting. Look for stalks that are firm, upright, and have reached 10–12 inches tall. Starting too early can stunt growth, while beginning too late may result in woody or overly bitter stalks.

For most celery varieties, blanching should commence 2–3 weeks before the expected harvest. Keep an eye on weather conditions as well, since periods of heavy rain or temperature drops can affect the blanching process.
Selecting Suitable Materials
Choosing the right material is vital. Here’s a breakdown of options for blanching:
- Boards or Wooden Planks: Place these vertically to block sunlight on both sides.
- Paper or Cardboard: Easily accessible and biodegradable, these materials can be wrapped around stalks.
- Blanching Sleeves: Specially designed sleeves are available at garden centers and are reusable across multiple seasons.
- Soil Mounding: Popular and cost-efficient, this involves piling soil around the base of the stalks.
Consider the pros and cons of each material depending on your garden’s setup, budget, and environmental concerns.
How to Blanch Celery Plants: Step by Step Guide
Step 1: Assessing the Growth Stage
Before blanching, examine your celery plants. The stalks should feel sturdy and stand upright with minimal yellowing. Plants that are thin or floppy may need more time to grow, and rushing the process could harm their development.
Step 2: Preparing the Stalks
First, gently gather the stalks toward the center of each plant. Be careful not to damage the delicate outer leaves or stems, as they protect the plant while blanching. Use soft string, cloth ties, or rubber bands to secure the stalks together, which makes applying the covering easier and more effective.
Step 3: Applying the Covering
Once the stalks are secured, add your chosen covering. For soil blanching, mound moist yet loose soil around the base, ensuring it covers two-thirds of the stalks. For wraps, such as paper or cardboard, encircle the plant and secure it with tape or twine. If using sleeves, slip them carefully over the plant, ensuring they block out all light.
Whichever method you choose, ensure the covering is stable and provides consistent sun blockage without choking the plant.
Blanching Techniques
Soil-Blanching Method
The soil method is one of the most traditional and effective approaches. Start by loosening the soil around the base of the plants. Using your hands or a small trowel, gently mound the soil upward, covering at least three-quarters of the stalk length. Regularly check for gaps that might allow sunlight through, especially after heavy rains or wind.

This method is particularly effective for gardeners with access to well-draining soil. However, take care to avoid overwatering, as the added soil can trap moisture and cause rot.
Cardboard or Paper Wrapping
Paper or cardboard is lightweight, eco-friendly, and easy to use for smaller gardens. Cut sheets to the desired size and wrap them tightly around each stalk cluster without constricting growth. The materials should offer full coverage, preventing streaky or patchy blanching. Replace worn paper as necessary to maintain efficacy.
This method is ideal for gardeners looking for an inexpensive and biodegradable solution.
Using Blanching Sleeves
Pre-made blanching sleeves, which are typically adjustable and durable, allow for a hassle-free process. They are usually made of flexible plastic or fabric and come in convenient sizes for celery plants. Simply slide the sleeve over the stalks, ensuring firm coverage. This approach is especially beneficial for commercial growers or anyone looking for consistent results.
Caring for Celery During Blanching
Watering Considerations
While blanching, it’s crucial to maintain optimal moisture levels. Celery plants tend to dry out under stress, so water the soil deeply once or twice a week, depending on your climate. Avoid watering directly onto the coverings to prevent sogginess or fungal growth.
Using a soaker hose or ground-level irrigation can help keep the soil moist without disturbing the blanching materials.
Monitoring for Pests and Diseases
Blanching materials can inadvertently create hiding places for pests such as slugs, aphids, or earwigs. Inspect the plants regularly for unwanted inhabitants. Use organic pest repellents, diatomaceous earth, or manually remove pests to prevent damage. Address any signs of fungal issues like powdery mildew by increasing airflow around the plant or applying natural remedies like baking soda sprays.
Harvesting Blanched Celery
Signs of Successful Blanching
Blanched celery will feature pale, creamy-green stalks free of dark streaks. The texture will be firm but not fibrous, and the leaves will remain healthy-looking. Uneven coloring indicates insufficient coverage or poor material placement.
Harvesting Techniques
To harvest, use a sharp garden knife or scissors to cut the celery at the base. For ongoing consumption, cut stalks incrementally, leaving some behind for continued growth. For a full harvest, remove the entire plant, being careful to uproot it cleanly if additional planting is planned in the same garden bed.
Culinary and Nutritional Uses
Enhancing Dishes with Blanched Celery
Blanched celery is perfect for a variety of dishes. Its mild flavor and crisp texture elevate raw snacks like crudités or spreads. Its aroma also adds complexity to soups, stocks, and stir-fries. Its soft texture allows it to blend seamlessly into sauces or stews without overpowering other flavors.

Nutritional Advantages
Naturally low in calories and high in hydration, celery provides important nutrients like vitamins K, C, and potassium. Its fiber content promotes digestion, making it a popular diet-friendly food.
Common Mistakes and How to Avoid Them
Insufficient Coverage
Even small gaps can affect blanching success. Double-check coverage materials after application to ensure every part of the stalk remains shaded.
Blanching Too Early or Late
Pay close attention to your plant’s maturity stage before starting the process—early blanching causes small, weak stalks, while late blanching results in tough textures and uneven coloring.
Benefits of Blanching Celery
Improved Flavor and Texture
Properly blanched celery offers sweeter stalks with a texture that’s both tender and juicy—ideal for even the most delicate recipes.
Market and Aesthetic Appeal
Blanched celery is favored by both home cooks and professional chefs for its palatability and polished appearance, making it a prized addition to farmers’ markets or grocery shelves.
Frequently Asked Questions About Blanching Celery
Why Is Blanching Celery Important?
Blanching celery is essential to improve its flavor and texture by reducing bitterness and promoting a tender, crisp stalk. It also enhances the celery’s appearance, making it more visually appealing.
How Long Should Celery Be Blanched?
The blanching process typically lasts 2 to 3 weeks before harvest. However, the duration can vary depending on the celery variety and growing conditions.
What Are Common Methods for Blanching Celery?
The most common methods are using soil, boards, or paper to cover the celery stalks, blocking sunlight to reduce chlorophyll production.
Can Celery Be Grown Without Blanching?
Yes, celery can be grown without blanching, but it will have a stronger, more bitter flavor and a tougher texture, making it less desirable for many culinary uses.
Is There a Best Time for Blanching Celery?
Blanching should typically start about two to three weeks before harvesting to ensure optimal flavor, texture, and appearance. Starting too early or too late can affect the final quality.

Conclusion
Blanching celery is a simple yet transformative gardening technique that brings out the best in this versatile vegetable. Knowing how to blanch celery plants allows you to control their flavor, texture, and overall quality, ensuring your harvest meets the highest culinary standards. Start blanching your celery today and enjoy homegrown, professional-quality stalks right from your garden. Get ready to savor the difference!