
African violets are one of the most beloved houseplants, admired for their colorful blooms and easy adaptability to indoor environments. These charming plants, native to East Africa, bring cheer to any home with their vibrant flowers and fuzzy green leaves. If you’ve fallen in love with African violets and want more of them, propagation through leaf cuttings is an excellent method.

This cost-effective and rewarding approach makes it possible to grow entirely new plants from a single leaf. With the right techniques, anyone can master the skill of propagating African violets. This guide will walk you through the steps of how to start an African violet from a leaf, providing expert tips to ensure success.
Understanding African Violets
Why African Violets are Unique
African violets are truly special plants. They are prized for their compact size, making them ideal for small spaces like windowsills and tabletops. Available in a range of colors, including shades of purple, pink, white, and even bi-color varieties, these plants add a burst of beauty to any setting. African violets often bloom multiple times a year, ensuring your home is adorned with vibrant flowers throughout the seasons.
Another unique trait of African violets is their resilience. While they thrive indoors, their adaptability allows them to flourish in various environments, as long as their basic care needs are met. This makes them a favorite among beginner and seasoned gardeners alike.
The Basics of African Violet Propagation
Propagating African violets is not only a practical technique but also a fascinating process. Unlike waiting to buy a new plant, leaf propagation offers the chance to grow a replica of your favorite violet. This cloning process ensures you can preserve the unique characteristics of the parent plant, from its vibrant colors to its specific leaf texture.
Propagation through leaf cuttings is particularly advantageous compared to methods like seeding. Seeds can take a long time to germinate and may not always produce replicas of the parent plant, whereas leaf propagation is quicker, more predictable, and cost-effective.
Choosing the Right Leaf for Propagation
Identifying a Healthy Leaf
Successful propagation starts with selecting the right leaf. Opt for a mature, healthy leaf from the middle section of the plant. It should be firm to the touch, evenly green in color, and free from any blemishes or damage. Avoid leaves with discoloration, spots, or signs of disease, as these might not root effectively or could carry health risks to your new plant.

It’s also recommended to choose a leaf that is not too young (at the center of the plant) or too old (on the outer edges). Younger leaves may not be fully developed, while older leaves might lack the vitality needed to root and grow successfully.
Best Time to Take a Cutting
The time of year can influence the results of your propagation efforts. Spring and summer are ideal seasons, as these are periods of active growth for most plants, including African violets. During this time, the increased levels of daylight and warmer temperatures boost the plant’s vitality, leading to better rooting and growth conditions.
If propagating in less favorable seasons, like fall or winter, make adjustments to the plant’s environment. For instance, using a grow light to supplement natural light and creating a warm, humid setup can counteract slower growth rates typically associated with cooler months.
Tools and Materials Needed
Preparing Essential Equipment
Before starting propagation, gather all the tools and materials you’ll need for the process. This ensures you’re prepared and avoids interruptions. Some must-have items include:
- Sharp scissors or pruning shears (sterilized to prevent infection)
- A clean, small pot or container
- A light, well-draining potting mix (or specialized African violet soil)
- Distilled or room-temperature water
- Optional rooting hormone powder to speed up root growth
- A plastic bag or humidity dome to maintain moisture
Cleanliness is key when working with plants, as African violets are sensitive to contamination. Be sure to sanitize your tools and wash your hands thoroughly before handling the parent plant or the cutting.
Selecting Proper Growing Medium
African violets have specific soil requirements that help them thrive. A well-draining soil is crucial, as it prevents water from sitting at the roots and causing rot. You can purchase a pre-made African violet mix or make your own by combining potting soil, perlite, and vermiculite. Adding sphagnum moss to the mix can also enhance aeration and help retain the right amount of moisture.
If you’re experimenting with alternatives, some gardeners successfully propagate African violets in water or directly in perlite. However, soil remains the most commonly recommended medium for beginners due to its balance of accessibility and success rate.
How to Start an African Violet from a Leaf: Step-by-Step Guide
Taking the Leaf Cutting
To begin, use your sterilized scissors to cut a leaf from the parent plant. Cut at a diagonal angle, leaving about an inch of stem attached to the leaf. This angular cut increases the surface area for roots to form, improving the chances of successful propagation.
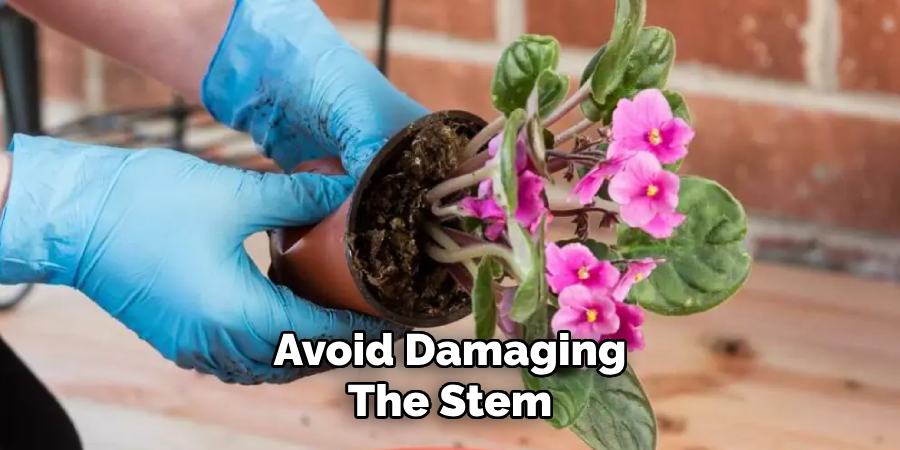
Take care while cutting to avoid damaging the stem or surrounding leaves. If the stem is too long, you can trim it to around half an inch to one inch—this makes it easier to plant later.
Prepping the Cut Leaf
After cutting, set the leaf aside for a few hours to allow the cut end to callus over. This step is essential, as it helps prevent rot when the leaf is placed in the soil. If desired, you can dip the end of the stem in a rooting hormone powder to encourage faster root growth, though this is optional.
While waiting for the cuttings to callus, prepare the potting mix and container as discussed earlier. Having everything ready ensures a smooth transition when it’s time to plant.
Planting the African Violet Cutting
Preparing the Planting Pot
Fill your container with the prepared soil mix, ensuring it’s loose enough to allow water and air to circulate. Moisten the soil slightly—damp, but not soggy—to create an inviting environment for the cutting to root.
If using a humidity dome or a plastic bag, set it aside for later steps to avoid stifling the initial planting process.
Placing the Cutting in Soil
Make a small hole in the center of the soil using your finger or a tool, and gently insert the stem of the cutting into the hole. Ensure the stem is secure but avoid pressing the soil too firmly around it, as this can limit airflow.
After planting, position the pot in a location that meets the light and temperature requirements outlined in the following sections.
Creating the Right Growing Environment
Temperature and Humidity Requirements
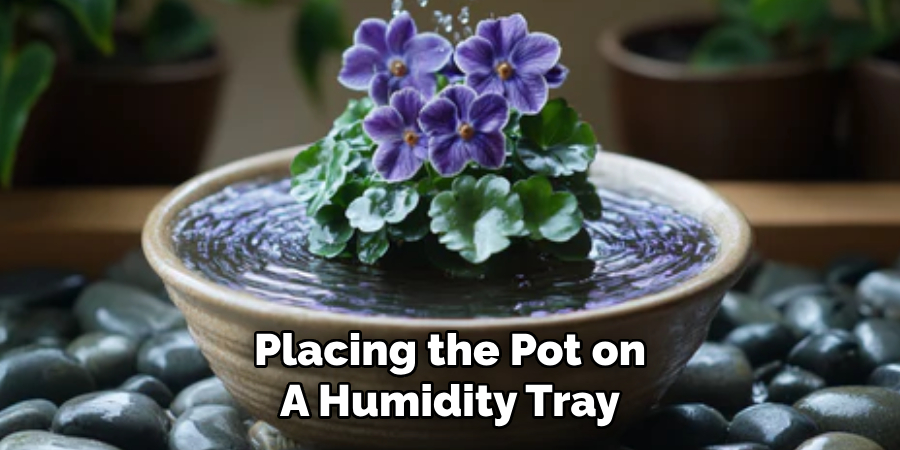
Consistent temperature and humidity are critical for successful propagation. African violets flourish in temperatures of 68°F to 77°F, with moderate to high humidity levels. Placing the pot on a humidity tray or covering it with a plastic bag can help maintain the ideal moisture level. However, remove the cover periodically to allow airflow and prevent mold growth.
Lighting Setup for Growth
Indirect light is best for these plants, as direct sunlight can scorch the leaves. Place the pot near a north- or east-facing window, where it will receive bright but filtered light. If you lack suitable natural light, use a grow light positioned about 12 inches above the plant to simulate optimal conditions.
Caring for Your Propagated Cutting
Watering the Cutting
When it comes to watering, balance is key. Overwatering can lead to rot, while underwatering may cause the cutting to dry out. Check the soil regularly and only water when the top inch feels dry to the touch. Use room-temperature water to avoid shocking the cutting.
Monitoring and Troubleshooting
Keep a close watch on your cutting for potential issues, such as yellowing leaves, mold, or stunted growth. If problems arise, assess whether the soil, light, or watering routine needs adjustment. Early intervention is critical to save a struggling cutting and ensure successful propagation.
Signs of Successful Root Development
Timeline to Expect Root Growth
Root development typically begins within four to eight weeks, though this can vary based on environmental factors. Check for visible roots near the base of the leaf or for small plantlets growing at the soil’s surface.
What to Do Once Roots Appear
When roots or plantlets are well-established, gradually acclimate the cutting to a normal care routine. If the plant begins to outgrow its container, repot it in a slightly larger pot to accommodate its growth.
Common Challenges and Solutions
African violet propagation isn’t always smooth sailing, but with the right approach, most challenges can be overcome. Issues like rot, mold, or failed rooting often stem from incorrect care practices. Regular monitoring and a willingness to make adjustments can set you up for success.
Benefits of Propagating African Violets
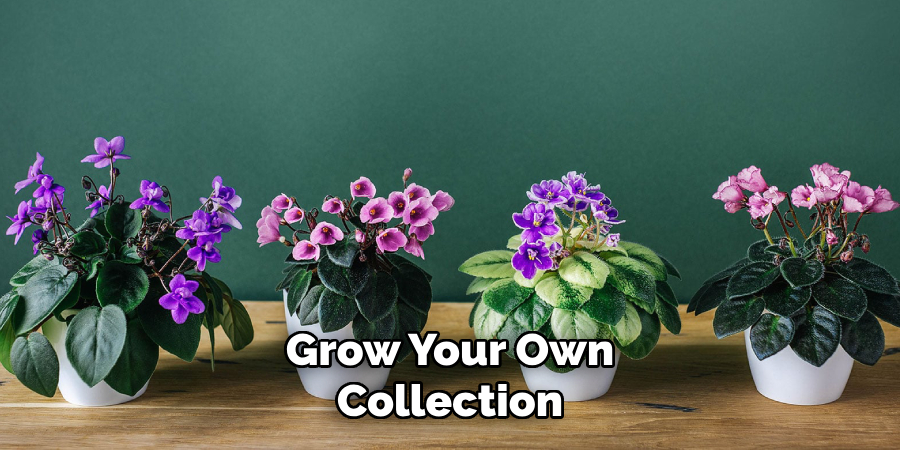
Propagation is not only cost-effective but also deeply rewarding. Growing new plants from a single leaf provides a sense of achievement and opens the door to cultivating a vibrant collection of African violets.
Common Mistakes to Avoid
To increase your chances of success, steer clear of common mistakes such as overwatering, poor light conditions, and using unhealthy leaves. Following the right steps and maintaining a consistent care routine will set you up for successful propagation.
Conclusion
Propagating African violets is a simple yet deeply satisfying gardening activity. By learning how to start an African violet from a leaf, you can grow your own collection of these lovely plants, share them as gifts, or expand your gardening skills.
With the guidance in this comprehensive guide, you’re well on your way to raising healthy new plants and enjoying the beauty they bring to your home. Happy propagating!