
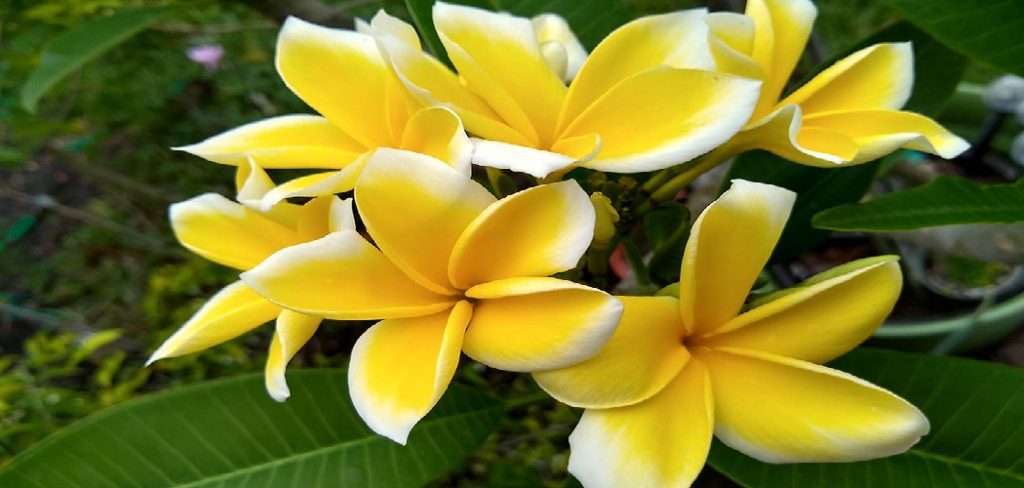
Rooting plumeria cuttings is a rewarding process that allows you to propagate these beautiful, tropical flowering plants with ease. Whether you are a seasoned gardener or a beginner, this method provides a straightforward way to grow your own plumerias. By following the right steps and paying close attention to proper care, you can ensure healthy root development and enjoy the vibrant blossoms that these plants are known for. This guide will walk you through how to root plumeria cuttings.
What Are Plumeria Cuttings?
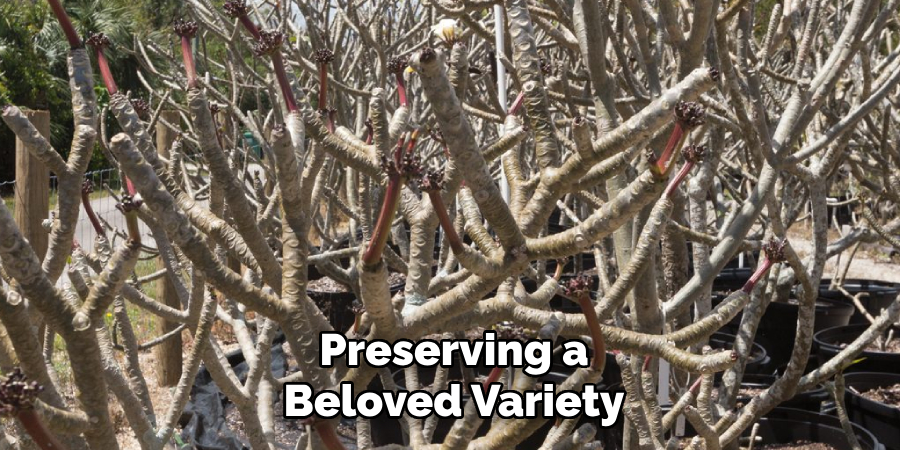
Plumeria cuttings are sections of stem or branch taken from a mature plumeria plant, which can be used to propagate new plants. Typically, these cuttings are about 12 to 18 inches long with healthy, firm growth and no signs of disease or damage. They are harvested from the parent plant during its dormant period, usually in late winter or early spring, to ensure the best chance of successful rooting. Plumeria cuttings are an excellent way to expand your garden, as they retain the genetic characteristics of the parent plant, ensuring the same vibrant flowers and fragrance. This method of propagation is not only simple but also a cost-effective way to multiply your collection of these stunning tropical plants.
Best Time to Take and Root Plumeria Cuttings
The ideal time to take and root plumeria cuttings is during the plant’s dormant season, typically in late winter or early spring. During this period, the plant’s energy is concentrated in the stem and roots, which helps the cuttings establish themselves more effectively. It’s important to avoid taking cuttings during the active growing season, as this can stress the parent plant and reduce the chances of successful rooting. By aligning with the plant’s natural cycle, you can maximize the health and vigor of the cuttings, ensuring they develop into strong, flourishing plants.
10 Methods How to Root Plumeria Cuttings
1. Choose Healthy Plumeria Cuttings for Successful Rooting
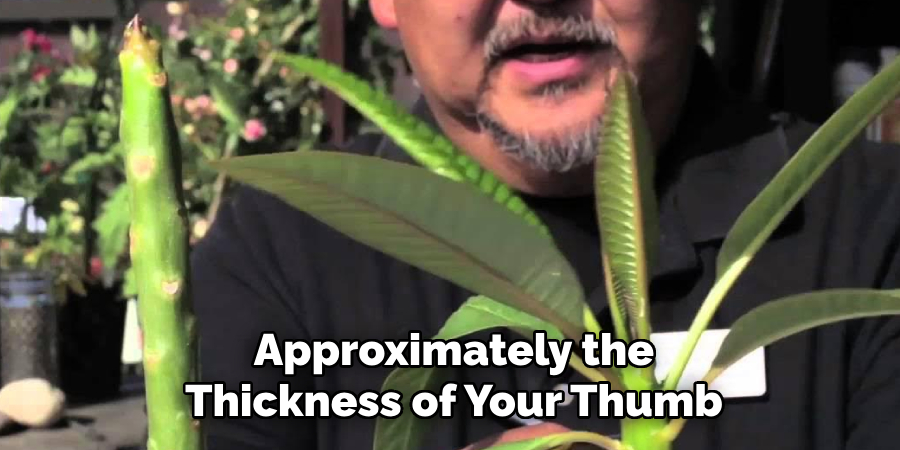
The rooting process begins with selecting the right plumeria cuttings. Opt for firm, healthy stems that are at least 12 to 18 inches long and approximately the thickness of your thumb. Avoid cuttings that are soft, shriveled, or blackened at the ends, as these are signs of rot or disease. Ideally, the cutting should come from a mature, well-established plumeria that has already bloomed. Use clean, sharp garden shears or pruners to make a diagonal cut just below a leaf node. This angled cut maximizes the surface area for rooting and helps the stem absorb moisture more effectively when it’s time to plant.
2. Allow the Cut End to Callous Before Planting
Unlike other plants that can be immediately planted after cutting, plumeria cuttings must be allowed to dry and callous over before they can root. This is a crucial step that prevents the cutting from rotting once it’s in soil or another growing medium. Set the cutting in a shaded, well-ventilated location and let the end dry out for 5 to 10 days, or until a hard, white callous forms over the cut surface. Do not rush this stage. The better the callous forms, the higher your success rate will be. This method mimics the natural wound-healing process of the plant.
3. Use a Well-Draining Potting Mix to Prevent Rot
Once the cutting has calloused, it’s time to plant it in a rooting medium. Plumeria cuttings require soil that is extremely well-draining to avoid retaining excess moisture, which can lead to stem rot. A mix of cactus soil, coarse sand, and perlite works very well. You can also use a 1:1 ratio of potting soil and perlite. Avoid peat-heavy mixes, which hold too much water. Fill a clean container or pot with the chosen medium and plant the cutting approximately 3 to 4 inches deep, ensuring it remains upright and stable.
4. Support Cuttings with Stakes if Necessary
Plumeria cuttings can be top-heavy, especially the longer ones, and may require additional support to stay upright during the rooting process. Gently insert a bamboo stake or a wooden skewer next to the stem and use soft ties or plant tape to anchor the cutting in place. Make sure the stake doesn’t damage the cutting or interfere with the area where roots will form. Keeping the cutting stable helps avoid unnecessary movement that could damage new root growth or dislodge the stem from the medium.
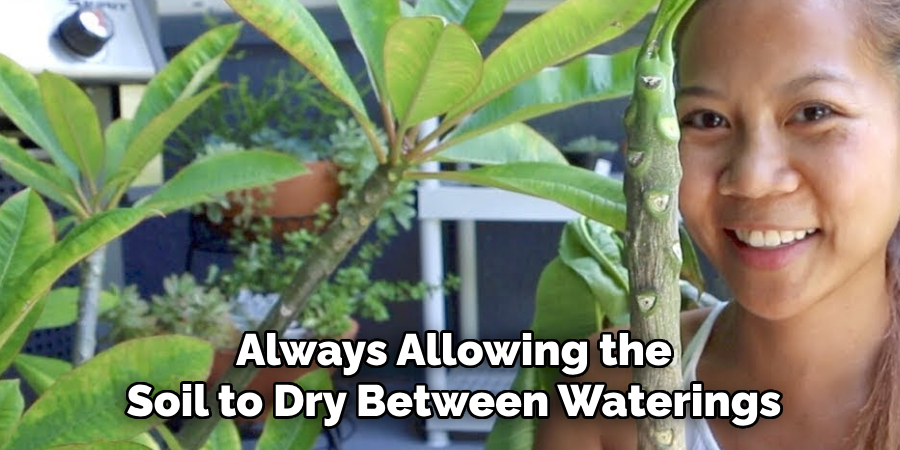
5. Water Sparingly to Encourage Root Development
Overwatering is the number one reason plumeria cuttings fail to root. After planting, give the medium a light watering to settle the soil, then wait until the top 2–3 inches of the mix are completely dry before watering again. During the rooting phase, plumerias require just enough moisture to stimulate roots—not saturation. If you’re unsure, it’s better to underwater than overwater. After a few weeks, you may notice small roots forming, and at this point you can gradually increase the frequency of watering, always allowing the soil to dry between waterings.
6. Provide Warmth and Bright Indirect Light
Plumerias thrive in warmth, and cuttings root best when the surrounding temperature is consistently between 75°F to 85°F (24°C to 29°C). Choose a bright, protected location that receives indirect sunlight. Direct sun can overheat or dry out the cutting before roots develop, while too little light can delay or prevent rooting. If you’re rooting indoors, consider placing the pot near a sunny window or using a grow light to provide consistent warmth and light. Warmth not only encourages root development but also mimics the tropical environments in which plumerias naturally grow.
7. Apply Rooting Hormone to Speed Up Root Formation
For gardeners looking to improve their chances of success, applying a rooting hormone to the cut end before planting can be beneficial. Dip the dry, calloused end of the cutting into a powdered or gel-based rooting hormone to stimulate quicker and more robust root growth. These products contain auxins—natural plant hormones that promote root development. While not mandatory, using rooting hormone is especially helpful if you’re working with cuttings from older or less vigorous plants, or if you want to reduce the rooting time.
8. Use a Heat Mat to Maintain Optimal Soil Temperature
If you’re rooting cuttings in a cooler climate or during less favorable seasons, a heat mat can be a valuable tool. Place the pot on a seedling heat mat to maintain a consistent soil temperature of 75–85°F. The gentle bottom heat stimulates cellular activity in the stem base and helps roots form faster. Make sure to monitor both soil and ambient temperature, and avoid overheating, which can dry out or stress the cutting. Combine the heat mat with a humidity dome or clear plastic bag to retain warmth and create a micro-greenhouse effect.
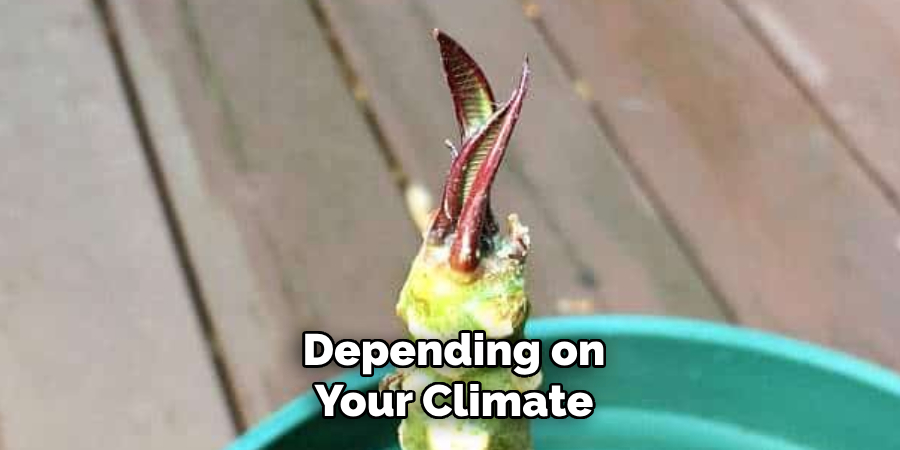
9. Check for Root Growth After 4 to 6 Weeks
Patience is key when rooting plumeria cuttings. While some cuttings may show new leaf growth in a few weeks, this is not always a reliable sign of root formation. To test for roots, gently tug on the base of the cutting after 4 to 6 weeks. If you feel resistance, roots have likely begun to form. Avoid pulling too hard, as this can damage fragile new roots. Once a healthy root system is established, you can transplant the cutting into a larger pot or directly into the garden, depending on your climate.
10. Transition Rooted Cuttings to Full Sun Gradually
After roots have developed and new leaves are emerging, it’s time to begin acclimating your plumeria to more sunlight. Gradual exposure prevents shock or leaf scorch, especially if the cutting was rooted indoors or in low light. Start by placing the rooted cutting in morning sun for a few hours each day, slowly increasing exposure over a week or two. Once fully acclimated, plumeria can thrive in full sun and will begin producing lush foliage and, eventually, blooms. Proper acclimation ensures your plant transitions smoothly from a fragile cutting to a thriving, flowering specimen.
Things to Consider When Caring for Plumeria
- Watering Needs: Plumerias require consistent watering, particularly during their growing season. However, overwatering can lead to root rot. Allow the soil to dry slightly between waterings to strike the right balance.
- Soil Type: Use well-draining soil to prevent waterlogging. A mix of potting soil, perlite, and sand is ideal for plumeria plants.
- Fertilization: Plumerias are heavy feeders and benefit from a high-phosphorus fertilizer to encourage blooming. Fertilize regularly during the active growing season but reduce feeding in the dormant months.
- Pest Management: Keep an eye out for pests such as spider mites and aphids, which can damage the plant. Treat infestations promptly with appropriate insecticidal soap or natural remedies.
- Cold Protection: Plumerias are sensitive to frost and should be moved indoors or covered when temperatures drop below 50°F (10°C). Ensure they receive adequate light and warmth indoors during the colder months.
Conclusion
Rooting plumeria cuttings is a rewarding process that requires patience, precision, and the right environment. From selecting healthy stems and allowing them to callous, to planting in well-draining soil and managing light and moisture levels, each method plays a crucial role in the plant’s development. Whether you’re propagating to expand your tropical garden or preserving a beloved variety, these ten elaborated methods provide a solid foundation for success. Thanks for reading, and we hope this has given you some inspiration on how to root plumeria cuttings!