Sedum plants, often referred to as stonecrops, are a versatile and hardy group of succulents that can thrive in various conditions. Known for their low maintenance requirements and attractive appearance, sedums are a popular choice for gardeners looking to add a touch of greenery to their spaces. Whether you are looking to enhance a rock garden, create ground cover, or grow them in containers, planting sedum is an easy and rewarding endeavor. This guide will walk you through how to plant sedum plants.

What is Sedum?
Sedum is a genus of flowering plants in the family Crassulaceae, comprising hundreds of species commonly known as stonecrops. These plants are succulents, meaning they have thick, fleshy leaves that retain water, making them exceptionally drought-tolerant. Sedums come in a variety of shapes, sizes, and colors, ranging from low-growing ground covers to upright varieties with tall stems.
They are valued for their resilience, ability to thrive in poor soils, and long-lasting blooms that often attract pollinators like bees and butterflies. With their adaptability and striking appearance, sedums are a favorite among both novice and experienced gardeners.
Common Sedum Varieties Suitable for Gardens
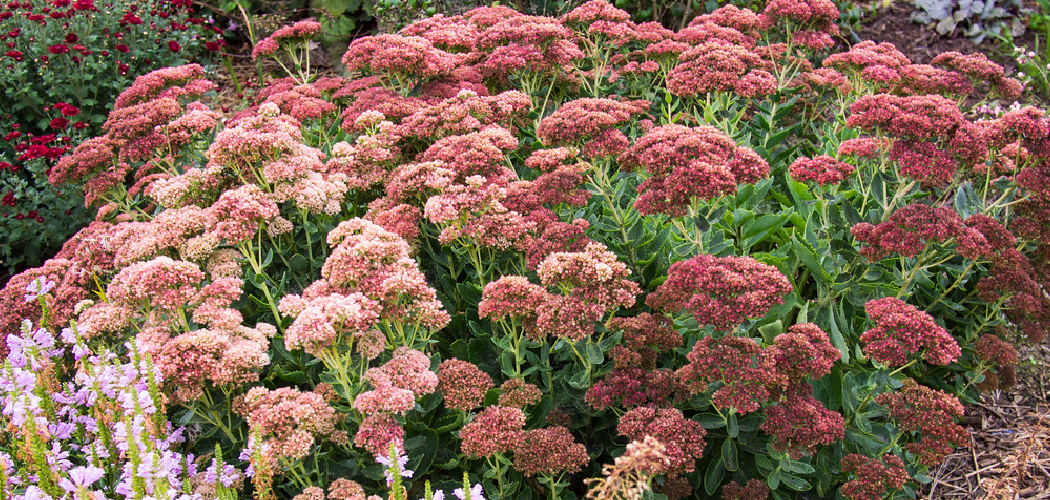
- Sedum ‘Autumn Joy’ – This popular upright variety features fleshy green leaves and clusters of pink flowers that mature to a deep copper-red in the fall. It is ideal for adding height and seasonal interest to garden beds.
- Sedum spurium ‘Dragon’s Blood’ – A low-growing ground cover, this variety is known for its burgundy-tinted foliage and striking red flowers. It spreads quickly and is perfect for rock gardens or borders.
- Sedum ‘Angelina’ – With its bright, golden-yellow foliage, this low-growing sedum is perfect for creating vibrant ground cover. Its leaves take on orange hues during cooler months, adding year-round interest.
- Sedum spectabile ‘Brilliant’ – A taller sedum featuring light pink flowers that bloom in late summer to early fall. It pairs well with other perennials in mixed garden beds.
- Sedum reflexum ‘Blue Spruce’ – Named for its blue-green, needle-like foliage, this sedum resembles the appearance of spruce trees. It works highly effectively in rock gardens, containers, or as a trailing plant in hanging baskets.
Each of these varieties brings unique texture and color to a garden, making them great choices for a range of landscapes and conditions.
When to Plant Sedum
The best time to plant sedum is in the spring, after the threat of frost has passed. This allows the plants to establish their roots during the growing season. Sedum can also be planted in early fall, provided there is enough time for the roots to settle before the first frost.
Avoid planting sedum in the heat of summer, as the intense temperatures can stress the plant before it has a chance to adapt. For established plants, sedum can easily be divided and transplanted at these same optimal times of the year. Proper timing ensures a strong, healthy start for these resilient and low-maintenance perennials.

10 Methods How to Plant Sedum Plants
1. Select the Right Sedum Variety for Your Space
The first step in planting sedum is choosing the right type for your garden. Sedum varieties are broadly categorized into low-growing (creeping) types and upright (clumping) types. Creeping sedums, like Sedum spurium or Sedum album, make excellent groundcovers and cascade nicely from containers or walls. In contrast, upright types, such as Sedum ‘Autumn Joy’ or Sedum spectabile, grow taller and are ideal for mixed borders or focal points. Matching the variety to your garden space—whether it’s a rock garden, a sunny bed, or a container—ensures long-term satisfaction and plant success.
2. Choose a Sunny Location
Sedum plants are sun-loving by nature and perform best when given ample light. A location that receives six or more hours of direct sunlight per day will promote vigorous growth, vibrant foliage, and an abundance of blooms. While sedum can tolerate partial shade, especially in very hot climates, too much shade leads to leggy growth and fewer flowers. Ensure your planting site is not overshadowed by large trees or structures. For indoor growing or balcony gardens, place sedum near a south-facing window or use grow lights to replicate sunlight.
3. Prepare Well-Draining Soil
Excellent drainage is essential when planting sedum, as these succulent plants are prone to rot in soggy soil. Loosen the planting area and amend heavy clay or compacted soils with sand, gravel, or perlite to enhance drainage. A mixture of garden soil with equal parts coarse sand and compost often creates an ideal environment. Sedum does not require rich, fertile soil; in fact, overly rich soil can reduce the plant’s hardiness and lead to floppy growth. Raised beds or rocky garden areas naturally provide the conditions sedum prefers.
4. Plant at the Correct Depth
When planting sedum, ensure the root ball sits just level with the soil surface. Dig a shallow hole slightly wider than the root mass and place the plant gently inside. Avoid burying the stems or planting too deeply, which can lead to stem rot. Gently backfill the hole and press down lightly to remove any air pockets. For sedum cuttings, simply press the stem into the soil surface and cover the lower portion lightly—these resilient plants root easily without much effort.
5. Space Properly for Growth and Airflow
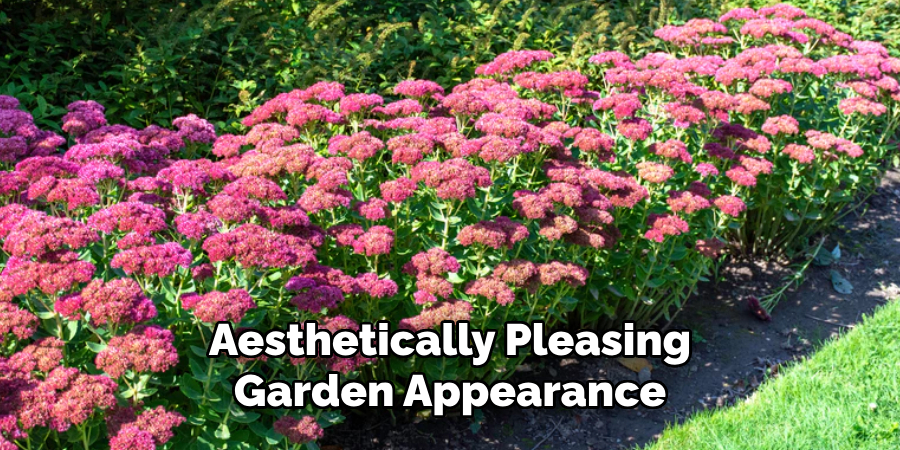
Sedum spreads readily, and proper spacing encourages healthy air circulation and prevents fungal issues. Depending on the variety, space plants 6 to 18 inches apart to accommodate their mature size. Creeping types can be planted closer together to create a carpet-like effect, while taller upright varieties need more room to avoid crowding. Planning your spacing from the start helps reduce the need for transplanting and maintains a clean, aesthetically pleasing garden appearance.
6. Water Lightly After Planting
Unlike many plants that require deep watering upon planting, sedum needs only light watering after planting to help settle the soil around the roots. Allow the soil to dry out between waterings to mimic the plant’s natural arid conditions.
Once established, sedum becomes drought-tolerant and rarely needs supplemental water, except during prolonged dry spells. Overwatering is a common mistake and should be avoided, as too much moisture can lead to root or stem rot.
7. Mulch Sparingly with Inorganic Material
While mulching can help retain soil moisture and suppress weeds, it’s best to avoid organic mulches like bark or straw with sedum. These materials hold excess moisture and can contribute to rot. Instead, use a layer of gravel, crushed stone, or small pebbles around the base of the plant.
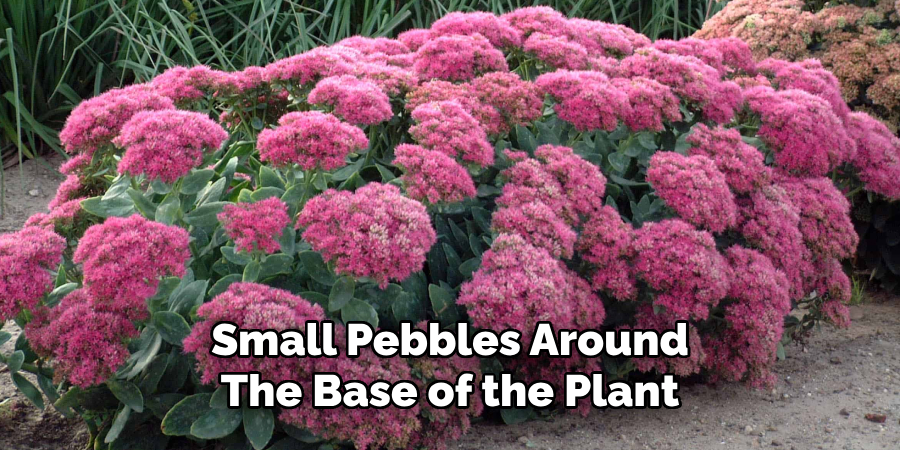
This helps improve drainage, reflects sunlight, and gives a tidy, natural look that complements sedum’s texture. Mulching is especially helpful in containers or rock gardens, where soil dries quickly.
8. Plant in Containers with Drainage Holes
Sedum thrives in containers, provided they offer excellent drainage. Choose a pot with multiple drainage holes and use a cactus or succulent soil mix, or create your own by mixing garden soil, sand, and perlite. Add a layer of gravel at the bottom for even better drainage. Planting sedum in containers is ideal for patios, balconies, or areas with poor ground soil. Plus, containers allow you to move plants indoors during winter if needed, depending on the variety’s cold tolerance.
9. Avoid Fertilizing Excessively
Sedum is naturally adapted to grow in lean, nutrient-poor soils and doesn’t require frequent feeding. In fact, excess nitrogen promotes leggy, weak growth and may reduce flowering. If your soil is particularly depleted, a small application of balanced, slow-release fertilizer in early spring is sufficient. Alternatively, a thin layer of compost once a year provides adequate nutrients without overwhelming the plant. Letting sedum grow in slightly stressed conditions encourages stronger stems and more vibrant coloration.
10. Plant During the Appropriate Season
Timing your sedum planting is key to establishing healthy roots. The best time to plant sedum is in spring or early fall, when temperatures are mild and rainfall is more reliable. Planting in early spring allows the roots to settle before the heat of summer, while early fall planting offers cooler weather and time for root establishment before winter dormancy. Avoid planting during extreme heat or frost periods, as this can stress young plants and inhibit successful establishment.
Common Mistakes to Avoid
When planting sedum, there are several common mistakes that can hinder their growth and health. One frequent error is overwatering, as sedum thrives in well-drained soil and can suffer from root rot if left in overly moist conditions. Another mistake is planting sedum in areas with insufficient sunlight; these plants require full sun to partial shade to thrive.
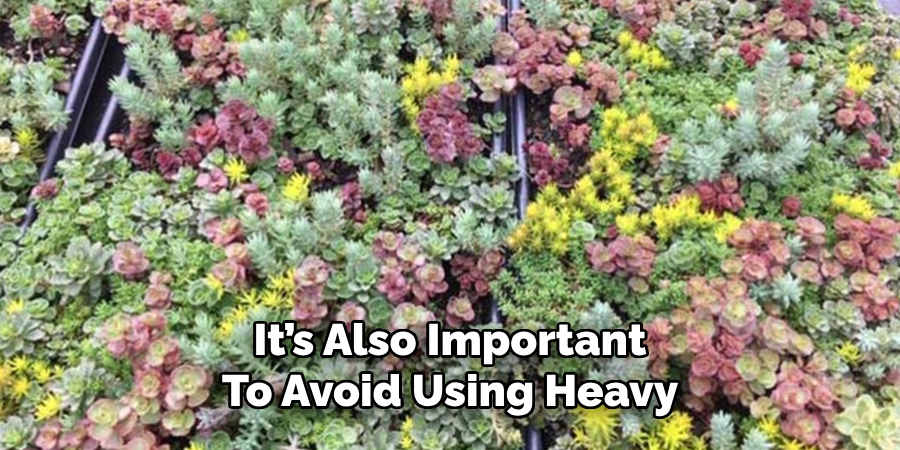
Additionally, overcrowding sedum plants can restrict air circulation, leading to disease. It’s also important to avoid using heavy, clay-based soils, as they retain too much water. Ensuring proper soil conditions, spacing, and watering habits can greatly enhance the success of your sedum planting efforts.
Conclusion
Sedum plants are among the most forgiving, adaptable, and ornamental additions to any garden. Whether you’re aiming for low-maintenance groundcover, container color, or striking borders, sedum’s beauty and hardiness shine through when properly planted. By choosing the right variety, offering sun and drainage, spacing them wisely, and avoiding common pitfalls like overwatering and over-fertilizing, your sedum garden can flourish with minimal intervention. Now that you know how to plant sedum plants, try it yourself today and feel good about completing such a big DIY job!