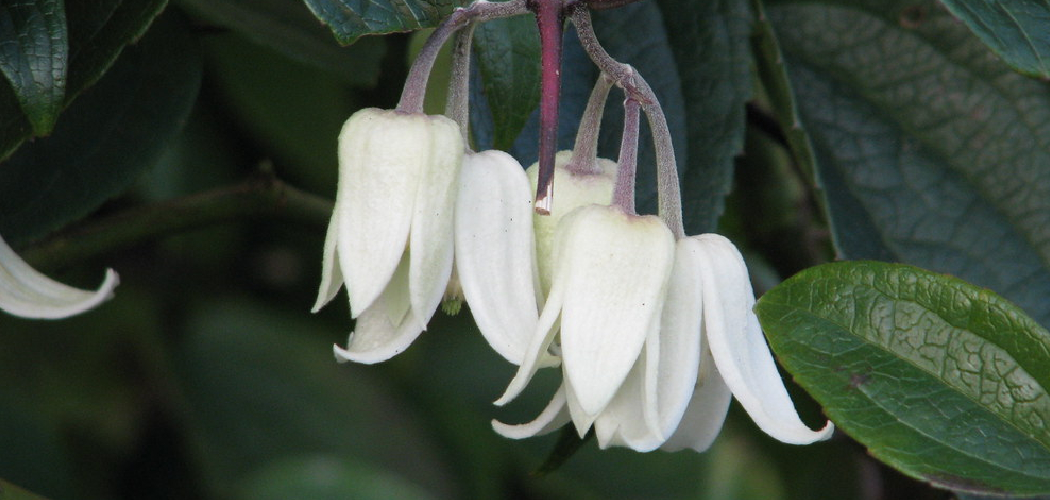
Are you tired of buying new plants every year? Do you want to easily propagate your favorite clematis plant without spending any money? Look no further, because rooting clematis cuttings is an easy and cost-effective way to expand your garden.

Propagating clematis through cuttings is a rewarding process that allows you to cultivate new plants from an existing vine. This method not only saves money but also allows you to multiply a favorite variety or share it with friends and family. Rooting clematis cuttings is relatively straightforward, though it requires patience and careful attention to ensure success.
By providing the right conditions and following some simple steps, you can enjoy watching your cuttings develop into healthy, thriving clematis plants. Let’s dive into how to root clematis cuttings.
What Are the Benefits of Rooting Clematis Cuttings?
Rooting clematis cuttings has many benefits, including:
- Cost-effective: Rooting clematis cuttings is a cost-effective way to propagate new plants without having to spend money on purchasing them. This is especially beneficial for gardeners who want multiple copies of the same variety or prefer to share their favorite varieties with others.
- Faster Results: Rooting cuttings can often produce faster results compared to growing plants from seeds. By using existing root systems and established genetic material, rooted cuttings can develop into mature plants within a shorter time frame.
- Cloning of Desirable Traits: By taking cuttings from a healthy and desirable parent plant, you ensure that the offspring will inherit the same beneficial traits. This is especially useful for plants with specific characteristics, such as disease resistance or high yields.
- Cost-effective: Rooting cuttings can be a cost-effective way to propagate plants, as it eliminates the need to purchase new seeds or seedlings. This is particularly beneficial for gardeners on a budget or those looking to expand their garden without breaking the bank.
What Will You Need?
To successfully root cuttings, here are some essential materials that you will need:
- A sharp and clean pair of pruning shears
- A rooting hormone (optional)
- Potting mix or a soilless mix such as vermiculite or perlite
- Pots or containers for planting the cuttings
- Clear plastic bags or a plastic dome to create a humid environment for the cuttings
- A watering can or a spray bottle for watering the cuttings
Once you have gathered all the necessary materials, it’s time to get started with rooting your cuttings!
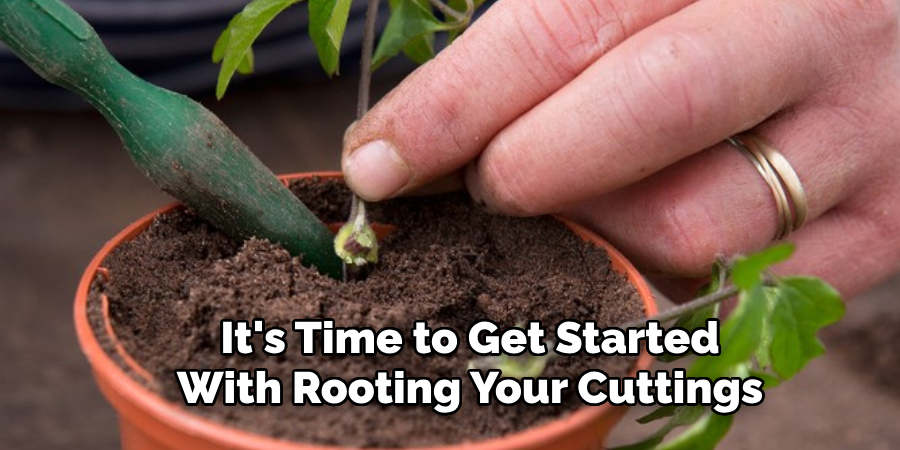
10 Easy Steps on How to Root Clematis Cuttings
1. Select Healthy Stems
Choose stems that are healthy, disease-free, and preferably taken from the current season’s growth. Look for green, semi-hardwood stems that are neither too young nor fully matured, as these tend to root more successfully. Avoid using overly woody or old stems, as they may not establish roots quickly.
Ideally, the stems should have a few sets of leaves and be approximately 4 to 6 inches long. Using clean pruning shears, make a clean cut just below a node (the swollen part of the stem where leaves or buds are attached), as this is where rooting hormones are naturally concentrated and will encourage better root development.
2. Make the Cut
Once you have identified the ideal stems, it’s time to cut. Using sharp and sterilized pruning shears, carefully cut the stem just below a node at a 45-degree angle. This angled cut increases the surface area for water absorption and reduces the risk of disease.
Be sure to handle the cuttings gently to avoid damaging the stems or leaves. If necessary, remove any lower leaves that may sit in water or soil during planting, as this can lead to rot. Proper cutting techniques ensure a healthy starting point for propagation, giving your plant the best chance to thrive.
3. Remove Lower Leaves
Once you have made your cuttings, carefully remove the lower leaves from the stem. This step is essential to prevent the leaves from sitting in water or soil, which can lead to decay and hinder root development. Use clean hands or sanitized tools to gently strip away any foliage near the base of the cutting, leaving the upper leaves intact to aid in photosynthesis. Removing lower leaves also allows the cutting to focus its energy on root formation, promoting healthier growth during the propagation process.
4. Dip in Rooting Hormone
To encourage faster and stronger root development, dip the base of your cutting into rooting hormone powder or gel. Rooting hormone contains compounds that stimulate root growth, helping the plant to establish itself more quickly. Make sure to lightly coat the bottom inch of the stem, tapping off any excess powder to prevent overapplication. This step is particularly beneficial for plants that are slower to root or more challenging to propagate. After applying the hormone, handle the cutting carefully to avoid damaging the treated area before it is planted.
5. Prepare the Potting Mix
To ensure the successful growth of your cutting, it is important to use a well-draining potting mix. A mixture of equal parts peat moss, perlite, and vermiculite is often recommended, as it retains moisture while allowing excess water to drain away.
If applicable, you may also use potting soil specifically formulated for the type of plant you are propagating. Before planting, lightly moisten the potting mix to create an optimal environment for root development; it should be damp but not overly saturated. Fill your chosen pot with the prepared mix, leaving enough room to accommodate the cutting without overcrowding.
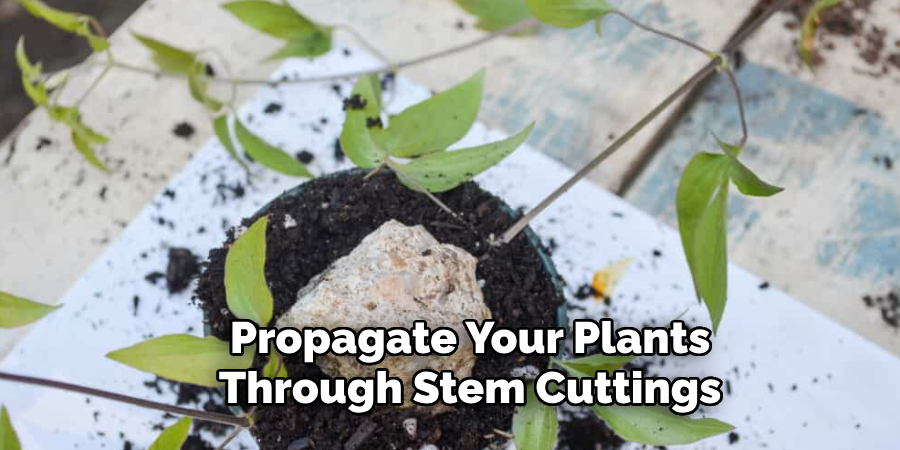
6. Plant the Cuttings
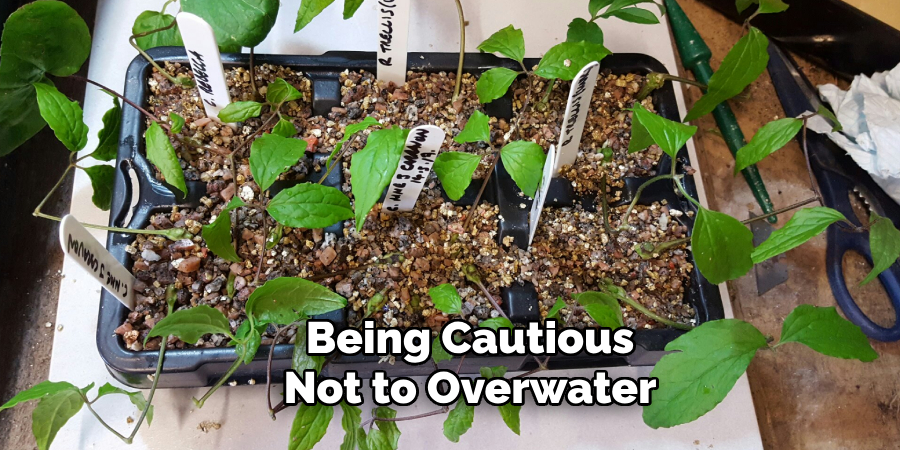
Using a clean tool or your finger, create a small hole in the center of the prepared potting mix. Gently insert the cutting into the hole, ensuring that the cut end is fully submerged in the soil. Press the soil lightly around the base of the cutting to provide stability and ensure good contact with the potting mix. If you’re planting multiple cuttings in the same container, space them adequately to allow room for growth without competition. After planting, lightly water the soil to settle it around the cuttings, being cautious not to overwater.
7. Create a Humid Environment
Humidity is essential for encouraging rooting and healthy growth in cuttings. To create a humid environment, cover the container with a plastic bag or a clear plastic dome, ensuring it does not touch the cuttings. This helps retain moisture and warmth, mimicking a greenhouse effect.
Make small holes in the covering for ventilation to prevent mold or mildew from forming. Place the container in a warm, well-lit area, but avoid direct sunlight, as this can cause overheating. Check the cuttings regularly, ensuring the soil remains moist but not waterlogged, and remove the cover periodically to allow air circulation.
8. Place in Indirect Light
Indirect light is essential for the healthy growth and development of cuttings. While light is necessary for photosynthesis, too much direct sunlight can scorch the tender leaves or dry out the cuttings too quickly. To achieve the right balance, place the container in a location where it receives bright, filtered light, such as near a north-facing window or behind a sheer curtain.
If natural light is unavailable, you can use grow lights as an alternative, ensuring the light source is positioned far enough to avoid overheating. Monitor the cuttings daily to ensure they are thriving in their environment, adjusting the placement as needed for optimal growth conditions.
9. Monitor and Water Regularly
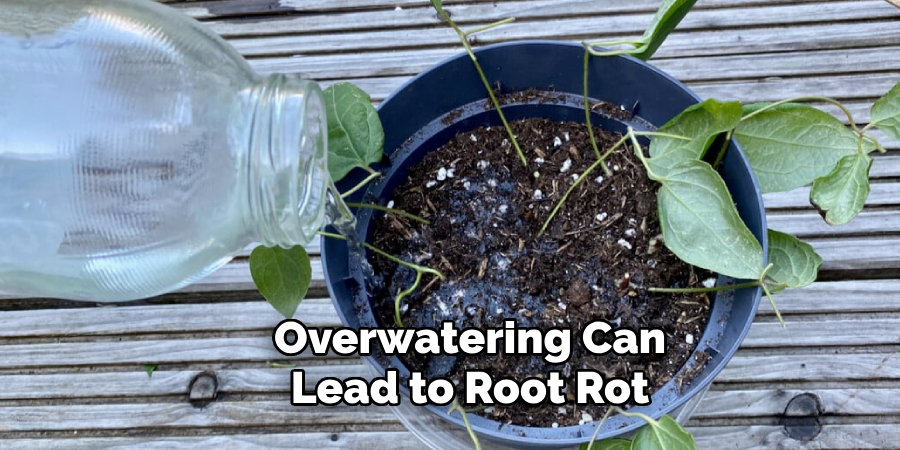
Proper care is essential during the propagation process to ensure successful growth of the cuttings. Check the moisture level of the soil or growing medium regularly, ensuring it remains consistently damp but not waterlogged. Overwatering can lead to root rot, while letting the medium dry out completely may hinder root development.
Use a spray bottle or watering can with a gentle flow to water the cuttings carefully, avoiding excessive disturbance to their placement. Additionally, keep an eye on the foliage for any signs of stress, such as wilting or discoloration, as these may indicate the need for adjustments in watering or environmental conditions.
10. Wait for Roots to Develop
Patience is key during this phase, as root development can take anywhere from a few weeks to a couple of months, depending on the plant species and environmental conditions. Place the cuttings in a location with optimal light and temperature, typically indirect sunlight and consistent warmth. During this period, monitor the cuttings regularly for growth progress or any signs of issues such as mold or wilting.
Avoid disturbing the cuttings unnecessarily, as this could delay root formation. Once roots are visible and well-established, typically emerging from the bottom of the cutting or through drainage holes if planted in a container, the cuttings will be ready for transplantation into a more permanent growing medium.
By following these simple steps, you can successfully propagate your plants through stem cuttings.
Conclusion
How to root clematis cuttings can be a highly rewarding process, providing a cost-effective and enjoyable way to expand your garden.
By carefully selecting healthy stems, preparing the cuttings correctly, and providing the proper environment for rooting, anyone can propagate these beautiful plants with success. Patience and attention to detail are key, as roots take time to develop.
With consistent care and the right conditions, you can enjoy thriving new clematis plants that will add vibrant color and life to your outdoor space.