
Pachysandra plants are beloved for their dense, evergreen foliage that provides an excellent ground cover for shaded areas. Their ability to suppress weeds and prevent soil erosion makes them a practical and aesthetic addition to any garden. However, there are times when transplanting pachysandra becomes necessary, whether to address overcrowding, improve soil conditions, or expand coverage to new locations.
Learning how to transplant pachysandra plants properly ensures a seamless transition, promoting health and vitality for years to come. This guide will walk you through the tools, timing, and techniques needed for successful transplantation.
Understanding Pachysandra Plants
Characteristics of Pachysandra
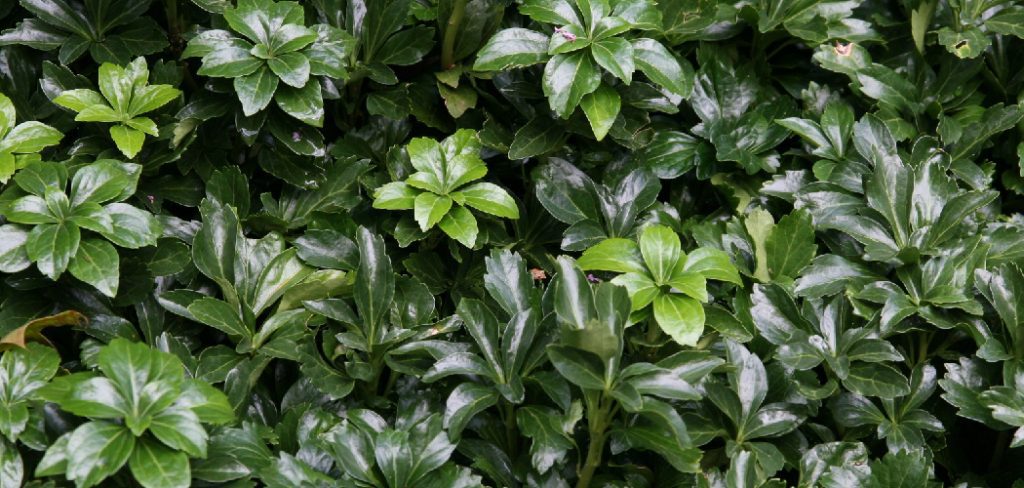
Pachysandra is an evergreen ground cover known for its sprawling, carpet-like growth. Native to Asia and parts of North America, it thrives in shaded settings where many other plants struggle. The Japanese spurge (Pachysandra terminalis) is perhaps the most widely cultivated variety, favored for its glossy green leaves and small, insignificant white flowers.
Known for its resilience, pachysandra spreads through underground runners, creating dense patches that cover bare soil effectively. This characteristic makes it ideal for areas prone to erosion, such as slopes or beneath trees where grass may falter.
Ideal Situations for Transplanting
There are a variety of reasons one might need to transplant pachysandra. Perhaps it’s overcrowded and requires thinning, or maybe a new garden bed needs coverage. Sometimes, soil conditions in the original location may no longer support optimal growth, prompting relocation. Whatever the reason, knowing when and how to transplant pachysandra plants ensures the process is smooth and the plants remain healthy.
When to Transplant Pachysandra
Best Time for Transplantation
The ideal time to transplant pachysandra is during the cooler months of spring or early fall. These periods minimize stress on the plants, providing mild temperatures and ample humidity that help roots establish themselves in their new environment. Avoid transplanting during peak summer heat or freezing winter conditions, as these can hinder growth or lead to transplant shock.
Signs Your Pachysandra Needs Relocating
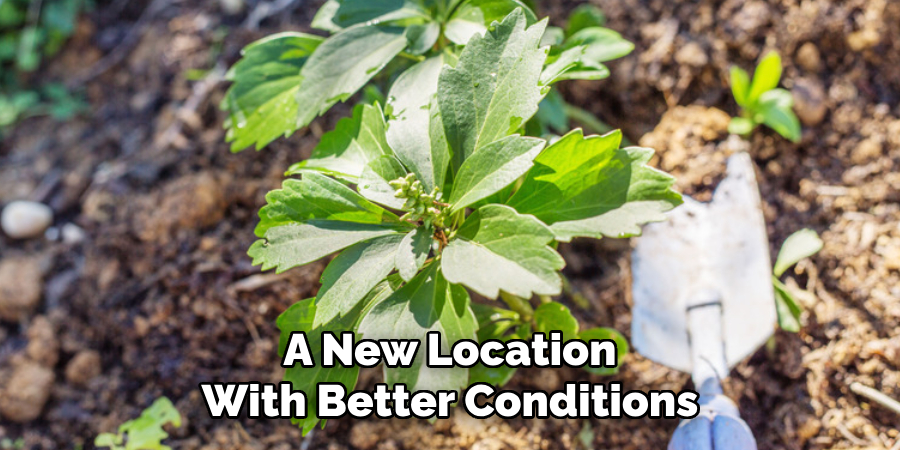
If you notice thinning patches, stunted growth, or intense competition with nearby plants, it may be time to consider transplantation. Additionally, areas with compacted soil or insufficient nutrients can cause pachysandra to underperform, signaling the need for a new location with better conditions.
Preparing for Transplanting
Tools and Materials
Proper preparation is key to successful transplantation. Gather the following tools and materials before starting:
- A sharp spade or garden fork for digging
- Gardening gloves to protect your hands
- Buckets or containers for transporting clumps
- Mulch for moisture retention
- Optional amendments such as compost to improve soil quality at the new site
Having these items on hand ensures the process is efficient and stress-free for both you and your plants.
Site Preparation
Select a location with partial to full shade, as pachysandra thrives in low light. The soil should be well-draining and rich in organic matter. Prepare the new site by loosening the soil to a depth of at least six inches and incorporating compost or other organic amendments as needed. Remove any weeds or debris that might compete with your pachysandra plants.
Ensure the new site has adequate spacing to allow the plants to spread—typically 6 to 12 inches between clusters. Proper spacing prevents overcrowding and promotes healthy growth.
Process to Follow: How to Transplant Pachysandra Plants
Digging Up Pachysandra
Begin by watering the existing pachysandra patch generously a day or two before transplanting. This softens the soil, making it easier to dig without damaging the roots. Using a spade or garden fork, carefully loosen the soil around the clumps you plan to move. Gently lift each clump, making sure to preserve as much of the root system as possible.
Preparing Transplants
Shake off excess soil from the roots and inspect for any signs of damage or disease. Trim away any blackened or broken roots, as these can hinder the plant’s ability to establish itself in its new location. If the clumps are large, consider dividing them into smaller sections to make them easier to handle and to encourage faster growth after planting.
Replanting in the New Site
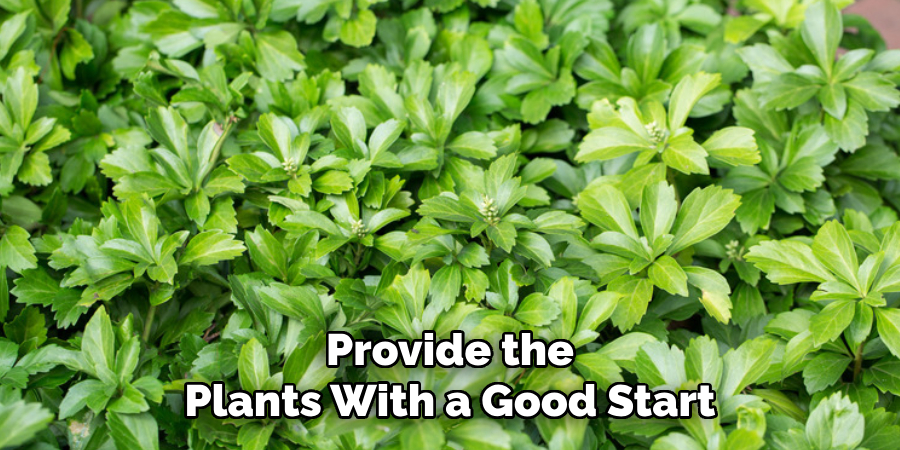
Dig shallow holes in the prepared site, ensuring they are wide enough to accommodate the root systems without crowding. Position the pachysandra clumps so that the crown (where the stems meet the roots) is level with the surrounding soil. Fill in the gaps with loose soil, pressing gently to eliminate air pockets. Water thoroughly to help the soil settle and provide the plants with a good start.
Caring for Pachysandra After Transplanting
Watering Schedule
Newly transplanted pachysandra needs consistent moisture to thrive. Water the plants regularly during the first few weeks, ensuring the soil remains evenly moist but not waterlogged. Monitor weather conditions and adjust your watering schedule accordingly, reducing frequency as the plants begin to establish themselves.
Mulching and Soil Maintenance
Apply a thin layer of organic mulch, such as shredded bark or compost, around the base of each cluster. Mulch helps retain moisture, regulates soil temperature, and minimizes weed competition. To maintain healthy soil, aerate the area occasionally using a hand rake or similar tool.
Troubleshooting Common Issues
Managing Transplant Shock
Transplant shock is a common issue characterized by wilting, yellowing leaves, or slowed growth. To reduce stress, avoid exposure to direct sunlight during the initial weeks and water consistently. Adding a weak solution of organic liquid fertilizer can also boost recovery.
Overcoming Poor Growth
If growth appears slow or uneven, reevaluate the site conditions. Ensure there is adequate shade and that the soil is not overly compacted. If necessary, amend the soil with organic matter or apply a balanced, slow-release fertilizer to provide additional nutrients. Monitor watering, making sure the plant is receiving enough moisture without being waterlogged. Also, check for any signs of pests or diseases that may be hindering growth.
Pruning and Training
Pruning and training are important maintenance tasks that help shape tree form and promote healthy growth. Young trees require minimal pruning, but it is still important to remove damaged or diseased branches. As the tree continues to grow, thinning cuts can be made to improve air circulation and reduce overcrowding. Properly trained trees are less likely to experience structural issues in the future.
Benefits of Pachysandra Transplantation
Enhancing Garden Health
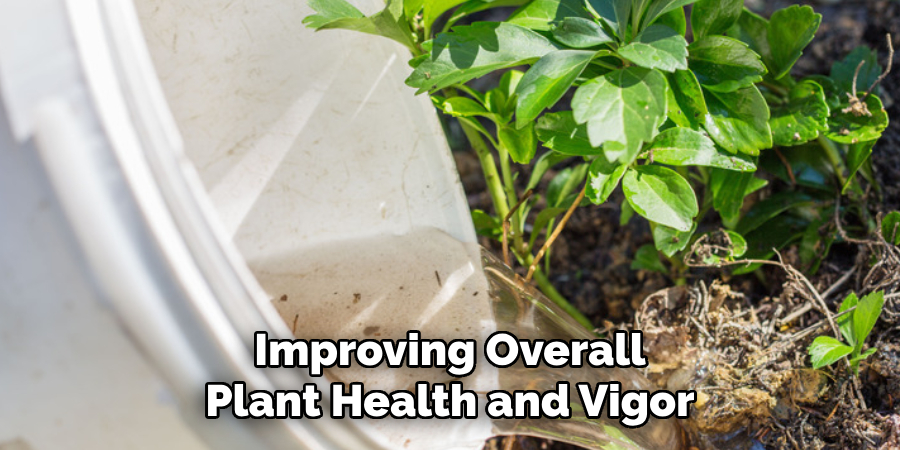
Transplanting pachysandra allows it to thrive in environments that better suit its needs, improving overall plant health and vigor. Relocated patches often grow denser and more uniform, creating a lush, weed-suppressing ground cover.
Promoting Sustainability
By propagating pachysandra plants through transplantation, gardeners can reduce the need to purchase additional plants. This approach is cost-effective and environmentally friendly, supporting sustainable gardening practices. Additionally, transplanting pachysandra can help reduce the usage of chemical herbicides, as dense and healthy patches of this ground cover can effectively suppress weeds.
Encouraging Biodiversity
Introducing new plant species to an ecosystem can promote biodiversity by providing a variety of habitats for different organisms. Transplanting pachysandra can contribute to this diversity by adding a low-growing evergreen ground cover that is suitable for a range of environments. This in turn can attract beneficial insects and pollinators, creating a more balanced and resilient ecosystem in your garden.
Common Mistakes to Avoid
Incorrect Timing
Transplanting during extreme weather conditions—such as the peak of summer or depths of winter—can stress pachysandra plants, making it difficult for them to recover. Always aim for cooler seasons with moderate temperatures and rainfall.
Overcrowding
Planting pachysandra clusters too closely together can lead to limited airflow, nutrient competition, and increased susceptibility to fungal diseases. Adhere to recommended spacing guidelines to prevent these issues.
Improper Digging Techniques
When digging up pachysandra plants, it is essential to avoid damaging or severing the roots. Use a spade or hand trowel to carefully loosen the soil around the plant before gently lifting it out of the ground.
Frequently Asked Questions About Pachysandra
How Often Should Pachysandra Be Watered?
Pachysandra prefers consistently moist soil but does not tolerate waterlogged conditions. Water it deeply once a week, adjusting depending on weather conditions and soil drainage.
Can Pachysandra Grow in Full Sun?
While pachysandra thrives best in partial to full shade, it can tolerate some sun exposure if the soil remains moist. Prolonged exposure to intense sunlight may cause leaf scorch.
What Is the Best Time to Plant Pachysandra?
The ideal time to plant pachysandra is in spring or early fall when temperatures are moderate. This allows the plants to establish roots before extreme weather conditions.

How Can I Control Weeds in Pachysandra Beds?
Weeding regularly by hand is the most effective way to keep pachysandra beds clear. Apply a layer of organic mulch around the plants to suppress weed growth and conserve soil moisture.
Does Pachysandra Require Fertilizer?
Pachysandra benefits from a balanced, slow-release fertilizer applied once in early spring. Over-fertilization, however, should be avoided to prevent excess foliage and weak root systems.
Conclusion
Knowing how to transplant pachysandra plants ensures they remain a vibrant and effective ground cover for shaded areas. By following the recommended techniques and care practices, you can successfully relocate and rejuvenate your pachysandra, whether to address overcrowding or enhance garden aesthetics. With a little preparation and patience, these hardy plants will continue to thrive and beautify your landscape for years to come.