If you love pansies and want to grow more of these colorful flowers year after year, collecting your own pansy seeds is the best way to do it. Imagine saving money, having full control over your garden’s blooms, and feeling proud every time new flowers sprout from seeds you gathered yourself.
But how exactly do you collect pansy seeds the right way? You’ll learn simple, step-by-step tips that anyone can follow to harvest healthy seeds and enjoy a vibrant garden season after season. Keep reading to discover how easy it is to become your own seed saver!

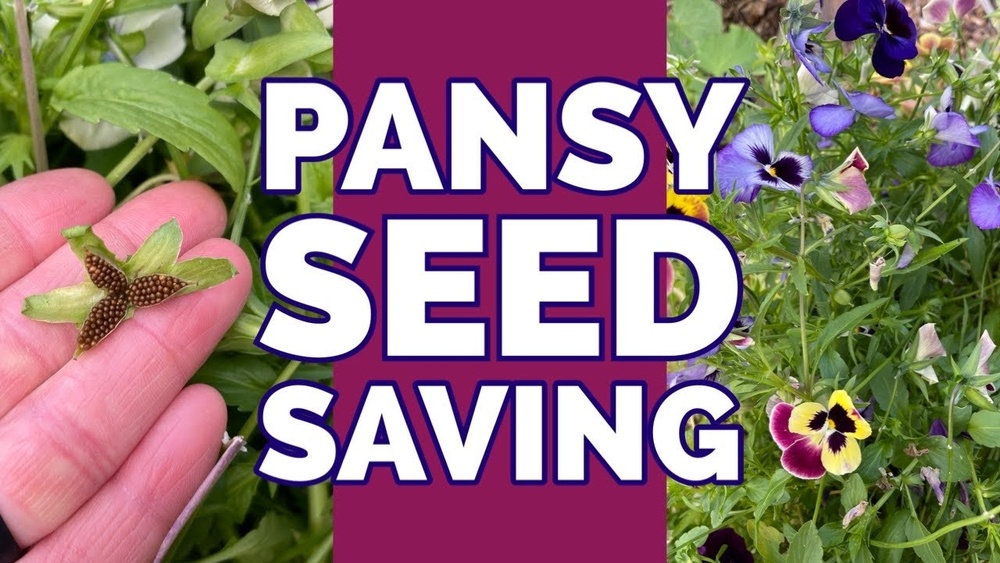
Credit: www.reddit.com
Choosing The Right Pansy Plants
Choosing the right pansy plants is key to collecting good seeds. Healthy plants produce strong seeds that grow well next season. Picking the best blooms ensures a better harvest and more vibrant flowers in your garden.
Selecting Healthy Blooms
Start with pansy flowers that look fresh and bright. Avoid blooms with spots, holes, or signs of disease. Choose flowers that have fully opened petals and strong colors. Healthy blooms have a better chance of producing quality seeds.
Identifying Seed-ready Flowers
Seed-ready pansy flowers begin to fade and wilt. Look for petals that are drying and falling off. The seed pods behind the flower start to swell and turn green or brown. Harvest seeds only from these mature pods for best results.
Timing For Seed Collection
Knowing the right time to collect pansy seeds is important for good results. Collect seeds too early, and they may not grow well. Wait too long, and they can fall to the ground or lose their quality. Timing helps ensure healthy seeds for your next garden.
Watch your plants closely as the flowers fade. This is the first sign that seeds are forming. Understanding the right moment to harvest saves time and effort.
When To Start Harvesting
Begin harvesting pansy seeds after the flowers drop their petals. The seed pods start to swell and turn green. Wait until the pods turn brown or tan. This change shows the seeds are drying inside. Pick the pods before they open on their own. This prevents seeds from scattering and getting lost.
Signs Seeds Are Mature
Mature seeds look hard and dry. They often change color to dark brown or black. The seed pods feel dry and brittle to touch. If pods crack open easily, seeds are ready. Immature seeds are soft and pale. Collecting only mature seeds improves germination chances.
Preparing For Seed Harvest
Preparing for seed harvest is an important step in collecting pansy seeds. It helps you gather healthy seeds and avoid damage. Careful preparation makes the process smooth and efficient.
Start by organizing your tools and cleaning your workspace. This keeps seeds safe from dirt and pests. A clean area also helps you work faster and better.
Gathering Necessary Tools
Collect small scissors or garden shears for cutting seed pods. Use tweezers to handle tiny seeds carefully. Have paper envelopes or seed packets ready for storage. Use a small brush to clean seeds gently. Keep a notebook to label seed types and dates.
Creating A Clean Workspace
Find a flat surface with good light for seed collection. Wipe the area with a clean cloth to remove dust. Lay down white paper to spot small seeds easily. Avoid working near food or pets to prevent contamination. Organize tools within reach to save time.

Credit: www.youtube.com
Step-by-step Seed Collection
Collecting pansy seeds is a simple process. Follow clear steps to gather healthy seeds for next season. Timing and care help you save the best seeds. This guide breaks the process down into easy actions.
Removing Seed Pods
Wait until the pansy flowers fade completely. The seed pods will swell and turn brown. Use clean hands or scissors to cut the pods. Handle them gently to avoid dropping seeds early. Collect pods in a dry container or paper bag. Keep them in a warm, dry place for a few days. This lets the pods dry fully and open easily.
Extracting Seeds Safely
Hold a dried pod over a bowl or paper. Break it open carefully with fingers or a small tool. Shake out the tiny, round seeds into the container. Avoid crushing the seeds to keep them healthy. Remove any leftover pod pieces or debris. Store seeds in a cool, dry spot in a labeled envelope. Proper storage helps maintain seed viability for planting.
Cleaning And Drying Seeds
Cleaning and drying pansy seeds is an important step for healthy growth. Seeds must be free from dirt and plant parts. Proper drying helps prevent mold and keeps seeds viable. This section explains how to clean and dry pansy seeds effectively.
Separating Seeds From Debris
Start by gently breaking open the seed pods. Remove all seeds carefully. Use your fingers or a small sieve to separate seeds from leftover plant bits. Shake the seeds lightly to get rid of dust and chaff. This step ensures only clean seeds remain for drying.
Proper Drying Techniques
Spread seeds on a paper towel or a mesh screen. Place them in a dry, warm spot with good air flow. Avoid direct sunlight to prevent damage. Let seeds dry for about one week. Check daily to ensure no moisture stays. Proper drying keeps seeds healthy for planting later.

Credit: apartmentgardening101.wordpress.com
Storing Pansy Seeds
Storing pansy seeds properly keeps them healthy and ready for planting next season. Seeds lose their ability to grow if stored carelessly. Good storage protects seeds from moisture, heat, and pests. This section explains the best ways to store pansy seeds.
Choosing Storage Containers
Use small containers that close tightly to keep out air and moisture. Glass jars with lids work well. Plastic containers with snap-on lids are good, too. Avoid paper bags or envelopes. They do not protect seeds from humidity. Label each container with the seed type and date collected.
Ideal Conditions For Longevity
Keep seeds in a cool, dry, and dark place. A consistent temperature between 35°F and 50°F (2°C to 10°C) is best. Avoid places that get hot or damp, like garages or basements. A refrigerator can be a good option if seeds are in airtight containers. Check seeds occasionally for mold or damage. Proper conditions help seeds stay alive for up to two years.
Tips For Successful Germination
Successful germination of pansy seeds starts with the right care. Small changes in how you plant and nurture seeds make a big difference. Healthy seedlings need good soil, proper watering, and enough light.
Prepping Soil And Containers
Choose containers with drainage holes to avoid water buildup. Use seed-starting mix or light potting soil. Avoid heavy garden soil; it can hold too much water. Fill containers loosely with soil to let roots grow easily. Moisten the soil before planting seeds. Press seeds gently into the soil surface without burying them deeply.
Watering And Light Requirements
Keep the soil moist but not soggy. Use a spray bottle to water gently. Too much water causes seeds to rot. Place containers in a bright spot with indirect sunlight. Pansy seeds need light to sprout well. Maintain a temperature around 65-70°F (18-21°C) for faster germination. Avoid moving containers too much to prevent disturbing seedlings.
Troubleshooting Common Issues
Collecting pansy seeds can be a rewarding task. Sometimes, issues arise during the process. These problems can stop your seeds from growing healthy plants. Knowing how to fix these common issues helps you save time and effort. Below are two main problems and ways to solve them.
Avoiding Mold And Rot
Mold and rot often form on pansy seeds during drying or storage. This happens when seeds stay too wet or are kept in humid places. Always dry seeds completely before storing them.
Use a dry, well-ventilated area to spread the seeds out. Avoid thick layers of seeds to allow air flow. Store seeds in a paper envelope or a breathable container. Check seeds regularly for signs of mold. Remove any affected seeds immediately to stop spread.
Dealing With Poor Germination
Poor germination means fewer seeds sprout. This problem can occur due to old seeds or improper storage. Seeds lose their ability to sprout after too much time or bad conditions.
Test seed viability by placing a few on a damp paper towel. Keep the towel warm and moist for a week. If most seeds do not sprout, get fresh seeds for better results.
Plant seeds in good soil with proper moisture and light. Avoid planting seeds too deep or in cold soil. These factors slow down or stop germination.
Frequently Asked Questions
How Do I Know When Pansy Seeds Are Ready To Collect?
Pansy seed pods turn brown and dry when ready for harvest. Wait until pods are fully dry on the plant. Gently squeeze the pod to check if seeds rattle inside. Collect seeds before pods split open to avoid loss.
What Is The Best Method To Collect Pansy Seeds?
Use clean, dry hands to gently crush dry seed pods. Collect fallen seeds on a paper or tray. Remove any debris and store seeds in a paper envelope. Keep them in a cool, dry place for best viability.
Can I Collect Pansy Seeds From Hybrid Plants?
Yes, but seeds from hybrids may not produce true-to-type flowers. Hybrids often result in variable offspring with different traits. For consistent blooms, use seeds from open-pollinated or heirloom pansies.
How Long Do Pansy Seeds Remain Viable For Planting?
Pansy seeds typically remain viable for 2 to 3 years if stored properly. Keep seeds in a cool, dry, and dark place. Avoid exposure to moisture and heat to extend seed life.
Conclusion
Collecting pansy seeds is simple and rewarding. Wait for seed pods to dry on the plant. Gently open pods to gather tiny seeds inside. Store seeds in a cool, dry place until planting. This helps ensure healthy new pansy plants next season.
Enjoy the process and watch your garden grow. With patience, you can grow beautiful pansies from your own seeds. Give it a try and see the results!