To repot bromeliads, carefully remove the plant from its current pot, gently loosen the roots, and place it in a larger pot with fresh, well-draining soil. Bromeliads thrive in well-draining soil and require repotting when they outgrow their current pot.
Repotting helps provide them with more space to grow and allows for better nutrient absorption. We will discuss how to repot bromeliads step-by-step, ensuring a successful transition for your plant. By following these guidelines, you can maintain the health and beauty of your bromeliads for years to come.
So, let’s dive into the repotting process and give your bromeliad a new home where it can continue to flourish.

Credit: www.happysprout.com
Choosing The Right Time To Repot
Choosing the right time to repot your bromeliads is crucial for their well-being. Factors to consider include the plant’s growth, pot size, and overall health. One important indicator that it’s time to repot is when you notice the roots protruding from the drainage holes or encircling the rootball.
This suggests that the plant has outgrown its current container and needs more space. Another sign to watch out for is if the plant has become top-heavy or is tipping over easily. Repotting at the right time allows the bromeliad to establish in its new pot before entering its active growth phase.
This ensures a smoother transition and promotes better root development. By observing these factors and signs, you can determine the ideal time to repot your bromeliads, keeping them healthy and thriving.
Preparing The Necessary Materials
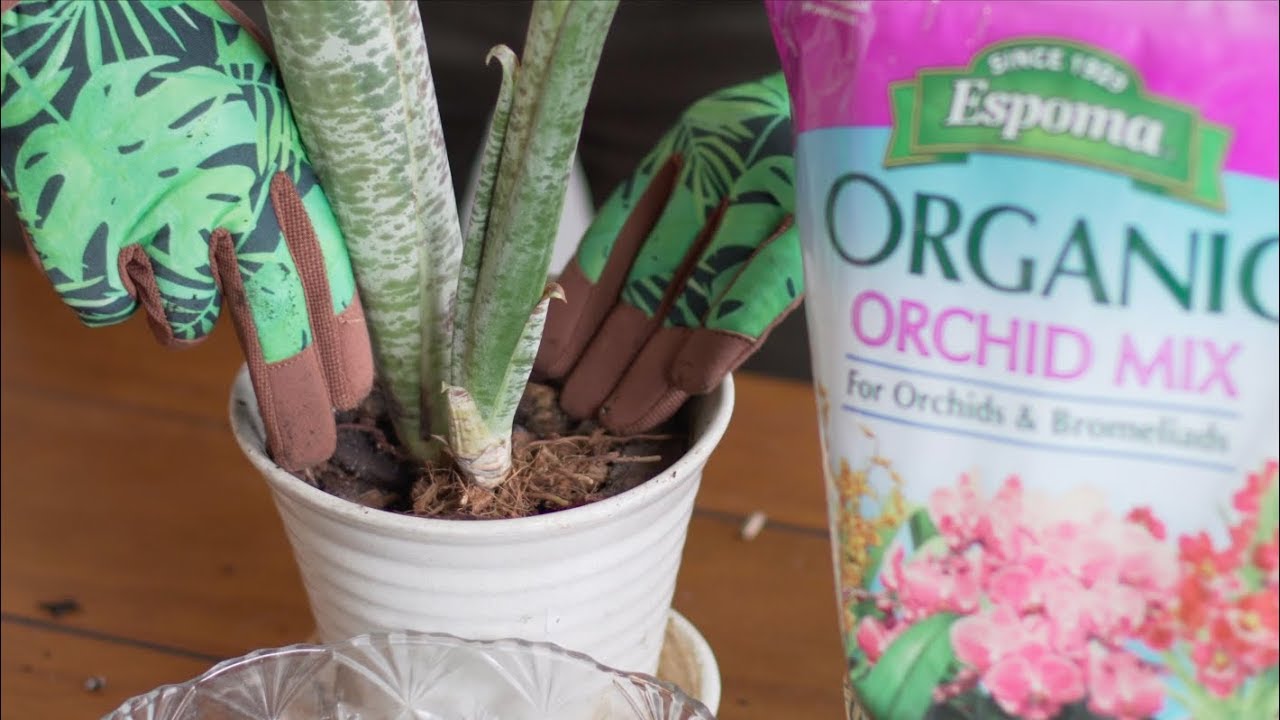
When repotting bromeliads, it is essential to gather the necessary tools and supplies. Start by selecting the right potting mix for your plants. Look for a mix that is well-draining and specially formulated for bromeliads. Additionally, gather a sharp pair of shears or scissors to trim any dead or damaged roots.
A clean container or pot that is slightly larger than the current one will also be needed. Moreover, gather some gloves to protect your hands from any prickly leaves or spines. Once you have all the essential materials, you can proceed with repotting your bromeliads to ensure their healthy growth and thriving in their new environment.
Remember to follow these guidelines carefully for a successful repotting process.
How to Repot Bromeliads: 6 Easy Steps
Step 1: Preparing The Bromeliad For Repotting
Repotting bromeliads is an essential task to ensure their continued health and growth. Before beginning the process, it is important to assess the plant’s overall condition. Look for signs of root rot, discoloration, or wilting leaves. Once you have determined that the plant is in good health, it’s time to prepare it for repotting.
Start by giving the bromeliad a thorough watering to moisten the soil, making it easier to remove from the existing pot. Gently loosen the soil around the roots, taking care not to damage them. This will help the plant adjust to its new environment more easily.
Following these steps will ensure a successful repotting process for your bromeliads, allowing them to thrive in their new home.
Step 2: Removing The Bromeliad From Its Current Pot
When repotting bromeliads, it is important to carefully remove them from their current pot. Techniques for gentle removal include handling root-bound bromeliads with caution. It is advisable to gently press on the sides of the pot to loosen the soil and roots.
Then, carefully turn the pot upside down while supporting the plant with your other hand. Gently tap the bottom of the pot to release the bromeliad, taking care not to damage the leaves or roots. Alternatively, you can use a clean, sharp knife to carefully cut away any roots that are tangled or tightly wound.
By following these techniques, you can ensure a successful and safe removal of your bromeliad from its current pot.
Step 3: Inspecting And Pruning The Roots
Step 3 in repotting bromeliads involves inspecting and pruning the roots. Start by checking for root rot or damage, which can hinder the plant’s growth. Trim any overgrown or diseased roots to promote healthier growth. By taking these steps, you can ensure that your bromeliads thrive in their new pots and continue to beautify your space.
Remember to be gentle during this process to avoid causing further harm to the plant. By following these guidelines, you can successfully repot your bromeliads and enjoy their vibrant colors and unique foliage.
Step 4: Repotting The Bromeliad
Repotting bromeliads involves carefully selecting the appropriate pot size to ensure their optimal growth. Placing the plant correctly within the pot is equally crucial. By following these guidelines, you can successfully repot your bromeliads.
Step 5: Adding Potting Mix And Finishing Touches
To repot bromeliads successfully, you need to fill the pot with the right potting mix. It is essential to ensure good drainage and stability for the plant. Choose a well-draining mix that consists of porous materials like perlite or orchid bark.
Avoid using heavy soil that retains water, as bromeliads prefer moist but not soggy conditions. Fill the pot about two-thirds full with the potting mix, making sure not to pack it tightly. Gently tap the pot on a hard surface to settle the mix and remove any air pockets.
Adjust the level of the mix so that the base of the bromeliad sits slightly above the rim of the pot for stability. Once the potting mix is ready, you can move on to adding the finishing touches.
Step 6: Post-Repotting Care And Maintenance
After repotting your bromeliads, it’s crucial to ensure proper care and maintenance. When it comes to watering, provide enough moisture to keep the soil slightly damp. Avoid overwatering, as it can lead to root rot. For fertilizing, use a balanced liquid fertilizer and apply it monthly during the growing season.
Additionally, monitor your plants for signs of stress or disease. Look out for discoloration, wilting leaves, or pest infestation. If you notice any issues, take necessary steps to treat them promptly. Regularly inspect your bromeliads and address any problems to keep them healthy and thriving.
Proper watering and fertilizing techniques, along with vigilant monitoring, are key to maintaining vibrant and beautiful bromeliads.
Troubleshooting Common Repotting Issues
Repotting bromeliads can sometimes pose challenges, but with a few troubleshooting tips, you can overcome them. When transplanting, the plants may experience shock, which can be mitigated by acclimatizing them gradually. To prevent root rot and fungal infections, ensure proper drainage by using a well-draining potting mix.
Additionally, avoid using excessively large pots that can hold excess water. When removing the plant from its current pot, be gentle to avoid damaging the sensitive roots. If you encounter root rot or fungal infections, treat them promptly with a fungicide or by trimming affected areas.
Regularly monitor the moisture levels of the soil and adjust watering accordingly. By following these guidelines, you can successfully repot your bromeliads and promote their healthy growth.
Frequently Asked Questions (Faqs)
Regular potting soil is not suitable for bromeliads as they prefer well-draining soil with good aeration. You should use a mix specially formulated for bromeliads. The frequency of repotting depends on the growth rate of the plant and its pot size.
Generally, it is recommended to repot bromeliads every two to three years. During repotting, you can divide the bromeliad if it has produced offsets or “pups. ” This allows you to propagate new plants and maintain the health of the original one.
Dividing bromeliads should be done carefully, ensuring that each division has enough roots and leaves to grow independently. By following these guidelines, you can successfully repot your bromeliads and ensure their continued growth and vibrancy.
Frequently Asked Questions For How To Repot Bromeliads
How Often Should You Repot Bromeliads?
Bromeliads should be repotted every 1-2 years to ensure they have enough space to grow and thrive. However, if the plant is growing well in its current pot and the roots aren’t overcrowded, repotting may not be necessary.
What Is The Best Time To Repot Bromeliads?
The best time to repot bromeliads is in the spring or early summer, when the plant is actively growing. This gives the plant a chance to recover quickly from the stress of repotting and establish itself in the new pot before the colder months.
How Do You Prepare A New Pot For Repotting Bromeliads?
To prepare a new pot for repotting bromeliads, choose a pot with good drainage holes and fill it with a well-draining potting mix. It’s also a good idea to sterilize the pot and any tools you’ll be using to prevent the spread of diseases to the plant.
How Do You Repot Bromeliads Without Damaging The Roots?
To repot bromeliads without damaging the roots, gently remove the plant from its current pot and carefully untangle any roots that are tangled or circling the root ball. Trim any damaged or dead roots before placing the plant in its new pot, making sure to cover the roots with fresh potting mix.
Conclusion
Repotting bromeliads is a crucial task that should not be overlooked. By understanding the unique needs of these plants and following the proper steps for repotting, you can help ensure their health and longevity. Remember to choose the right pot and potting mix, provide adequate drainage, and give your bromeliads the necessary care post-repotting.
Regularly monitoring their growth and adapting their care accordingly will also play a role in their overall well-being. With a little bit of knowledge and effort, you can successfully repot your bromeliads and enjoy their vibrant colors and unique shapes for years to come.
So, don’t hesitate to give your bromeliads the attention they deserve by following these repotting guidelines. Happy gardening!