To repot Tradescantia Nanouk, carefully remove the plant from its current pot and gently shake off excess soil. Then, place the plant in a larger pot filled with fresh potting mix, ensuring that the roots are covered, and water thoroughly.
Tradescantia Nanouk, a popular plant known for its vibrant and colorful leaves, requires occasional repotting to accommodate its growth and maintain its health. We will discuss the step-by-step process of repotting Tradescantia Nanouk, ensuring that you can provide the best conditions for your plant’s growth.

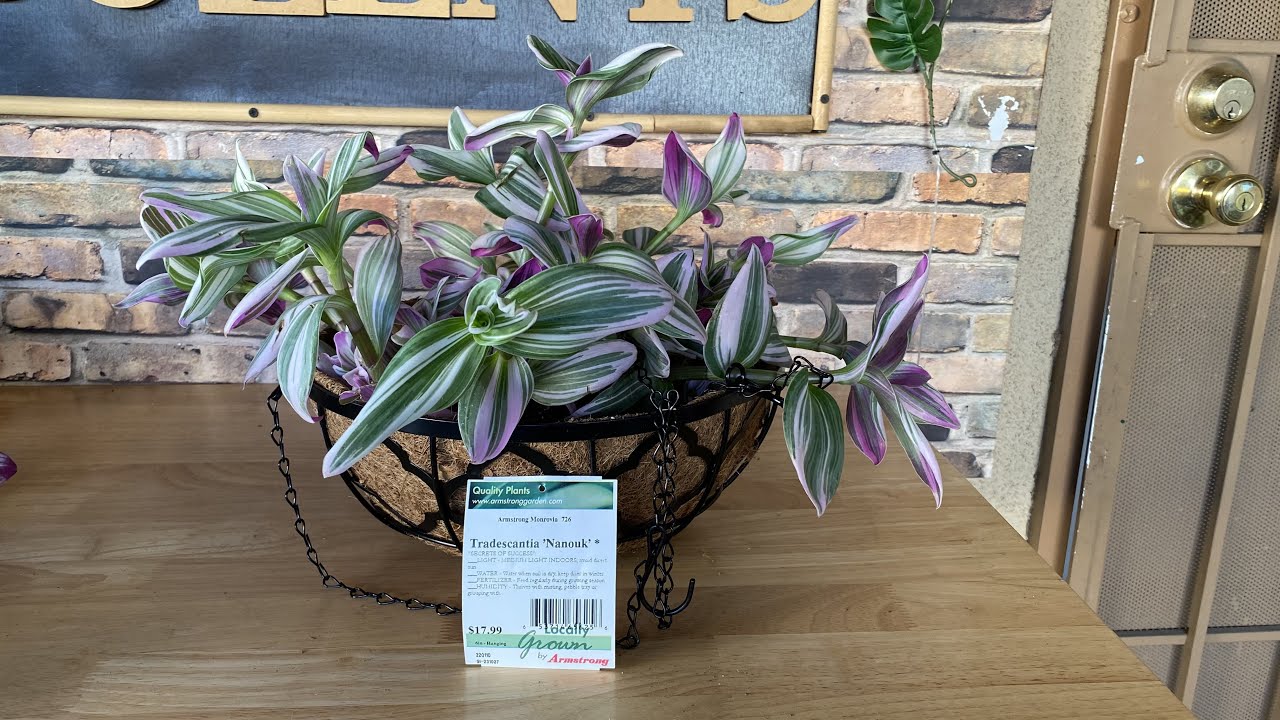
Credit: www.reddit.com
By following these simple techniques, you can effectively repot your Tradescantia Nanouk and promote a healthy and thriving plant. So, let’s get started!
Factors To Consider When Selecting A Pot
Factors to consider when selecting a pot for repotting your Tradescantia Nanouk include the material and drainage. The material of the pot should be suitable for the plant’s needs, ensuring proper root aeration and moisture retention. It is important to choose a pot with appropriate drainage holes to prevent waterlogging and promote healthy root growth.
Additionally, the size of the pot should be considered, allowing enough room for the plant’s growth without being too cramped. Lastly, the aesthetic appeal of the pot can enhance the overall look of your indoor or outdoor space. Choosing a pot that complements the plant’s foliage or matches your personal style can add a touch of beauty to your living environment.
Take these factors into account to ensure successful repotting and the well-being of your Tradescantia Nanouk.
Signs That The Plant Needs Repotting
Repotting your Tradescantia Nanouk is essential when you notice signs of root bound growth. When the plant becomes root bound, it may exhibit wilting or sluggish growth. In such cases, the roots may have outgrown the current pot and need more space.
Another indication that repotting is necessary is soil compaction. When the soil becomes compacted, it can hinder proper drainage and nutrient absorption. To repot your Tradescantia Nanouk, choose a slightly larger pot with drainage holes. Gently remove the plant from its current pot, loosen the roots, and place it in the new pot with fresh potting soil.
Be sure not to bury the stem too deep to prevent rot. Lastly, water the plant thoroughly and place it in a suitable location with bright, indirect sunlight. By repotting your Tradescantia Nanouk when needed, you can ensure its continued healthy growth and vibrant appearance.
Gathering The Necessary Tools And Supplies
To repot your Tradescantia Nanouk, gather the necessary tools and supplies. Start by getting your pruning shears to trim any overgrown or damaged roots. Next, have potting soil ready to provide the plant with fresh nutrients. A watering can is essential to ensure proper hydration after repotting.
Lastly, choose a container with drainage holes to prevent waterlogged roots. These steps will help your Tradescantia Nanouk thrive in its new potting environment.
How to Repot Tradescantia Nanouk : Step by Step Guide
Step 1: Prepare The New Pot
To repot Tradescantia Nanouk, start by preparing the new pot. Clean the pot thoroughly to remove any dirt and debris. Then, add drainage material at the bottom of the pot. This will help prevent water from pooling and causing root rot.
Choose materials like small stones or pieces of broken pottery. The drainage material will allow excess water to escape and keep the roots healthy. Remember to use a pot that is slightly larger than the current one, giving the roots room to grow.
By following these simple steps, you can ensure that your Tradescantia Nanouk will thrive in its new pot and continue to beautify your space.
Step 2: Remove The Plant From The Old Pot
To repot a Tradescantia Nanouk, start by gently tapping the sides of the old pot. This loosens the roots, making it easier to remove the plant. Carefully slide the plant out of the pot, ensuring not to damage the delicate foliage.
Step 3: Inspect And Prune The Roots
Inspecting the roots of your Tradescantia Nanouk is an important step in repotting. Check for overgrowth or damage by carefully examining the roots. Trim any excess or dead roots to ensure the plant’s health and proper growth. This will enable the plant to absorb nutrients efficiently and prevent any potential diseases or rot.
While inspecting, it’s important to handle the roots gently to avoid causing any unnecessary damage. By pruning the roots, you are promoting a stronger root system and overall vitality for your Tradescantia Nanouk. Keep in mind that repotting should be done when necessary, typically when the plant has outgrown its current pot or the soil has become compacted.
By following these steps, you can ensure the well-being of your Tradescantia Nanouk and enjoy its vibrant beauty.
Step 4: Placing The Plant In The New Pot
When repotting Tradescantia Nanouk, it is important to properly position the plant in the new pot. Place the plant at the center to ensure balanced growth and aesthetic appeal. Adjust the soil level to cover the roots completely, providing a stable base for the plant.
Gently pat down the soil to remove any air pockets and promote better root-to-soil contact. This will help the plant establish itself in its new environment. The positioning of the plant at the center will allow it to receive adequate sunlight from all sides, promoting even growth.
Take care not to bury the plant too deeply to avoid suffocating the roots. By following these guidelines, you can successfully repot your Tradescantia Nanouk and ensure its health and vitality.
Step 5: Filling The Pot With Fresh Soil
When repotting your Tradescantia Nanouk, step 5 involves filling the pot with fresh soil. It is important to use an appropriate potting mix that is suitable for your plant’s needs. Ensure that the potting mix is well-draining and retains moisture adequately.
To provide sufficient space for watering, leave a gap between the soil level and the rim of the pot. This will prevent overflow when watering your plant and allow the water to fully penetrate the soil. By following these guidelines, you can successfully repot your Tradescantia Nanouk and provide it with a healthy and thriving environment.
Step 6: Watering And Settling The Plant
When repotting your Tradescantia Nanouk, make sure to water the plant until the soil is moist. This will provide enough moisture for the plant to settle into its new pot. Allow the water to drain completely before placing the plant back in its designated spot.
Following these watering guidelines will ensure that your Tradescantia Nanouk has the proper amount of moisture to thrive in its new environment. Remember to monitor the soil moisture levels regularly and adjust your watering routine as needed. By providing the right amount of water during the repotting process, you are setting your plant up for success and promoting healthy growth.
So don’t forget to give your Tradescantia Nanouk the moisture it needs to flourish!
Step 7: Providing Adequate Light And Temperature
Tradescantia Nanouk, also known as the Fantasy Venice Plant, thrives in indirect bright light. It is crucial to provide this plant with the right amount of light to ensure its growth and health. Place it near a window where it can receive bright, filtered sunlight.
Avoid direct sunlight as it can scorch the leaves. Additionally, maintaining the optimal temperature range is essential. Ideally, the temperature should be between 60°F and 75°F (15°C-24°C). Avoid extreme temperature fluctuations and drafty areas. By providing adequate light and maintaining the right temperature, you can ensure the well-being of your Tradescantia Nanouk and enjoy its beautiful foliage for years to come.
Step 8: Regular Watering And Moisture Management
To repot your Tradescantia Nanouk successfully, regular watering and moisture management are crucial. It is essential to water the plant when the soil is dry, ensuring that you avoid overwatering. Overused words and phrases should be avoided to maintain an engaging tone.
By following these guidelines, you can prevent common mistakes and maintain the health of your Tradescantia Nanouk. Taking care not to overuse terms helps in creating a more captivating and unique content. Remember, proper watering is vital for the growth and well-being of your plant.
So, make sure to follow these tips to repot your Tradescantia Nanouk effectively.
Step 9: Fertilizing And Pruning The Plant
While repotting the Tradescantia Nanouk, it is important to consider fertilizing and pruning the plant. Choosing a suitable fertilizer is crucial for its growth. Opt for a balanced formula that provides essential nutrients. Trim the plant regularly to maintain its shape and promote healthy growth.
Pruning encourages branching and prevents the plant from becoming leggy. Make clean cuts just above a node to stimulate new growth. Remove any dead or yellow leaves to maintain the plant’s overall health. By following these guidelines, you can ensure that your Tradescantia Nanouk thrives in its new pot.
Yellowing Leaves Or Root Rot
Tradescantia Nanouk leaves may turn yellow due to overwatering and poor drainage. Excess water can lead to root rot, preventing the plant from absorbing nutrients properly. To resolve this issue, inspect the roots for signs of rot. Gently remove the plant from its pot, being cautious not to damage the roots.
Look for dark, mushy, or foul-smelling roots, as these indicate rot. If you notice any, trim them off using a clean pair of scissors. Repot the plant in fresh, well-draining soil, ensuring that the new pot has drainage holes. Place the plant in a bright, indirect light location and water when the top inch of soil feels dry.
By addressing overwatering and improving drainage, you can help your Tradescantia Nanouk thrive and regain its vibrant colors.
Wilting Or Drooping Plant
Tradescantia Nanouk is a gorgeous plant that can sometimes wilt or droop. One of the main reasons for this issue is improper watering practices. Underwatering the plant can cause dehydration, leading to wilting and drooping leaves. On the other hand, overwatering can suffocate the roots, causing root rot and leading to similar symptoms.
To correct these issues, it is important to find the right balance in watering. Allow the top inch of soil to dry out before watering again, providing enough moisture without drowning the roots. Checking the soil moisture regularly and adjusting the watering frequency accordingly is key.
Remember, each plant is unique, so observing the signs and adjusting watering practices accordingly will help your Tradescantia Nanouk thrive.
Pests And Diseases
While caring for your Tradescantia Nanouk, it’s important to be aware of potential pests and diseases. Identifying and treating common pests such as aphids, spider mites, and fungus gnats is crucial to maintaining the health of your plant. Regularly inspect the leaves, stems, and soil for any signs of infestation or damage.
If pests are detected, treat them promptly with organic insecticidal soap or neem oil. Additionally, practicing good hygiene, such as regularly cleaning and removing dead leaves, can prevent the spread of diseases and infections. Avoid overwatering, as excessive moisture can lead to root rot and fungal infections.
By staying vigilant and taking preventive measures, you can ensure that your Tradescantia Nanouk thrives in a pest-free and healthy environment.
Frequently Asked Questions For How To Repot Tradescantia Nanouk
When Should I Repot My Tradescantia?
Repot your Tradescantia when it outgrows its current container or every 1-2 years for healthy growth.
What Kind Of Potting Soil For Tradescantia?
Use a well-draining potting soil for Tradescantia to prevent overwatering and root rot.
Does Tradescantia Need Deep Pots?
Tradescantia does not require deep pots. They can thrive in shallow pots as well.
Does My Tradescantia Need Repotting?
Check if your Tradescantia has root bound or slowed growth as signs that it needs repotting.
Conclusion
Repotting Tradescantia Nanouk is a simple yet essential task for its overall health and growth. By following the steps outlined in this blog post, you can ensure that your Nanouk thrives in its new pot. Begin by selecting a suitable pot and preparing it with well-draining soil.
Gently remove the plant from its current pot, being careful not to damage the delicate roots. Trim any damaged or overgrown roots before placing the plant in its new home. Fill in the gaps with fresh soil and lightly tamp it down to secure the plant.
Finally, water the newly repotted Tradescantia Nanouk thoroughly and place it in a bright, indirect light location. Remember to continue caring for your plant by providing regular watering, occasional fertilization, and monitoring for any signs of stress or pests. With the right care and attention, your Tradescantia Nanouk will continue to bring beauty and vibrancy to your indoor space.