To repot a Haworthia, gently remove the plant from its current pot, shake off excess soil, then place it in a new pot with fresh soil, making sure not to bury the plant too deep. Repotting your Haworthia plant is an essential task to ensure its health and growth.
By providing it with fresh soil and a suitable pot, you can create an environment that promotes root development and prevents overcrowding. This article will guide you through the step-by-step process of repotting a Haworthia, allowing you to maintain a thriving and beautiful plant.
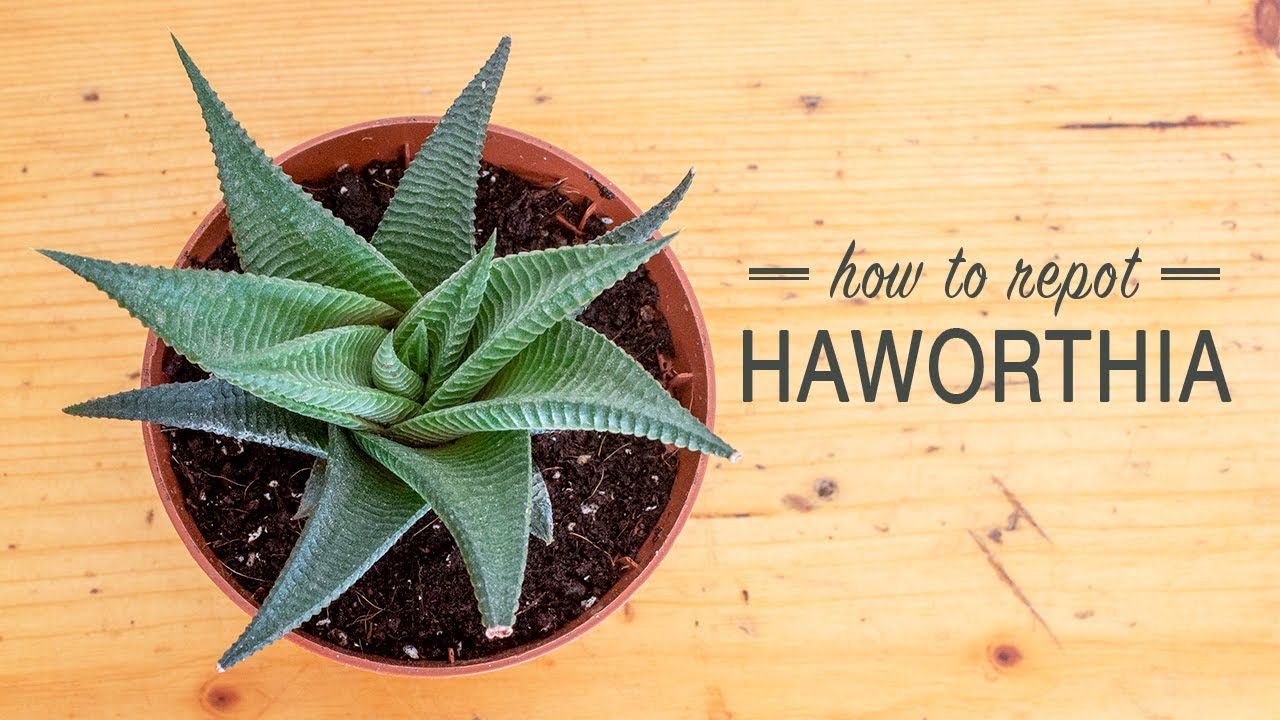
Credit: www.reddit.com
Whether you are a seasoned gardener or a beginner, this simple procedure can be easily accomplished with a few basic tools and minimal effort. So, let’s delve into the world of Haworthia repotting and unlock the secrets to keeping your plant happy and flourishing.
How to Repot Haworthia : Step by Step Guide
Choosing The Right Pot And Soil
To ensure successful repotting of your Haworthia, it is crucial to consider the pot and soil choices. When choosing a pot, factors such as size, drainage holes, and material should be taken into account. Opt for a pot that allows for proper airflow and drainage to prevent waterlogging.
Additionally, select a pot that provides enough room for the plant’s growth. When it comes to soil selection, it is vital to choose a well-draining mix that mimics the plant’s natural habitat. Haworthias prefer sandy or gritty soil that allows excess water to drain freely.
Avoid using compost or heavy soil that retains moisture as it can lead to root rot. By carefully considering the right pot and soil, you can provide optimal conditions for the health and growth of your Haworthia.
Preparing Your Haworthia For Repotting
Preparing your Haworthia for repotting involves identifying signs that it needs repotting, safely removing it from its current pot, and inspecting and preparing the roots and foliage before repotting. To determine if your Haworthia needs repotting, watch for signs such as overcrowded roots, roots growing through drainage holes, and yellowing or wilting leaves.
When it’s time to repot, gently remove the plant from its current pot, being careful not to damage the roots. Inspect the roots for any signs of rot or pests, and trim away any dead or damaged roots. Similarly, check the foliage for any pests or diseases and remove any dead or yellowing leaves.
By following these steps, you can ensure a successful repotting process for your Haworthia.
The Repotting Process
Repotting your Haworthia is a simple process that requires a few essential steps. Start by cleaning and disinfecting the new pot to ensure a healthy environment for the plant. Next, prepare the right soil mixture, ensuring proper drainage for the Haworthia’s roots.
Remember to add a layer of gravel or drainage material at the bottom of the pot for better water flow. Gently place the Haworthia into the new pot, making sure it is properly centered. Add soil around the plant, firming it gently to provide stability.
Finally, water your repotted Haworthia and establish a watering routine that suits the plant’s needs. Following these steps will ensure a successful repotting process for your beloved Haworthia.
Post-Repotting Care And Maintenance
After repotting your Haworthia, it is crucial to provide proper care and maintenance. Monitor and adjust watering and lighting conditions to ensure successful recovery and growth. Avoid overwatering or exposing the plant to excessive sunlight. Keep an eye out for potential issues such as root rot or pests.
Taking immediate action can prevent further damage. It is also essential to avoid common mistakes during the post-repotting period. Ensure that the soil is well-draining and the pot has sufficient drainage holes. Use a suitable potting mix specifically designed for succulents.
By following these tips, you can help your Haworthia thrive and continue to beautify your space.
Frequently Asked Questions (Faqs)
Repotting your Haworthia can be done at any time during the year, as it is not specific to any season. However, it is essential to know how often to repot your plant. Generally, Haworthias should be repotted every two to three years, or whenever you notice the plant becoming root-bound.
After repotting, using a balanced fertilizer can promote healthy growth and help your Haworthia thrive. While repotting, you can also take the opportunity to propagate your plant by separating offsets or leaf cuttings. This will allow you to expand your Haworthia collection or gift plants to friends and family.
Following these guidelines will ensure your Haworthia remains healthy and continues to brighten up your living space.
Frequently Asked Questions Of How To Repot Haworthia
What Kind Of Potting Soil For Haworthia?
Use well-draining succulent soil for Haworthia plants to avoid root rot and promote healthy growth.
What Is The Best Potting Medium For Haworthia?
The best potting medium for Haworthia is a well-draining mix of cactus or succulent soil.
What Pots Are Best For Haworthia?
The best pots for Haworthia plants are small, well-draining containers, such as clay or ceramic pots.
Should You Water Haworthia After Repotting?
Water your Haworthia plant after repotting to ensure proper hydration and promote healthy growth.
Conclusion
Repotting your Haworthia plants is an essential task for their growth and overall health. By following the steps outlined in this blog post, you can ensure that your Haworthias have the best possible environment to thrive. Remember to choose the right pot size, use well-draining soil, and handle the roots with care.
Pay attention to the signs that indicate it’s time for repotting, such as overcrowding or roots coming out of the drainage holes. Regular repotting will prevent root bound plants and allow for better nutrient absorption. Don’t forget to water your newly repotted Haworthia plants carefully and place them in a suitable location with adequate light.
By providing the proper care and attention to repotting your Haworthia, you can enjoy healthy and vibrant plants for years to come.