To repot dill, gently remove the plant from its current container and place it into a larger pot with fresh soil. Ensure the roots are covered and water the plant thoroughly.
Growing dill (Anethum graveolens) in your garden or indoors can be a rewarding experience, adding a burst of fresh flavor to your culinary ventures. As the plant grows, it may outgrow its container, and repotting becomes necessary. Repotting not only provides more room for the dill to spread its roots but also allows you to refresh the soil, ensuring optimal growing conditions.
Credit: www.youtube.com
In this guide, we will explore the simple process of repotting dill, ensuring its continued growth and vibrant health. By following the below steps, you can successfully repot your dill plant and encourage its flourishing development.
Selecting The Proper Pot Size
Selecting the proper pot size is crucial when repotting dill. Consider the size of the plant as it will determine the space available for growth. Also, take into account the root system, as it needs enough room to spread out.
Assess the plant’s overall health and growth potential to determine the right pot size. Keep in mind that a larger pot size allows for more nutrients and water retention, but it may require more frequent watering. On the other hand, a smaller pot size conserves space but may restrict the plant’s growth.
Strike a balance between these factors to ensure the optimal pot size for repotting dill.
Choosing A Suitable Material
Choosing a suitable material for repotting dill requires considering its porosity. The material should allow proper drainage. To ensure durability, evaluate the material’s ability to withstand frequent watering and exposure to sunlight. Additionally, assess its aesthetic appeal to enhance the overall look of the potted dill plant.
The chosen material should complement the vibrant greenery and add visual interest to the surrounding space. By carefully considering the porosity, durability, and aesthetic appeal of the material, you can successfully repot your dill plant and provide it with a suitable environment to thrive.
Cleaning And Sterilizing The Pot
Cleaning and sterilizing the pot is an essential step in repotting dill. To remove any previous plant residue, rinse the pot thoroughly with water. Once clean, treat the pot with a sterilizing solution to eliminate any potential pathogens and pests.
This process ensures a clean environment for the dill to grow and avoids the risk of diseases. Properly preparing the pot before repotting dill is vital for the plant’s health and overall success. By following these steps, you create an optimal growing condition for your dill and help maintain its vigor and productivity.
Ensure to regularly clean and sterilize pots to provide a healthy environment for your herb garden.
Preparing The Drainage System
To prepare the drainage system for repotting dill, drill holes in the bottom of the pot. These holes allow excess water to drain out and prevent root rot. Once the holes are made, place a layer of small rocks or stones at the bottom of the pot.
This layer helps with drainage and prevents the soil from becoming waterlogged. Additionally, add a layer of charcoal on top of the rocks. Charcoal helps to absorb any odors and keeps the soil fresh. It also aids in preventing the growth of bacteria and fungi.
By following these steps, you will ensure that your dill plant has a healthy and well-drained environment for growth.
Timing And Frequency Of Transplant
Repotting dill requires careful consideration of timing and frequency. The right time of year depends on the plant’s growth stage. For young plants, it’s best to transplant them before they become overcrowded. This usually happens when they are around 3-4 inches tall.
On the other hand, mature dill plants should be repotted every 2-3 years to refresh the soil and provide ample space for their extensive root system. However, too frequent repotting can stress the plant and may impact its growth. Therefore, it is crucial to strike a balance and repot dill only when necessary.
By following these guidelines, you can ensure healthy and thriving dill plants in your garden without any complications.
How to Repot Dill : Step by Step Guide
Removing The Dill From Its Current Pot
To repot dill, start by watering the plant before removing it from its current pot. Gently loosen the soil surrounding the plant, ensuring not to damage the roots. With careful hands, lift the dill from the pot, making sure to hold it by the base.
Avoid yanking or pulling too forcefully, as this may harm the plant. Once you have successfully lifted the dill, place it in its new pot, which should be slightly larger than the previous one. Fill the pot with fresh potting soil, ensuring that the dill is held upright and centered.
Lightly pat down the soil to secure the plant. Finally, give the repotted dill a thorough water and place it in a suitable location with adequate sunlight. Remember to continue caring for your repotted dill as needed to promote healthy growth.
Repotting The Dill In The New Container
Repotting dill is a simple process that can be done to ensure healthy growth. Begin by placing a layer of fresh soil in the new pot. This will provide the dill with a nutrient-rich base. Next, position the dill in the center of the pot, ensuring that it is well-balanced.
Finally, fill the remaining space in the pot with soil, pressing down gently as you go. This will secure the dill in place and help it establish roots in the new container. Remember to water the dill thoroughly after repotting and monitor its growth for any signs of distress.
By following these steps, you can successfully repot your dill and enjoy fresh herbs for cooking and garnishing.
Watering The Dill Properly
To ensure proper moisture levels for your dill plant, it is essential to water it at the base. Overwatering or underwatering should be avoided. Look for signs of moisture levels, such as the soil feeling dry to the touch, before giving the plant a thorough watering.
By watering at the base, you allow the roots to absorb the water efficiently. It’s important to maintain a balance and avoid extremes, as dill prefers slightly moist soil. Remember to check the moisture level regularly and adjust your watering accordingly.
Proper watering is crucial for the health and growth of your dill plant, so make sure to follow these guidelines for successful repotting.
Providing Adequate Sunlight
To successfully repot dill, it is crucial to provide the plant with adequate sunlight. Selecting an appropriate location for the dill is the first step in ensuring optimal sun exposure. The dill plant should be placed in an area that receives plenty of direct sunlight throughout the day.
It is important to closely monitor the light levels and make necessary adjustments as needed. If the dill is not getting enough sunlight, it may become leggy and weak. On the other hand, if the plant is exposed to too much sunlight, it might suffer from sunburn or wilting.
By carefully managing the light levels, you can create the ideal conditions for the dill to thrive and grow into a healthy and flavorful herb.
Fertilizing The Repotted Dill
Repotting dill can help ensure its healthy growth. One crucial step is fertilization. When selecting a fertilizer, opt for a balanced one to provide essential nutrients. Always follow the manufacturer’s instructions to avoid any complications. Overfertilization should be avoided as it can harm the dill instead of supporting its growth.
Remember to carefully adhere to these guidelines to achieve the best results for your repotted dill. By nourishing the plant properly, you can enjoy a bountiful supply of this aromatic herb in your cooking endeavors. So, take the time to select the right fertilizer and use it judiciously to help your repotted dill thrive.
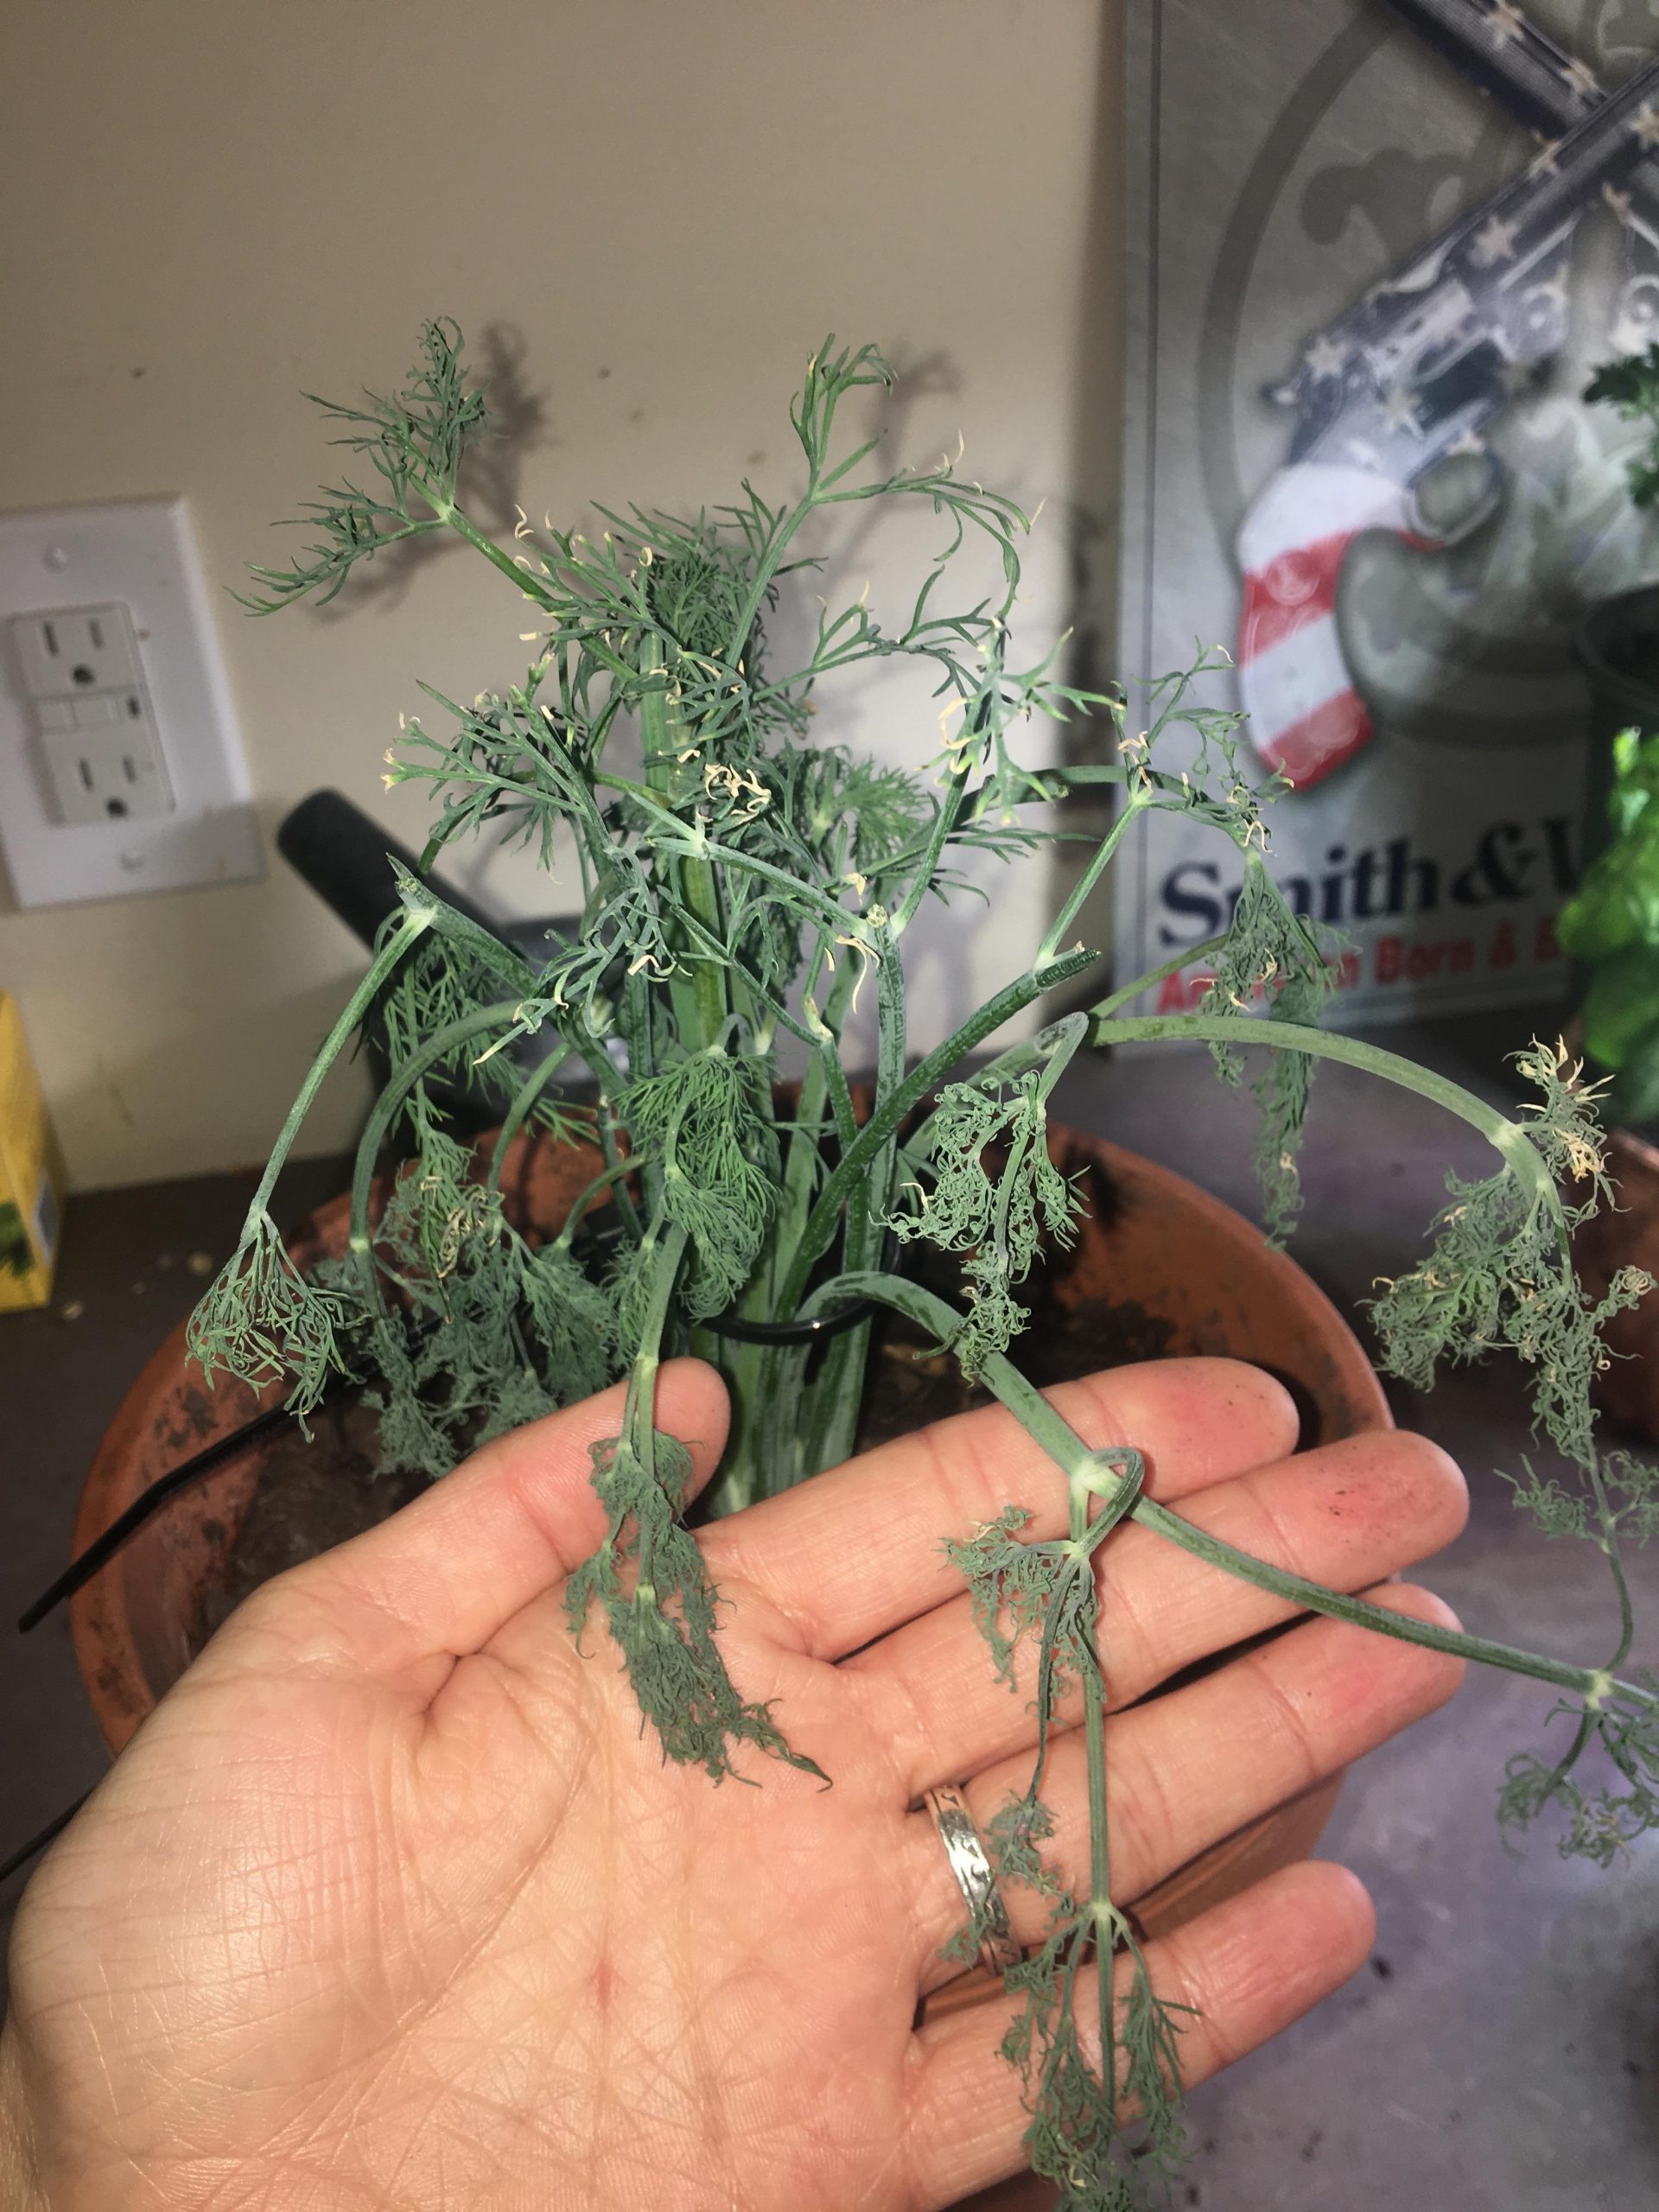
Wilting Or Drooping Leaves
Wilting or drooping leaves can be a sign of insufficient watering, temperature stress, or root damage during transplantation. Insufficient watering can cause the dill plant to experience dehydration, leading to wilting leaves. Inadequate moisture levels in the soil can also inhibit the plant’s ability to absorb nutrients effectively.
Temperature stress, such as extended periods of extreme heat or cold, can also cause the dill leaves to droop. It is important to provide the plant with a suitable environment and maintain consistent temperatures. Root damage during transplantation can disrupt the plant’s ability to absorb water and nutrients, resulting in wilted or drooping leaves.
When repotting dill, be sure to carefully handle the plant’s roots and provide proper support during the process. By addressing these factors and ensuring sufficient watering, appropriate temperatures, and careful transplantation, you can help revive and maintain healthy dill plants.
Yellowing Or Browning Leaves
Yellowing or browning leaves on your dill plant can indicate a number of issues. Excessive sun exposure can cause the leaves to turn yellow. Nutrient deficiency may also be a contributing factor, so it’s important to ensure your dill is receiving the necessary nutrients.
Overwatering or poor drainage can lead to root rot and browning leaves. To repot your dill, carefully assess its current location and make any necessary adjustments. Consider moving it to a spot with less direct sunlight or providing some shade.
Check the soil’s moisture level regularly and water only when necessary, making sure the excess water can drain properly. By addressing these issues, you can help your dill plant thrive and prevent further yellowing or browning of the leaves.
Pest Infestation
If you suspect a pest infestation in your dill plant, carefully inspect it for signs of pests. Look for chewed leaves, discolored spots, or sticky residue on the leaves. If you find any, it is important to implement pest control measures immediately.
Start by removing any affected leaves or parts of the plant. You can also try spraying a homemade insecticidal soap or using organic pest control products. Monitor the plant regularly to ensure that the pests are not returning. If the infestation persists or worsens, seek professional assistance from a local garden center or pest control service.
They can provide expert advice and offer effective solutions to save your dill plant from pests.
Frequently Asked Questions Of How To Repot Dill
Does Dill Transplant Well?
Yes, dill transplants well with proper care and attention.
Why Can’T You Transplant Dill?
Dill can’t be transplanted easily because its delicate roots don’t like being disturbed.
How And When To Transplant Dill?
To transplant dill, choose a sunny location, water the plant thoroughly, and carefully remove it from the current pot. Gently place the dill in the new hole, fill with soil, and water again. Transplant in the spring or early summer for best results.
Does Dill Do Better In Pots Or In The Ground?
Dill does well in both pots and the ground.
Conclusion
Repotting dill is a simple yet important task in maintaining a healthy herb garden. By following the steps outlined in this blog post, gardeners can ensure that their dill plants continue to thrive and produce aromatic leaves for culinary use.
Remember to choose an appropriate pot size and use well-draining soil to promote proper root development. Regular watering and adequate sunlight are also crucial factors in the success of repotting dill. Furthermore, considering the benefits of repotting dill, such as preventing overcrowding and providing fresh nutrients, it is a practice worth incorporating into your gardening routine.
So, don’t hesitate to give your dill plants a fresh start by repotting them when necessary, as it will greatly contribute to their overall growth and productivity. Happy gardening!