To transplant a hazelnut tree, dig a wide hole, carefully remove the tree from its original location, place it in the hole, and fill with soil. Proper transplanting techniques ensure the tree’s successful establishment in its new location.
The process of transplanting a hazelnut tree requires careful attention to detail in order to ensure the tree’s successful establishment in its new location. By following a few key steps, you can ensure a smooth and healthy transition for the tree.
Dig a wide hole in the new location, making sure it is deep enough to accommodate the tree’s root system. Once the hole is prepared, carefully remove the tree from its original location, taking care not to damage the roots. Place the tree in the hole, making sure it is upright and at the same level as it was in its previous location. Fill the hole with soil, packing it firmly around the base of the tree to eliminate any air pockets. Water the tree thoroughly after transplanting to help settle the soil and provide moisture to the roots.
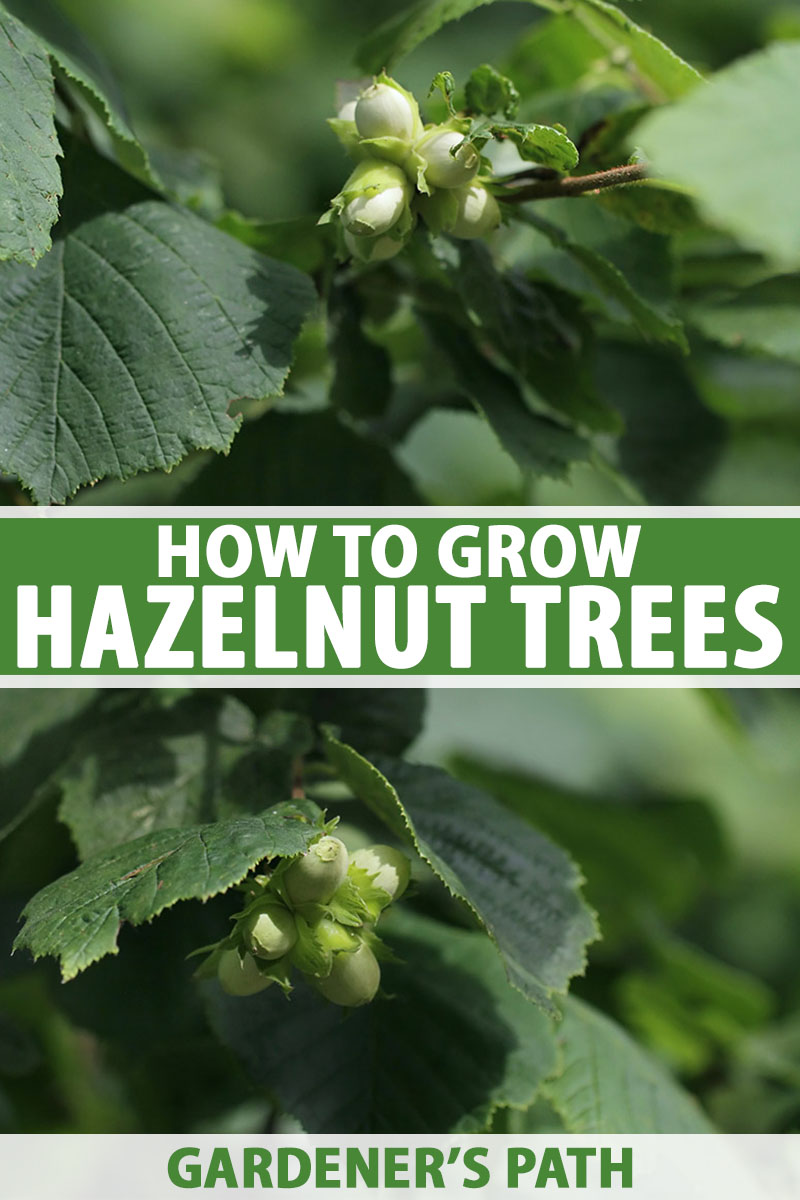
Credit: gardenerspath.com
How to Transplant Hazelnut Tree: Step by Step Guide
Choosing The Right Time For Transplanting Hazelnut Trees
Transplanting hazelnut trees requires careful consideration of various factors for a successful outcome. The right time to transplant hazelnut trees is crucial for their survival and growth. Ideally, the best time to undertake this task is during late fall or early spring. This period allows the tree to adjust to its new location before the onset of extreme temperatures.
Factors to consider include selecting a healthy tree with a well-established root system. The tree should be at least two years old to ensure proper growth. Additionally, it is important to choose a location for the transplant that provides ample sunlight, well-drained soil, and sufficient space for the tree to spread its roots.
During the transplanting process, ensure that the tree is dug out carefully to avoid damaging the roots. Adequate watering before and after transplanting helps the tree settle into its new environment. It is advisable to provide mulch around the base of the tree to retain moisture and prevent weed growth. Regular monitoring of the tree’s progress and timely pruning will contribute to its healthy growth.
By considering these factors and choosing the right time for transplanting, you can ensure a successful transition for your hazelnut tree, promoting its long-term survival and productivity.
Preparing The Hazelnut Tree For Transplanting
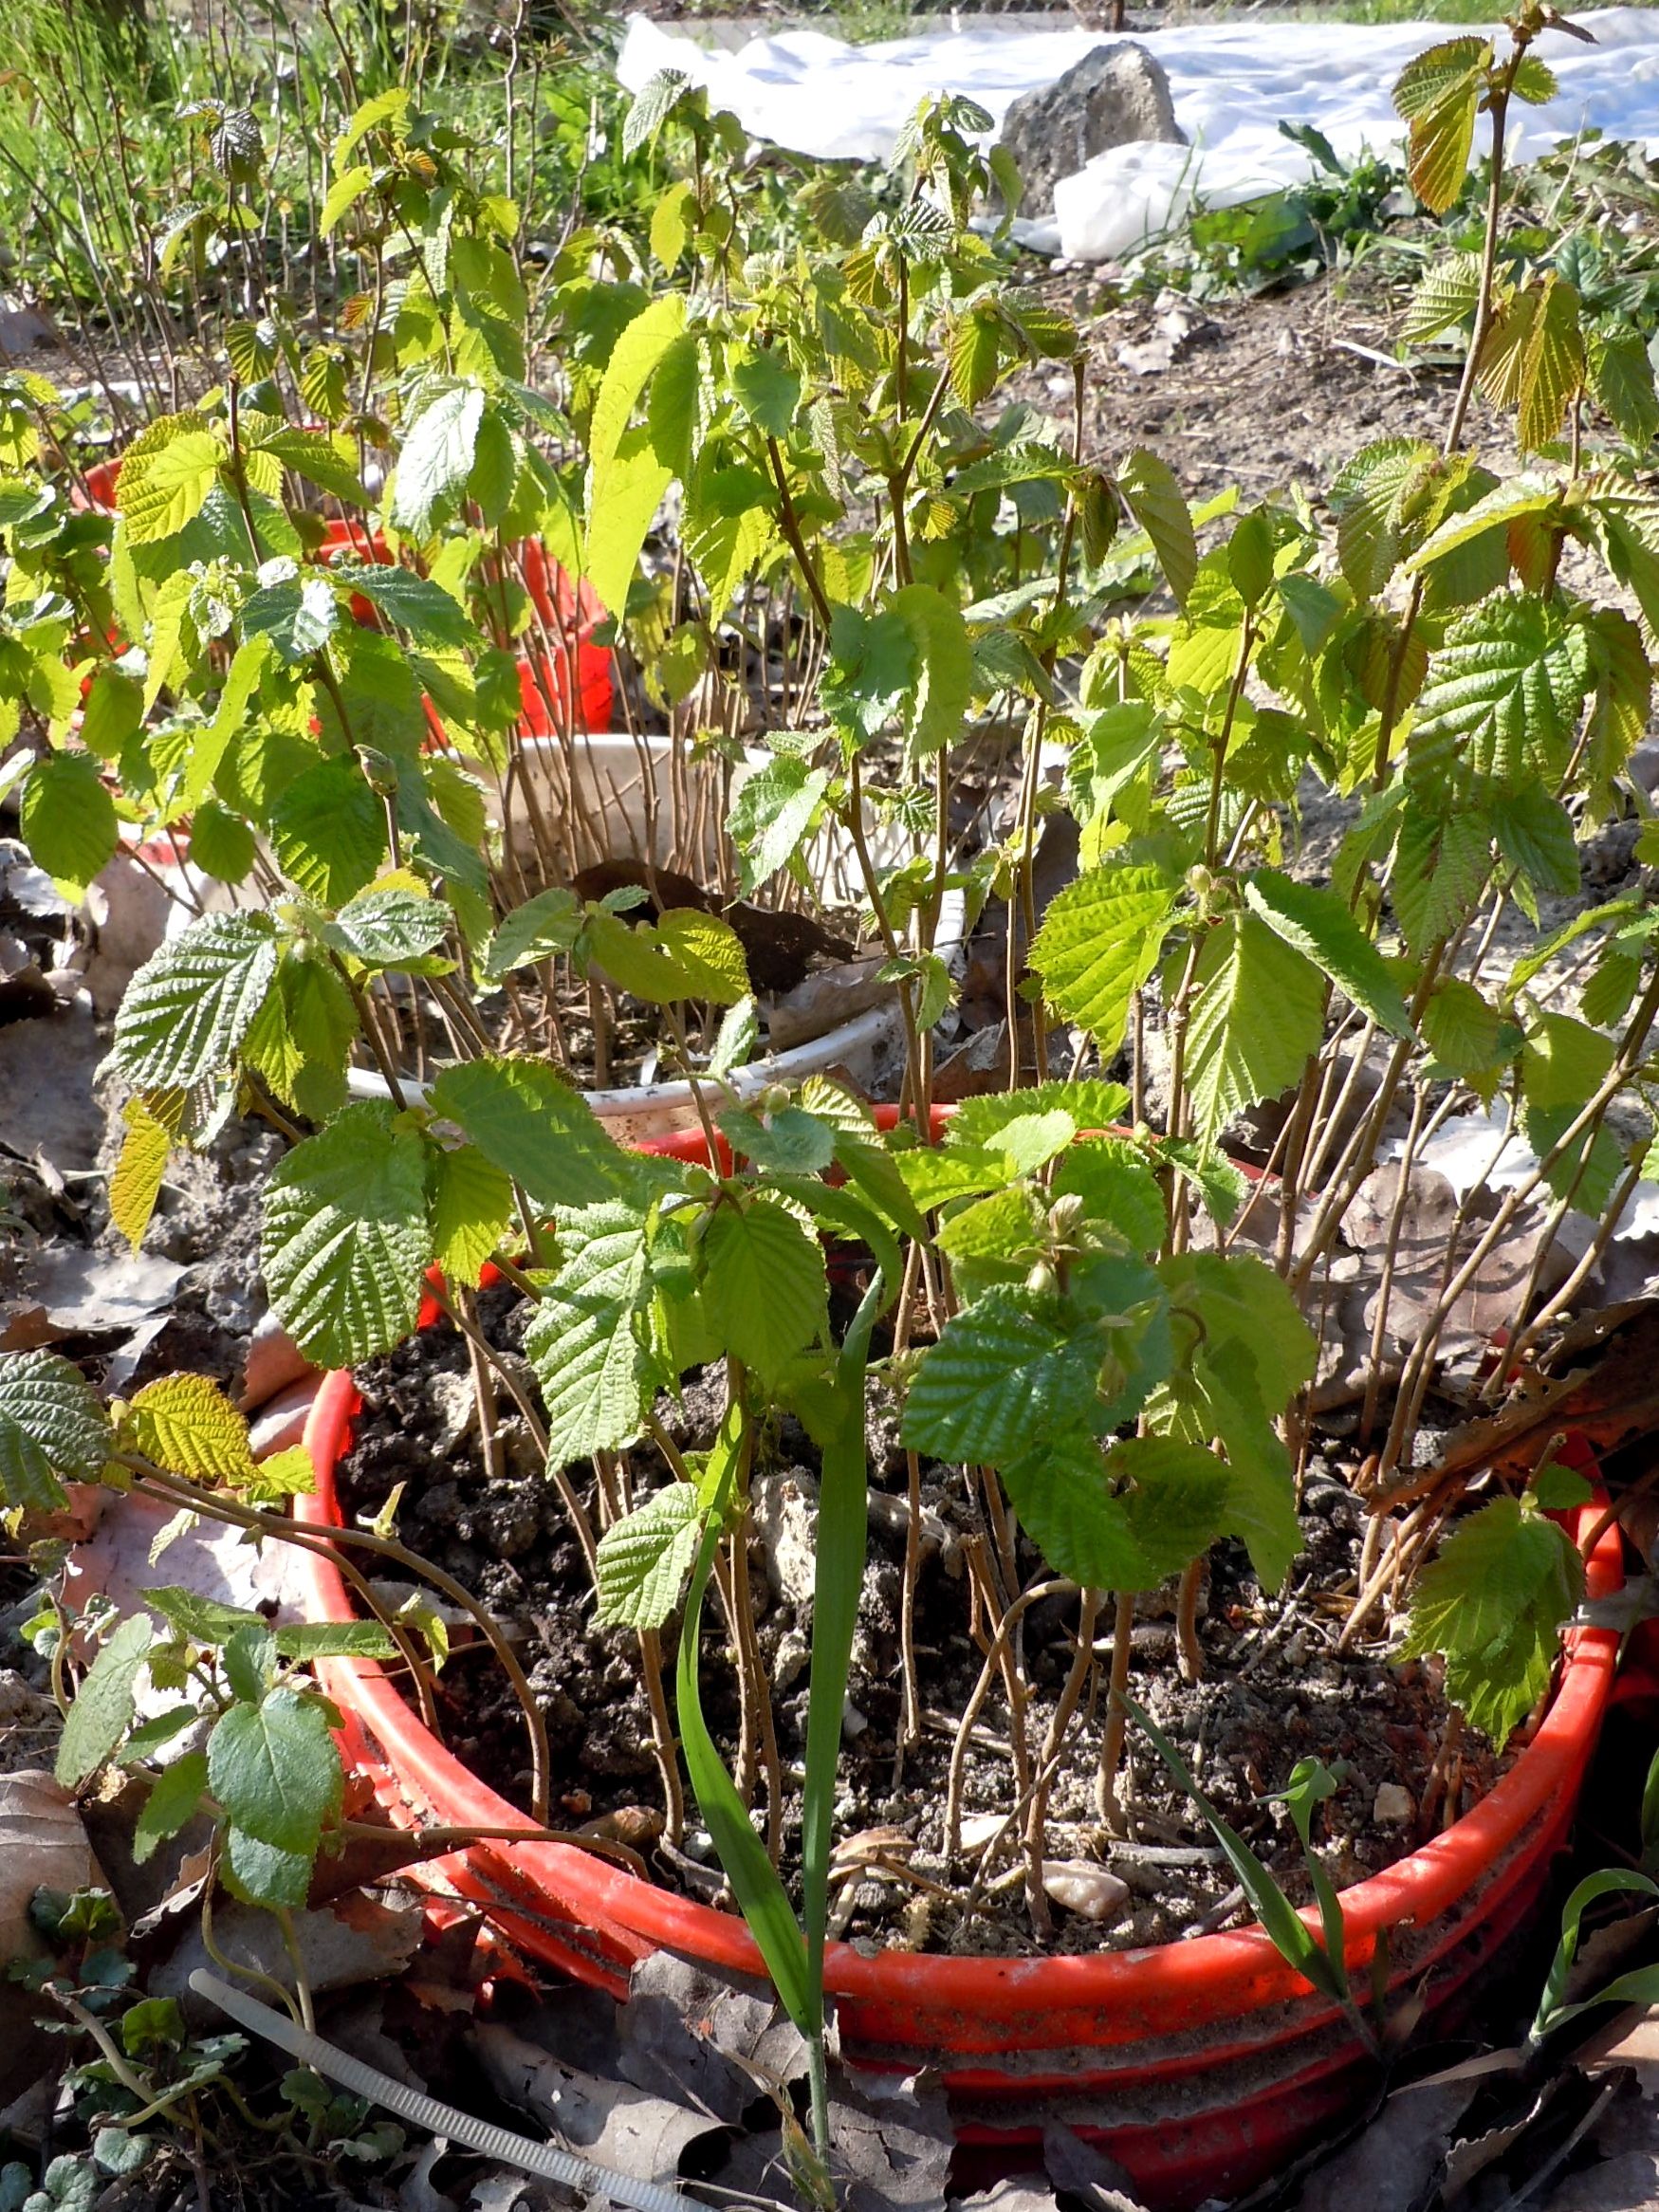
Transplanting a hazelnut tree requires careful preparation to ensure its successful transition to a new location. Start by selecting a healthy hazelnut tree for transplanting. Look for a tree with a strong and sturdy trunk, free from any signs of disease or infection. Before transplanting, prune the hazelnut tree to remove any dead or damaged branches, as well as any branches that may hinder the transplanting process. This will help promote healthier growth after transplantation.
Once the hazelnut tree is pruned, it’s important to prepare the transplanting site. Choose a location that provides adequate sunlight and well-draining soil. Dig a hole that is wide and deep enough to accommodate the root ball of the hazelnut tree. It’s essential to loosen the soil around the hole to encourage proper root growth and establish a strong root system. After transplanting, water the hazelnut tree thoroughly to help settle the soil and provide necessary moisture for the tree to thrive in its new environment.
Transplanting Hazelnut Tree
Transplanting a hazelnut tree requires careful planning and execution to ensure its successful relocation. One of the crucial steps in this process is digging the proper sized hole for transplanting. The hole should be wide enough to accommodate the tree’s root ball and deep enough to allow for proper root growth.
Next, safely removing the hazelnut tree from its current location is essential. Gently dig around the tree’s root ball to avoid damaging the roots. Lift the tree out of the hole with caution and transfer it to a temporary holding area.
Carefully transplant the hazelnut tree to the new location by placing it in the prepared hole. Position the tree at the same level it was previously planted. Ensure that the root ball is properly centered and straight.
Properly backfill the hole by refilling it with the soil, pressing it down gently to eliminate air pockets. Finally, water the transplanted hazelnut tree thoroughly to help settle the soil around the roots and provide necessary hydration.
Staking and protecting the transplanted hazelnut tree is vital to ensure stability and prevent damage. Use stakes and ties to secure the tree, taking care not to tie them too tightly. Additionally, protect the tree from harsh weather conditions and potential pests.
| Hazelnut Tree Transplanting Steps |
|---|
| 1. Dig the proper sized hole for transplanting |
| 2. Safely remove the hazelnut tree from its current location |
| 3. Carefully transplant the hazelnut tree to the new location |
| 4. Properly backfill and water the transplanted hazelnut tree |
| 5. Stake and protect the transplanted hazelnut tree |
Aftercare For Transplanted Hazelnut Trees
Transplanting hazelnut trees is a delicate process, and proper aftercare is essential to ensure their successful establishment and growth. One crucial aspect of aftercare is maintaining a proper watering schedule. Hazelnut trees should be watered deeply and regularly, especially during the first year after transplantation. It is important to monitor the moisture levels in the soil and adjust the watering frequency accordingly.
Mulching around the base of the transplanted tree can help conserve moisture, suppress weed growth, and regulate soil temperatures. A layer of organic mulch, such as wood chips or bark, should be evenly spread around the tree, avoiding contact with the trunk.
Regularly monitoring the transplanted hazelnut tree for signs of stress or disease is crucial. Look for wilting leaves, discoloration, or unusual growth patterns. Address any issues promptly to prevent further damage.
Proper nutrient management is also essential to support the growth of transplanted hazelnut trees. Conduct a soil test to determine the nutrient levels and adjust fertilizer applications accordingly. Organic fertilizers and compost can be beneficial for long-term tree health.
| Heading 1 | Heading 2 | Heading 3 |
|---|---|---|
| Data 1 | Data 2 | Data 3 |
| Data 4 | Data 5 | Data 6 |
Frequently Asked Questions Of How To Transplant Hazelnut Tree
How Do You Transplant A Hazelnut Tree?
To transplant a hazelnut tree, start by digging a hole twice the width of the root ball. Gently remove the tree from its current location, taking care not to damage the roots. Place the tree in the new hole, backfill with soil, and water thoroughly.
Monitor and water regularly to help the tree establish in its new location.
When Is The Best Time To Transplant A Hazelnut Tree?
The best time to transplant a hazelnut tree is during its dormant season, typically in late winter or early spring before new growth begins. This allows the tree to establish its roots without the stress of hot weather and also provides the best chance for successful transplanting.
How Deep Should You Plant A Hazelnut Tree?
When planting a hazelnut tree, dig a hole that is deep enough to accommodate the tree’s root ball. Place the tree in the hole, ensuring that the top of the root ball is level with the ground. Backfill the hole with soil, firming it gently around the roots.
Avoid planting the tree too deep, as this can lead to issues with drainage and root health.
How Long Does It Take For A Transplanted Hazelnut Tree To Grow?
After transplantation, it typically takes a few seasons for a hazelnut tree to fully reestablish and resume normal growth. Keep in mind that individual growth rates can vary based on factors such as the tree’s health, environmental conditions, and overall care.
Regular watering, proper pruning, and nutrient-rich soil can help promote faster and healthier growth.
Conclusion
Transplanting a hazelnut tree can be a rewarding and fulfilling task, but it requires careful planning and execution. By following the steps outlined in this blog post, you can ensure the success of your hazelnut tree transplant. Remember to choose the right time, prepare the soil, and provide proper care after transplanting.
With these tips, you’ll be on your way to enjoying a healthy and thriving hazelnut tree in your garden. Happy transplanting!