To plant oyster mushrooms on outdoor mushroom beds, follow these steps: Prepare a bed with compost and straw, sprinkle mushroom spawn on the bed, cover it with damp straw, and maintain moisture levels. For a successful outdoor mushroom bed, it is crucial to carefully prepare the bed, ensure appropriate moisture levels, and provide the right growing conditions for the mushrooms.
By following these steps, you can enjoy a bountiful harvest of oyster mushrooms right in your own backyard. Whether you are a seasoned gardener or a beginner, cultivating oyster mushrooms on outdoor beds can be a rewarding and exciting endeavor.
We will discuss the step-by-step process of planting oyster mushrooms on outdoor mushroom beds, so you can embrace the joy of growing your own delicious fungi.
Credit: grocycle.com
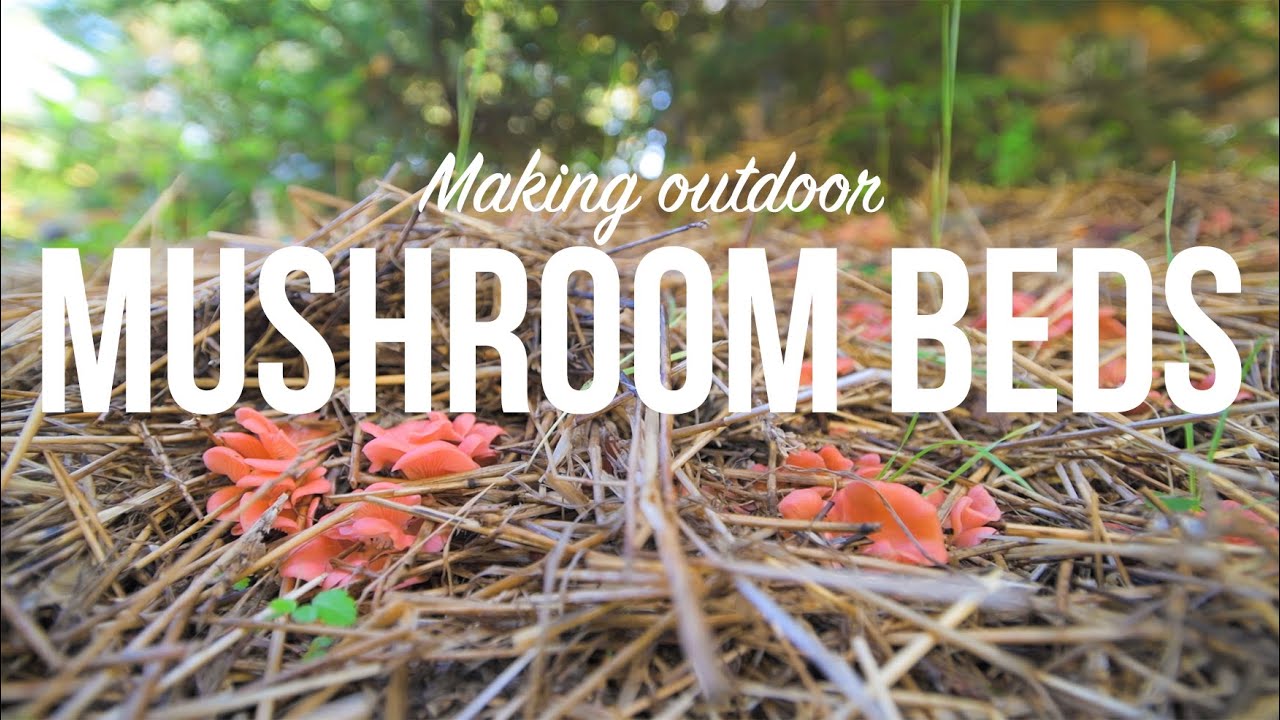
How to Plant Oyster Mushrooms on Outdoor Mushroom Beds: Step by Step Guide
Choosing The Ideal Outdoor Location
Assessing sunlight and shade requirements: Oyster mushrooms prefer indirect sunlight, so it’s essential to select a location that provides ample shade throughout the day. Avoid areas that receive direct sunlight for long periods as it can overheat the mushroom beds.
Checking for proper drainage and air circulation: Good drainage is crucial to prevent waterlogged beds, which can cause the mushrooms to rot. Ensure the location has proper drainage or improve it by incorporating organic materials. Additionally, adequate air circulation helps prevent the growth of mold or fungi that might compete with the oyster mushrooms’ growth.
Selecting a suitable substrate for the mushroom beds: Use materials such as straw, sawdust, or wood chips as substrate for the mushroom beds. These materials provide the necessary nutrients for oyster mushrooms to thrive. Make sure the substrate is clean and free from contaminants that can hinder the growth of the mushrooms.
Preparing The Outdoor Mushroom Beds
When you are preparing outdoor mushroom beds, it is important to start by clearing the area and removing any obstacles. This includes removing any rocks, stumps, or debris that may interfere with the growth of the mushrooms. By creating a designated space for the mushroom beds, you can ensure that they have enough room to grow and spread out.
Once the area is clear, you can begin preparing the soil for optimal mushroom growth. Oyster mushrooms prefer a substrate that is rich in organic matter, such as compost or straw. You can mix this organic matter into the top layer of soil to create a nutrient-rich environment for the mushrooms to thrive.
It is also a good idea to provide some shade for the mushroom beds, as direct sunlight can dry out the soil and hinder mushroom growth. Using a shade cloth or placing the beds in a shaded area of your garden can help to maintain the moisture levels necessary for successful mushroom cultivation.
Inoculating The Outdoor Mushroom Beds
When planting oyster mushrooms on outdoor mushroom beds, it is important to choose the right oyster mushroom spawn. The spawn is the growth medium for the mushrooms and can be purchased or made at home. It is essential to ensure that the spawn is fresh and of high quality. Before inoculating the outdoor mushroom beds, the spawn needs to be prepared. This involves breaking apart the spawn and mixing it with a substrate such as straw, wood chips, or sawdust.
Spreading the spawn evenly on the mushroom beds is crucial to ensure uniform growth of the mushrooms. This can be done by sprinkling the spawn mixture over the mushroom beds and gently mixing it into the substrate. It is important to provide the mushroom beds with the right conditions for growth, including sufficient moisture, shade, and proper ventilation. With proper care and attention, oyster mushrooms can thrive on outdoor mushroom beds and provide a bountiful harvest.
Maintenance And Care
To ensure the proper maintenance and care of your outdoor mushroom beds, there are a few key factors to consider. Watering the mushroom beds properly is essential for their growth and development. Maintaining consistent moisture levels is important, as oyster mushrooms require a moist environment to thrive. Be careful not to overwater, as excessive moisture can lead to the growth of molds and fungi. Monitoring temperature and humidity levels is also crucial. Oyster mushrooms prefer temperatures between 50-70°F (10-21°C) and humidity levels around 85-95%. Regularly check and adjust these factors to create an optimal growing environment.
Lastly, controlling pests and diseases is vital for the longevity of your mushroom beds. Inspect the beds regularly for pests such as slugs, snails, and insects, and take appropriate measures to eliminate them. Pay attention to any signs of diseases or infections and promptly address them to prevent further damage. By following these maintenance practices, you can ensure healthy and productive outdoor mushroom beds.
Harvesting And Using Oyster Mushrooms
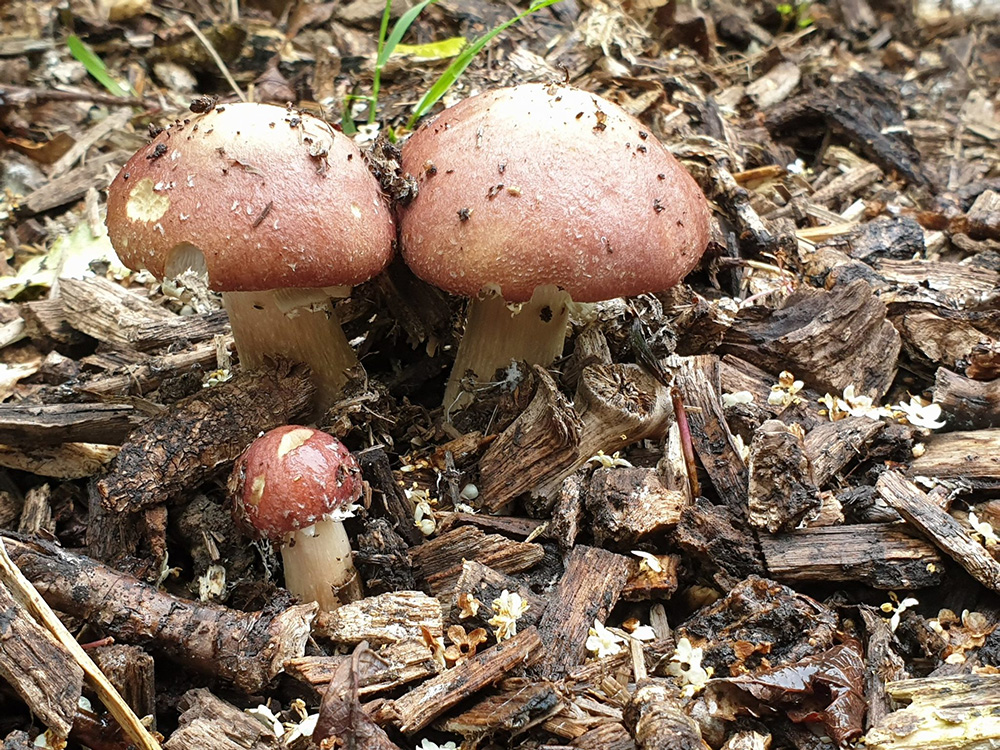
In order to successfully harvest and utilize oyster mushrooms, it is important to recognize the signs of maturity. Oyster mushrooms are ready to be harvested when the caps have fully opened and the gills underneath are still white or slightly creamy. The mushrooms should be firm to the touch and have a moist appearance.
When harvesting oyster mushrooms, it is recommended to cut them at the base of the stem with a sharp knife or shears. This helps to ensure that the mushrooms are cleanly harvested without causing any damage to the mycelium or the growing medium.
Once you have harvested your oyster mushrooms, there are numerous delicious recipes that you can utilize them in. Oyster mushrooms have a delicate and nutty flavor that pairs well with a variety of dishes. They can be sautéed and used as a topping for pizzas or added to stir-fries and soups. Oyster mushrooms also work well in pasta dishes, risottos, and even as a meat substitute in vegetarian recipes. Their versatility and unique flavor make them a popular choice for culinary enthusiasts.
Expanding Your Mushroom Beds
When it comes to expanding your mushroom beds, it is important to prepare additional space for future growth. One way to do this is by collecting and storing mushroom spores. By carefully collecting mature mushrooms and allowing them to release their spores onto a piece of foil or paper, you can save these spores for later use.
Additionally, once you have collected the spores, you can inoculate new beds with them. This process involves preparing a suitable substrate, such as a mix of straw and sawdust, and then sprinkling the spores onto the substrate. By ensuring the substrate is kept moist and at the right temperature, the spores will germinate and the mycelium will spread, eventually producing mushrooms.
In conclusion, expanding your mushroom beds involves both preparing additional space for future expansion and collecting and storing mushroom spores to inoculate new beds. By following these steps, you can increase your mushroom production and enjoy a bountiful harvest.
Troubleshooting And Common Issues
When growing oyster mushrooms on outdoor mushroom beds, it is important to be aware of potential issues that may arise during cultivation. Identifying common problems is the first step towards finding solutions and ensuring successful growth. Poor growth can often be attributed to factors such as inadequate ventilation, incorrect temperature, or inadequate moisture levels. Contamination, on the other hand, can occur due to unsterilized substrate or improper handling of the growing environment.
To overcome these issues, implementing the right solutions is crucial. Ensuring proper ventilation by adjusting the airflow and temperature is essential for optimal growth. Monitoring moisture levels and providing adequate irrigation helps maintain the ideal humidity for mushroom cultivation. Additionally, sterilizing the substrate and maintaining proper hygiene practices can greatly reduce the risk of contamination.
Moreover, taking preventative measures is equally important to avoid future problems. Regularly inspecting the mushroom beds and promptly addressing any signs of disease or pests can prevent their spread and minimize damage. Implementing proper sanitation practices and following recommended cultivation techniques, such as using clean tools and gloves, can also help prevent contamination.
Frequently Asked Questions On How To Plant Oyster Mushrooms On Outdoor Mushroom Beds
How Do You Prepare Outdoor Mushroom Beds For Planting Oyster Mushrooms?
To prepare outdoor mushroom beds for planting oyster mushrooms, clear the area of debris and weeds. Create a raised bed and mix organic compost and straw. Form the bed into a rectangle shape and moisten it with water. Allow it to sit for a few weeks before planting.
What Type Of Outdoor Environment Is Best For Growing Oyster Mushrooms?
Oyster mushrooms thrive in a cool and shady outdoor environment. Choose a location that receives indirect sunlight and has good air circulation. Avoid areas that are too hot or dry, as this can hinder mushroom growth. A woodland or shaded garden area is ideal for growing oyster mushrooms.
How Often Should Outdoor Mushroom Beds Be Watered?
Outdoor mushroom beds should be watered regularly to maintain proper moisture levels. Check the bed daily and water as needed to keep the substrate damp but not waterlogged. It is important to maintain consistent moisture to promote healthy mushroom growth.
Adjust the watering frequency based on weather conditions.
Conclusion
Planting oyster mushrooms on outdoor mushroom beds is a simple and rewarding process. By following the steps outlined in this blog post, you can create a thriving mushroom garden that will provide you with a bountiful harvest. Remember to provide the right conditions, such as shade and moisture, and maintain proper care throughout the growth cycle.
With a bit of patience and dedication, you’ll soon be enjoying the unique flavors and health benefits of homegrown oyster mushrooms. Happy mushroom gardening!