Are you a gardening enthusiast who is struggling to keep your outdoor plants thriving in the colder months?

Bringing outdoor plants indoors is a great way to protect them from harsh weather conditions and maintain their health year-round. Whether you’re preparing for winter or simply want to enjoy your favorite greenery inside, transitioning plants from an outdoor to an indoor environment requires careful planning. By ensuring proper acclimatization, pest control, and placement, you can help your plants thrive while adding a touch of natural beauty to your home. Additionally, bringing plants indoors can also improve air quality and provide a sense of relaxation and tranquility.
This guide on how to bring outdoor plants inside will walk you through the essential steps to make the transition smooth and successful.
What Are the Benefits of Bringing Outdoor Plants Inside?
Bringing outdoor plants inside offers several benefits, including:
- Improved Air Quality: Plants absorb carbon dioxide and release oxygen, helping to purify the air in your home.
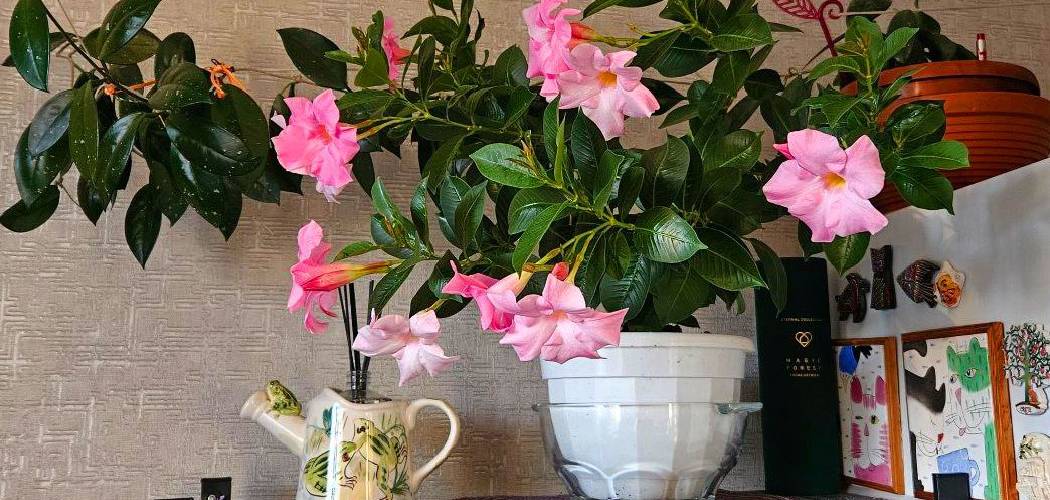
- Added Natural Beauty: Indoor plants can add a touch of greenery and natural beauty to any room, making it feel more inviting and relaxing.
- Stress Relief: Studies have shown that being around plants can reduce stress levels and promote feelings of well-being.
- Boosted Productivity: Having indoor plants has been linked to increased focus and productivity, making them great additions to home offices or workspaces.
What Will You Need?
To start your indoor garden, you will need a few essential items to ensure that your plants thrive in their new environment. Here are some things you should consider purchasing:
- Plants: The first and most obvious item you will need is plants! Choose a variety of sizes, shapes, and colors to create an aesthetically pleasing display.
- Plant Pots: Next, you will need plant pots of different sizes to accommodate the various plants you have chosen. Make sure to select pots with proper drainage holes at the bottom.
- Potting Soil: Good quality potting soil is essential for healthy plant growth. Look for organic options that contain nutrients and retain moisture well.
- Watering Can or Hose: You will need a watering can or hose to keep your plants hydrated. Make sure to water them regularly, but not too much, as overwatering can be harmful.
- Gardening Gloves: It is always a good idea to wear gardening gloves while handling plants and soil to protect your hands from thorns, insects, and any potentially harmful substances.
- Fertilizer: Depending on the type of plants you have chosen, you may also need fertilizer to provide them with extra nutrients for optimal growth.
Once you have all of your tools and supplies, it’s time to get started on your garden!
10 Easy Steps on How to Bring Outdoor Plants Inside
Step 1. Inspect Plants for Pests:
Carefully examine your plants for any signs of pests such as aphids, spider mites, or whiteflies. Pay close attention to the undersides of leaves, stems, and the soil surface, as these are common hiding spots for insects. If you spot any pests, consider using insecticidal soap or neem oil to treat the plants before bringing them inside. This step is crucial to prevent infestations from spreading to your indoor plants.

Step 2. Trim and Prune:
Before moving your plants indoors, take the time to trim and prune them. Remove any dead or yellowing leaves, spent flowers, or damaged stems to promote healthier growth and a neater appearance. Pruning also helps reduce the likelihood of bringing in pests or diseases hiding in decayed plant material. Use clean, sharp pruning scissors to make precise cuts, and be careful not to over-prune, as this could stress the plant. Focus on shaping the plant and maintaining its natural growth pattern.
Step 3. Clean the Plant:
Cleaning your plants is an essential step to ensure they remain healthy and free from dust, pests, and debris. For most houseplants, gently wipe the leaves with a damp cloth to remove accumulated dust. This allows the plant to absorb more light and improves its overall appearance. For plants with smaller or more delicate leaves, consider using a soft brush instead.
If the plant can tolerate it, rinsing it under lukewarm water in the sink or shower is another effective method. Be sure to avoid cold water, as it can shock the plant, and always allow the foliage to dry completely before returning the plant to its regular location. Regular cleaning not only enhances the plant’s vitality but also makes your indoor environment more enjoyable.
Step 4. Check for Soil Pests:
Plants can sometimes harbor soil pests that may harm their growth and health. To check for pests, start by examining the topsoil for any visible movement or tiny insects. Common soil pests include fungus gnats, root aphids, and mealybugs. If you notice pests, carefully remove affected topsoil and consider using natural treatments such as neem oil or insecticidal soap. Avoid overwatering, as damp soil creates an ideal environment for pests to thrive. Regularly inspecting the soil ensures early detection and helps protect your plants from potential infestations.

Step 5. Ensure Proper Pot Drainage:
Proper pot drainage is essential to maintaining healthy plants and preventing root rot. Always ensure that your pots have drainage holes at the bottom to allow excess water to escape. Without adequate drainage, water can accumulate at the base of the pot, leading to overly saturated soil and suffocating the plant’s roots. To improve drainage further, consider adding a layer of gravel, small stones, or coarse sand at the bottom of the pot. Additionally, use well-draining potting soil to facilitate better water flow. Monitoring your watering habits is equally important—avoid overwatering and only hydrate plants when the topsoil feels dry to the touch. Prioritizing proper pot drainage creates an optimal environment for root growth and overall plant health.
Step 6. Gradual Transition:
When moving a plant to a new environment, a gradual transition is essential to minimize shock and allow the plant to acclimate. Begin by introducing the plant to its new conditions for short periods each day, gradually increasing the duration over a week or two. This process is particularly important when changing factors such as light exposure, temperature, or humidity. For example, when transitioning an indoor plant to an outdoor space, start by placing it in a shaded area before slowly exposing it to direct sunlight. A gradual approach will help the plant adapt more effectively, promoting resilience and reducing the risk of stress or damage.
Step 7. Choose the Right Location Indoors:
When selecting a location for your plant indoors, consider its specific light and humidity needs. Some plants thrive in bright, indirect sunlight, while others may prefer low-light conditions. Avoid placing plants near vents, drafty windows, or areas with fluctuating temperatures. Additionally, grouping plants can help create a microclimate with higher humidity, which is beneficial for many indoor plants. Ensure the chosen spot also has enough space for the plant to grow comfortably, allowing it to flourish in its new environment.

Step 8. Water Appropriately:
Proper watering is crucial for the health of your indoor plants. Overwatering is one of the most common causes of plant issues, so it’s important to check the soil moisture before watering. Insert your finger about an inch into the soil to assess dryness; if it feels dry, it’s time to water. Be mindful of the specific water needs of each plant, as some prefer consistently moist soil while others thrive with periods of dryness between waterings. Always use room-temperature water to avoid shocking the roots, and ensure your pots have drainage holes to prevent water from accumulating at the bottom.
Step 9. Monitor Humidity Levels:
Many houseplants, especially tropical varieties, thrive in environments with higher humidity levels. To ensure your plants stay healthy, place a hygrometer nearby to monitor the humidity in your home. If levels are too low, consider using a humidifier, misting the plants regularly, or grouping plants to create a microclimate with increased humidity. Alternatively, placing a tray filled with water and pebbles beneath the pots can aid in boosting the surrounding moisture levels. Adjusting the humidity will help prevent issues like browning leaf edges or stunted growth, keeping your plants vibrant and thriving.
Step 10. Continue Regular Maintenance:
Regular maintenance is key to ensuring your plants remain healthy and beautiful. This includes checking for pests, pruning dead or yellowing leaves, and providing the appropriate amount of water and light. Make it a habit to inspect your plants weekly to identify any issues early on. Additionally, periodically clean the leaves to remove dust and improve photosynthesis.

By following these simple steps, you can keep your indoor plants looking green and fresh all year round.
Conclusion
How to bring outdoor plants inside requires a thoughtful and gradual process to ensure a smooth transition.
Start by inspecting the plants carefully for pests or diseases and treating any issues before moving them indoors. Slowly acclimate the plants to indoor conditions by placing them in a shaded area outside for a few days before bringing them inside. Choose a suitable location indoors that provides adequate light and matches the plant’s requirements. Make adjustments to your care routine, such as watering less frequently, as the indoor environment may have lower humidity and reduced airflow.
With proper care and attention, your outdoor plants can thrive indoors during colder seasons, maintaining their health and beauty.