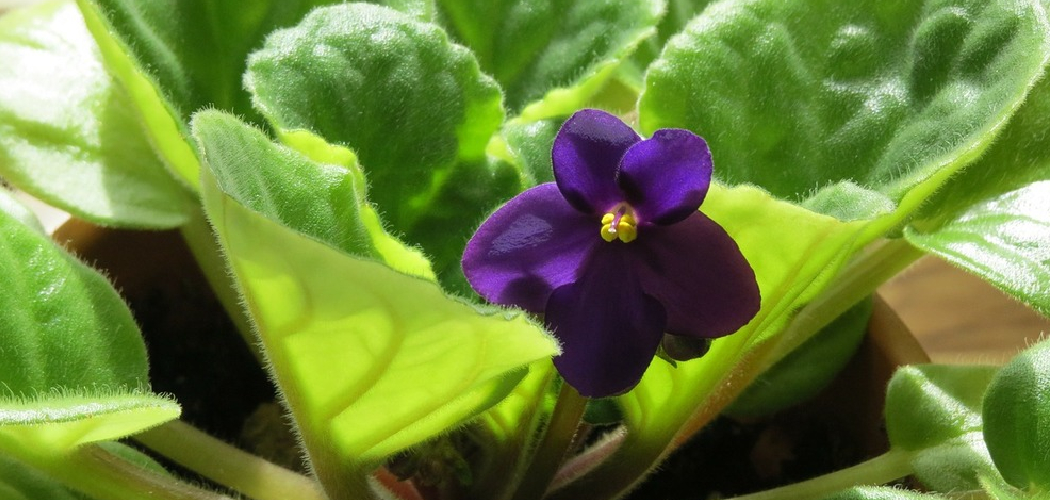
African violet plants are beloved for their stunning blooms and compact size, making them popular houseplants around the world. These flowering plants are relatively easy to care for, but they do require specific conditions to thrive.
With proper attention to light, watering, soil, and temperature, African violets can provide vibrant and long-lasting blooms. Whether you’re a seasoned gardener or a beginner, learning the basics of African violet care is the first step to ensuring their health and beauty.

In this article on how to care for african violet plants, we’ll cover everything you need to know to keep your African violets thriving.
Why Choose African Violets?
African violets, also known as Saintpaulia, are a popular choice for indoor plants due to their colorful and delicate flowers. These plants are native to East Africa and were first discovered in the late 19th century by Baron Walter von Saint Paul-Illaire, which is how they acquired their name.
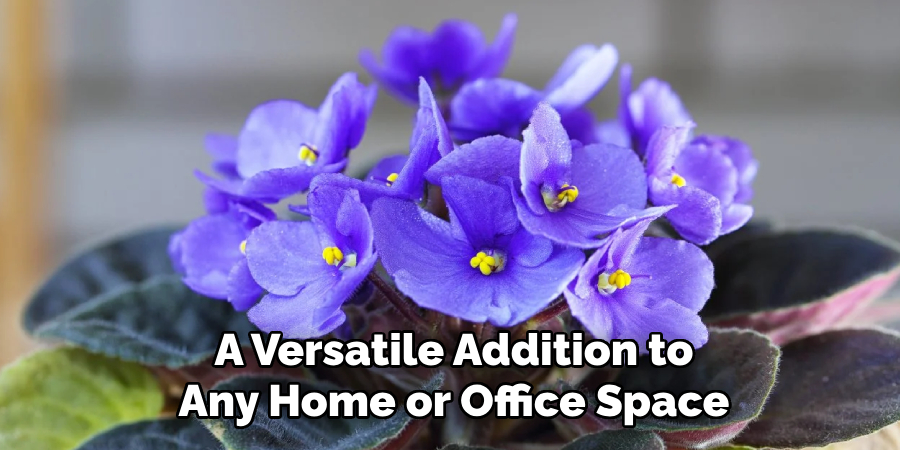
Aside from their beautiful blooms, African violets are also easy to care for and can be grown indoors year-round. They come in a wide variety of colors, ranging from deep purples and blues to pink, white, and even yellow. This makes them a versatile addition to any home or office space.
Needed Materials
To successfully grow and care for African violets, you will need the following materials:
African Violet Potting Mix:
A well-draining, lightweight soil specially formulated for African violets. The mix should contain a balance of organic and inorganic materials, such as peat moss, perlite, and vermiculite.
African Violet Pots:
These pots have special features to promote healthy growth for African violets, such as drainage holes and reservoirs for water supply. They also come in a variety of sizes, shapes, and colors to match your personal style.
Liquid Fertilizer:
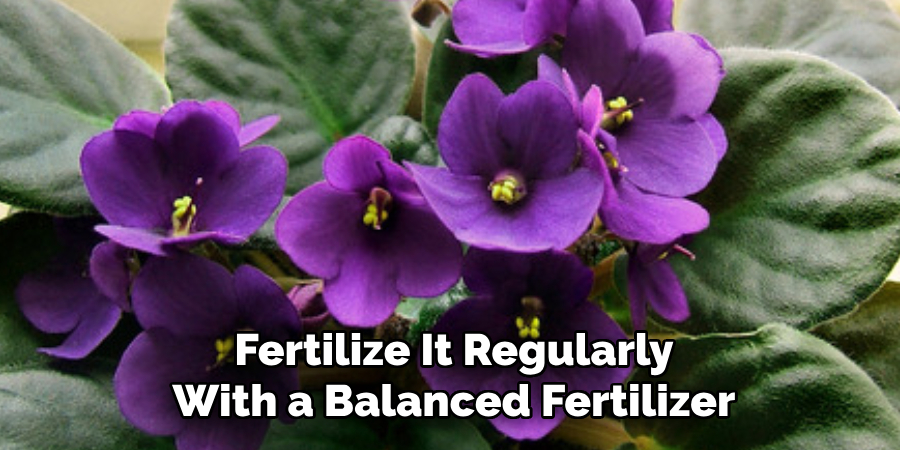
African violets are heavy feeders and require regular fertilization to maintain their vibrant blooms. Look for a balanced liquid fertilizer specifically made for African violets that contains essential nutrients like nitrogen, phosphorus, and potassium. Follow the instructions on the fertilizer bottle for proper dilution and application. Generally, it is recommended to fertilize African violets every two weeks during their growing season.
Natural Light:
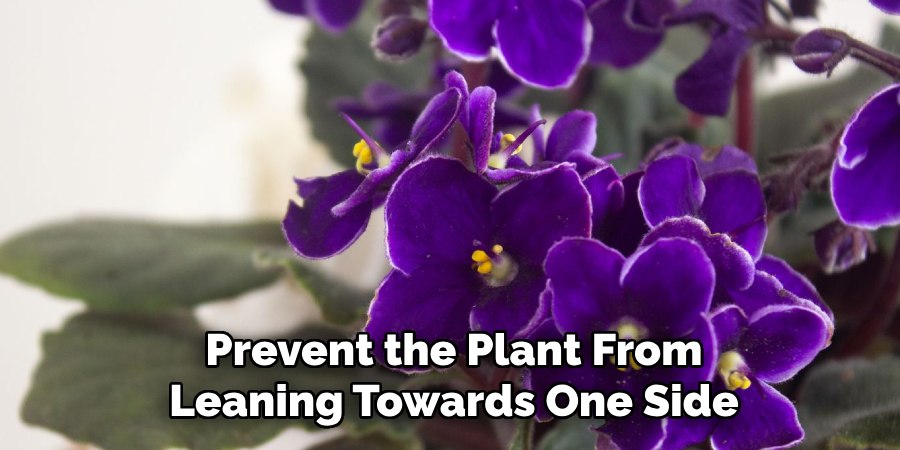
African violets thrive in natural light, but direct sunlight can be too harsh for their delicate leaves. Place your plants near a window that receives indirect sunlight or use sheer curtains to filter the light. You can also rotate your pots regularly to ensure even exposure to light and prevent the plant from leaning towards one side.
8 Step-by-Step Guidelines on How to Care for African Violet Plants
Step 1: Choose the Right Pot for Your African Violets
When choosing a pot for your African violets, it is important to consider the size and material. Clay pots are porous and can absorb moisture, which can lead to overwatering.
Plastic or ceramic pots are better options as they retain moisture and prevent the roots from becoming too wet. The pot should also have good drainage holes to allow excess water to drain out.
Step 2: Use Well-Draining Soil
African violets thrive in well-draining soil that allows their roots to receive adequate air circulation and prevents waterlogging. Choose a soil mix specifically designed for African violets or create your own by combining equal parts of peat moss, perlite, and vermiculite.
This ensures the soil stays moist without becoming compacted or overly saturated. Avoid using standard garden soil, as it can retain too much water and may impede the healthy growth of your plant.
Step 3: Watering
Proper watering is crucial for the health of African violets. They require consistent moisture, but overwatering can lead to root rot and other issues. Check the soil moisture by sticking your finger about an inch into the soil – if it feels dry, it’s time to water.
When watering, use room temperature or lukewarm water and pour it slowly around the base of the plant. Avoid getting water on the leaves as this can cause spotting and damage. Allow excess water to drain out from the bottom of the pot, then empty any remaining water from the drainage tray.
Step 4: Fertilizing
Fertilizing is an important aspect of caring for indoor plants, as it provides essential nutrients that may be lacking in the soil. However, too much fertilizer can also be harmful to plants. It’s important to follow the recommended dosage and schedule for fertilizing your specific plant.
It’s best to use a balanced fertilizer with equal parts nitrogen, phosphorus, and potassium. This will promote healthy growth and overall plant health. When applying fertilizer, make sure to avoid getting it on the leaves as this can burn them.
Step 5: Repotting
As your indoor plants grow, they may outgrow their current pot and need to be repotted into a larger one. Signs that your plant needs repotting include roots coming out of the drainage holes, yellowing leaves, and slow growth.
To repot your plant, gently remove it from its current pot and loosen the root ball. Place it into a slightly larger pot with fresh potting mix. Water thoroughly after repotting to help settle the soil.
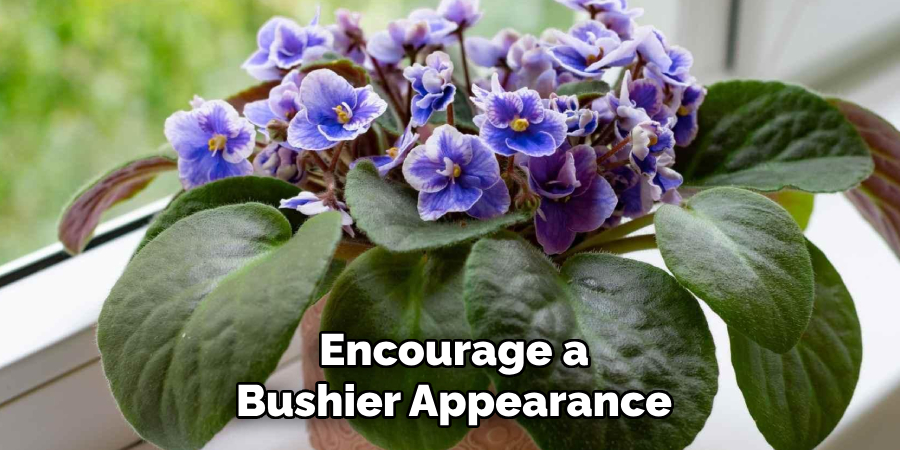
Step 6: Pruning
Regular pruning is important for indoor plants to maintain their shape and promote healthy growth. This involves removing dead or damaged leaves, as well as trimming back any overgrown branches.
When pruning, make sure to use clean and sharp tools to avoid damaging the plant. You can also pinch off new growth tips to encourage a bushier appearance.
Step 7: Pests and Diseases
Unfortunately, indoor plants are not immune to pests and diseases. It’s important to regularly check your plants for any signs of infestation or illness.
If you notice any pests, such as mealybugs or spider mites, isolate the affected plant and treat it with an organic insecticidal soap. For diseases, remove the affected parts of the plant and adjust watering practices to prevent future issues.
Step 8: Fertilizing
Indoor plants can benefit from occasional fertilization to provide them with essential nutrients. However, it’s important not to over-fertilize as this can lead to burned roots and damage the plant.
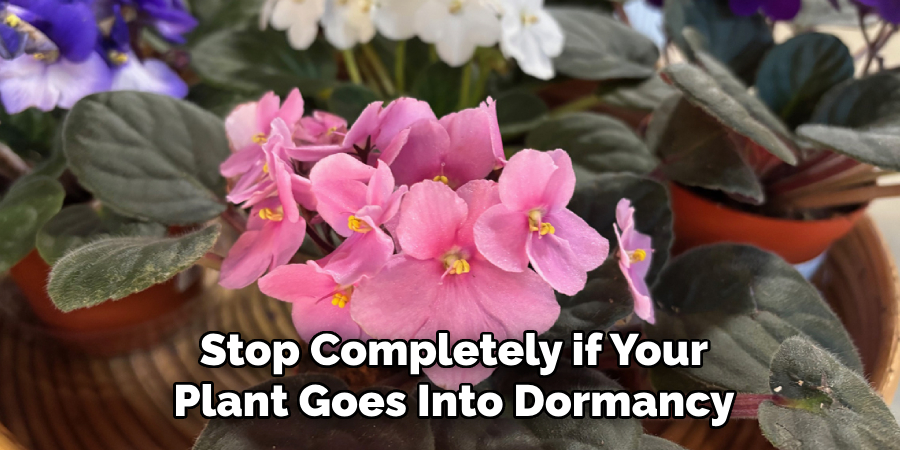
Choose a fertilizer specifically designed for indoor plants and follow the instructions on the packaging. In general, it’s recommended to fertilize once a month during the growing season (spring and summer) and reduce or stop fertilizing during the winter when plants are dormant.
Following these steps on how to care for african violet plants can help ensure their health and promote beautiful blooms for years to come.
Tips for Troubleshooting Common Problems
Even with proper care, African violets may encounter some common problems. Here are some tips on how to troubleshoot these issues:
Yellow Leaves:
Yellowing leaves can be a sign of over-watering or under-watering. Check the moisture level in the soil and adjust watering accordingly.
Fungal Diseases:
African violets are susceptible to fungal diseases, which can show up as brown spots on the leaves. To prevent this, make sure not to get water on the leaves when watering and allow the soil to dry out between waterings. If you do notice signs of a fungal disease, treat it with a fungicide specifically designed for African violets.
Pest Infestations:
African violets can also attract pests such as aphids, spider mites, and mealybugs. These pests can be controlled by using insecticidal soap or neem oil. It is important to regularly inspect your plant for any signs of pest infestation and address it immediately.
Blooming Problems:
If your African violet is not producing flowers, it could be due to inadequate light or a lack of nutrients. Make sure to place your plant in an area that receives bright indirect sunlight and fertilize it regularly with a balanced fertilizer. Over-fertilizing can also inhibit blooming, so be sure to follow the instructions on the fertilizer packaging.
Re-potting:
African violets should be repotted every 6-12 months to ensure healthy growth. This is because they have shallow root systems and can become root-bound if left in the same pot for too long. When re-potting, use a pot that is one size larger than the current one and use a well-draining potting mix specifically designed for African violets.
Frequently Asked Questions
Q1: How Often Should I Water My African Violets?
A: African violets prefer consistently moist soil, but not overly wet. Water them once a week and allow the top inch of soil to dry out before watering again.
Q2: Can African Violets Be Propagated?
A: Yes, African violets can be propagated through leaf or stem cuttings. Simply cut a healthy leaf or stem with at least 1-2 inches of stem attached and root it in water or directly into potting mix.
Q3: Do African Violets Need Special Lighting?
A: While they can tolerate low light conditions, African violets thrive in bright, indirect light. Placing them near a window that receives filtered sunlight is ideal. Avoid direct sunlight as it can damage the leaves. You can also use grow lights specifically designed for houseplants to provide adequate light for your African violets.
Q4: How Do I Fertilize My African Violets?
A: It’s important to fertilize African violets regularly, but with caution. Too much fertilizer can cause burning of the delicate roots and foliage. Use a balanced, water-soluble fertilizer at half or quarter strength every 2-3 weeks during the growing season (spring and summer). During fall and winter, reduce fertilization to once a month or stop completely if your plant goes into dormancy. Avoid getting the fertilizer on the foliage, as this can cause damage. It’s also a good idea to periodically leach out excess salts from the soil by thoroughly watering until water runs through the drainage holes.
Conclusion
By understanding and providing the proper care for your plant, you can ensure its longevity and vibrant growth. Regular attention to watering, fertilization, and overall maintenance will create an ideal environment for your plant to thrive.
Remember, every species has its unique needs, so observing and adjusting your care routine is essential. With patience and consistency, your efforts will be rewarded with a healthy and flourishing plant. Thanks for reading this article on how to care for african violet plants.