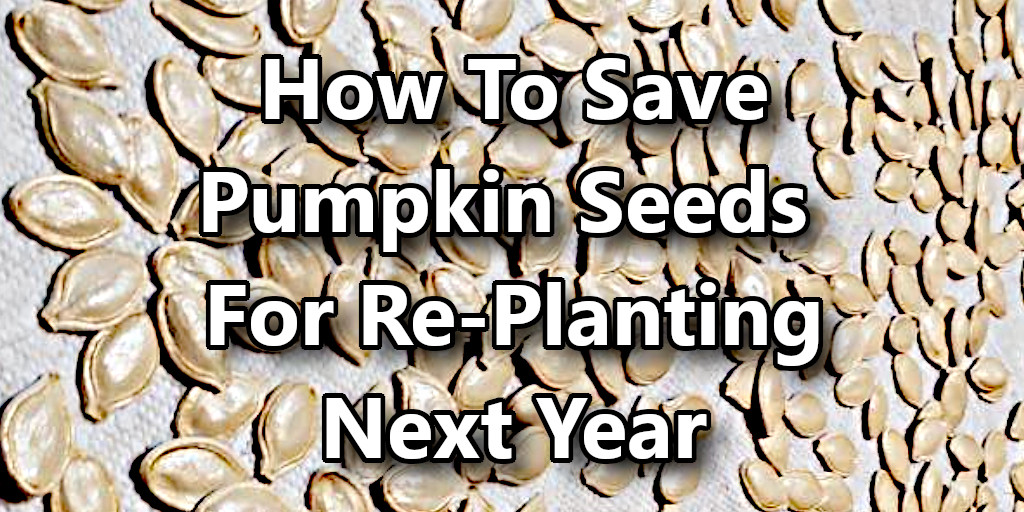
To clean squash seeds for planting, separate the seeds from the pulp and rinse them thoroughly in water.

Credit: www.cappersfarmer.com
The Importance Of Cleaning Squash Seeds
The importance of cleaning squash seeds cannot be emphasized enough. By cleaning squash seeds for planting, you are ensuring the health and vitality of your squash plants. Cleaning the seeds helps remove any debris or impurities that may hinder their growth. The benefits of cleaning squash seeds for planting are numerous.
| Better Plant Health | Avoiding Disease and Pest Issues |
| Clean seeds are less likely to carry diseases or pests that can harm your plants. | Removing any potential disease or pest issues before planting reduces the risk of infestation and damage to your squash plants. |
| Seeds are more likely to germinate successfully and produce strong, healthy plants with proper cleaning. | Maintaining a clean seed batch helps prevent the spread of diseases to neighboring plants. |
| Enhanced Growth and Yield | Increase the likelihood of a bountiful harvest by starting with clean, high-quality seeds. |
Cleaning squash seeds for planting is a simple yet crucial step in the gardening process. By incorporating this practice into your routine, you can enjoy healthy, vigorous squash plants and abundant harvests year after year.
How to Clean Squash Seeds for Planting : Step by Step Guide
Gathering Materials
Gathering Materials is the first step in cleaning squash seeds for planting. To ensure successful seed cleaning, you will need a few items. It is crucial that these materials are clean and sterile to prevent any contamination.
First and foremost, you will need high-quality squash seeds. Using seeds from a trusted source guarantees the viability and health of the plants you will be growing. Next, gather a clean container to hold the seeds during the cleaning process. A glass jar or plastic container with a lid works well.
Another essential item is a strainer or sieve with small holes. This will help separate the seeds from any debris or pulp. Additionally, you will need access to clean water to rinse the seeds thoroughly.
Once you have gathered these materials, you are ready to start cleaning squash seeds for planting. Remember, using high-quality seeds and maintaining cleanliness throughout the process is vital for successful growing.
Removing The Pulp
When cleaning squash seeds for planting, it is important to first remove the pulp. This can be done using various techniques to successfully separate the seeds from the pulp. One effective method is to wash and rinse the seeds thoroughly. This helps to get rid of any remaining pulp and debris. It is essential to ensure that the seeds are free from any debris before proceeding with the cleaning process.
To wash the seeds, place them in a colander and run them under cool water. Use your hands to gently rub the seeds to release any clinging pulp. Continue rinsing until the water runs clear. Once the seeds are clean, spread them out on a paper towel or a clean cloth to dry. Ensure they are completely dry before storing or planting them.
Remember, clean seeds that are free from debris are more likely to germinate successfully and produce healthy plants. By following these steps, you can ensure your squash seeds are well-prepared for planting.
Drying The Seeds
Properly drying squash seeds is crucial for successful planting. When it comes to drying the seeds, there are various methods you can choose from. One popular method is air drying, where you spread the seeds on a flat surface and let them dry naturally for a couple of weeks. Another method is to use a dehydrator, which helps speed up the drying process.
The importance of properly drying the seeds cannot be overstated. Moisture can lead to rotting and mold formation, which can reduce seed viability. By drying them correctly, you ensure their longevity and increase the chances of successful germination.
When drying squash seeds, it’s essential to provide optimal conditions. This includes placing them in a well-ventilated area with low humidity. You should also ensure they are not exposed to direct sunlight, as this can cause damage. Remember to store the dried seeds in a cool and dry place until you are ready to plant them. With proper drying techniques, you will set yourself up for a successful squash harvest.
Storing The Seeds
When it comes to cleaning squash seeds for planting, proper storage is essential for maintaining their viability. Choosing the right storage containers is crucial to ensure the seeds remain in optimal condition. Opt for airtight containers that are moisture-free, preventing any chance of mold or mildew formation. Labeling and dating the containers provide valuable information, allowing you to keep track of the seed’s age and variety.
Proper labeling and dating are particularly important, especially if you have multiple seed varieties stored. This way, you can easily identify and select the desired batch when it comes time to plant. To maintain seed viability, store the containers in a cool, dry place away from direct sunlight. Regularly check the seeds for any signs of moisture or spoilage and discard any damaged or unhealthy-looking ones.
Testing Seed Viability
Checking the germination rate is an essential step in determining the viability of squash seeds for planting. To perform a simple viability test, start by selecting a sample of seeds from your batch. Take a few seeds and place them between two moist paper towels or in a damp paper cup. Keep them in a warm location, ideally around 70 to 80 degrees Fahrenheit.
After a few days, examine the seeds. Look for signs of germination, such as small sprouts or roots emerging from the seeds. Count the number of viable seeds to determine the germination rate.
Discarding non-viable seeds:
If you notice that a significant number of seeds are not germinating, it may be best to discard them. Non-viable seeds can hinder the success of your planting efforts. To ensure the highest chances of success, only plant seeds that demonstrate good germination rates. Dispose of any non-viable seeds responsibly and focus on sowing those that are healthy and likely to produce thriving squash plants.
Tips For Successful Planting
When cleaning squash seeds for planting, there are a few important steps to follow:
- Preparing the planting area: Before sowing the squash seeds, prepare the planting area by ensuring it receives full sunlight and has well-draining soil.
- Germination tips for squash seeds: Soak the squash seeds overnight in water to promote germination. After soaking, rinse them thoroughly to remove any impurities. This will help improve the chances of successful germination.
- Transplanting seedlings: Start the seeds indoors in biodegradable pots a few weeks before the last frost. Once the seedlings have grown to a suitable size, transplant them into the prepared planting area.
By following these steps, you can increase the likelihood of successful squash seed planting. Remember to water the plants regularly and provide adequate fertilizer to support their growth.
Troubleshooting Seed Issues
Seed issues can pose challenges for squash growers. By learning to identify common problems, you can take steps to prevent diseases and pests from damaging your seeds and seedlings. When it comes to troubleshooting, one important aspect is recognizing potential issues with the seeds themselves. Look out for signs of mold, discoloration, or irregular shape, as these could indicate poor quality seeds. Additionally, seeds that are too small or too large may have difficulty germinating.
To prevent diseases and pests, it is crucial to practice good sanitation and maintain a clean environment for your squash plants. Regularly removing debris and weeds from the garden can help minimize the risk of contamination. Lastly, if you notice issues with seedling growth, consider factors such as insufficient sunlight, improper watering, or nutrient deficiencies. Addressing these problems promptly will increase your chances of a successful squash harvest.
Frequently Asked Questions Of How To Clean Squash Seeds For Planting
How Do You Prepare Squash Seeds For Planting?
To prepare squash seeds for planting, remove them from the pulp, wash them thoroughly, and allow them to dry properly.
Can I Plant Squash Seeds Straight From The Squash?
Yes, you can plant squash seeds directly from the squash, following some simple steps.
How Long Should Squash Seeds Be Soaked Before Planting?
Soak squash seeds for 24 hours before planting to promote better germination.
How Do You Germinate Fresh Squash Seeds?
To germinate fresh squash seeds, plant them in well-drained soil, 1 inch deep. Keep soil moist, and provide warm temperatures of around 70-85°F.
Conclusion
To conclude, proper cleaning of squash seeds is essential for successful planting. By following the steps outlined in this blog post, you can ensure that your squash seeds are free from debris and ready for germination. Remember to remove the pulp and strings, wash the seeds thoroughly, and dry them properly before storage.
This process not only helps in maintaining seed viability but also prevents the risk of mold and pathogens. By using this simple and effective method, you can enhance the chances of having healthy and robust squash plants in your garden.
So go ahead, gather those seeds from your favorite squash varieties and give them the cleaning they deserve. Happy planting!