To cure shallots after harvest, properly dry and store them in a cool, dry, and well-ventilated area. After harvesting shallots, it is important to cure them before storing to ensure their longevity and flavor.
Curing is the process of drying and allowing the outer skin to thicken, protecting the shallot bulbs from rot and decay during storage. Properly curing shallots helps to extend their shelf life and enhance their taste. We will explore simple steps to cure shallots after harvest, ensuring you can enjoy these flavorful bulbs for months to come.
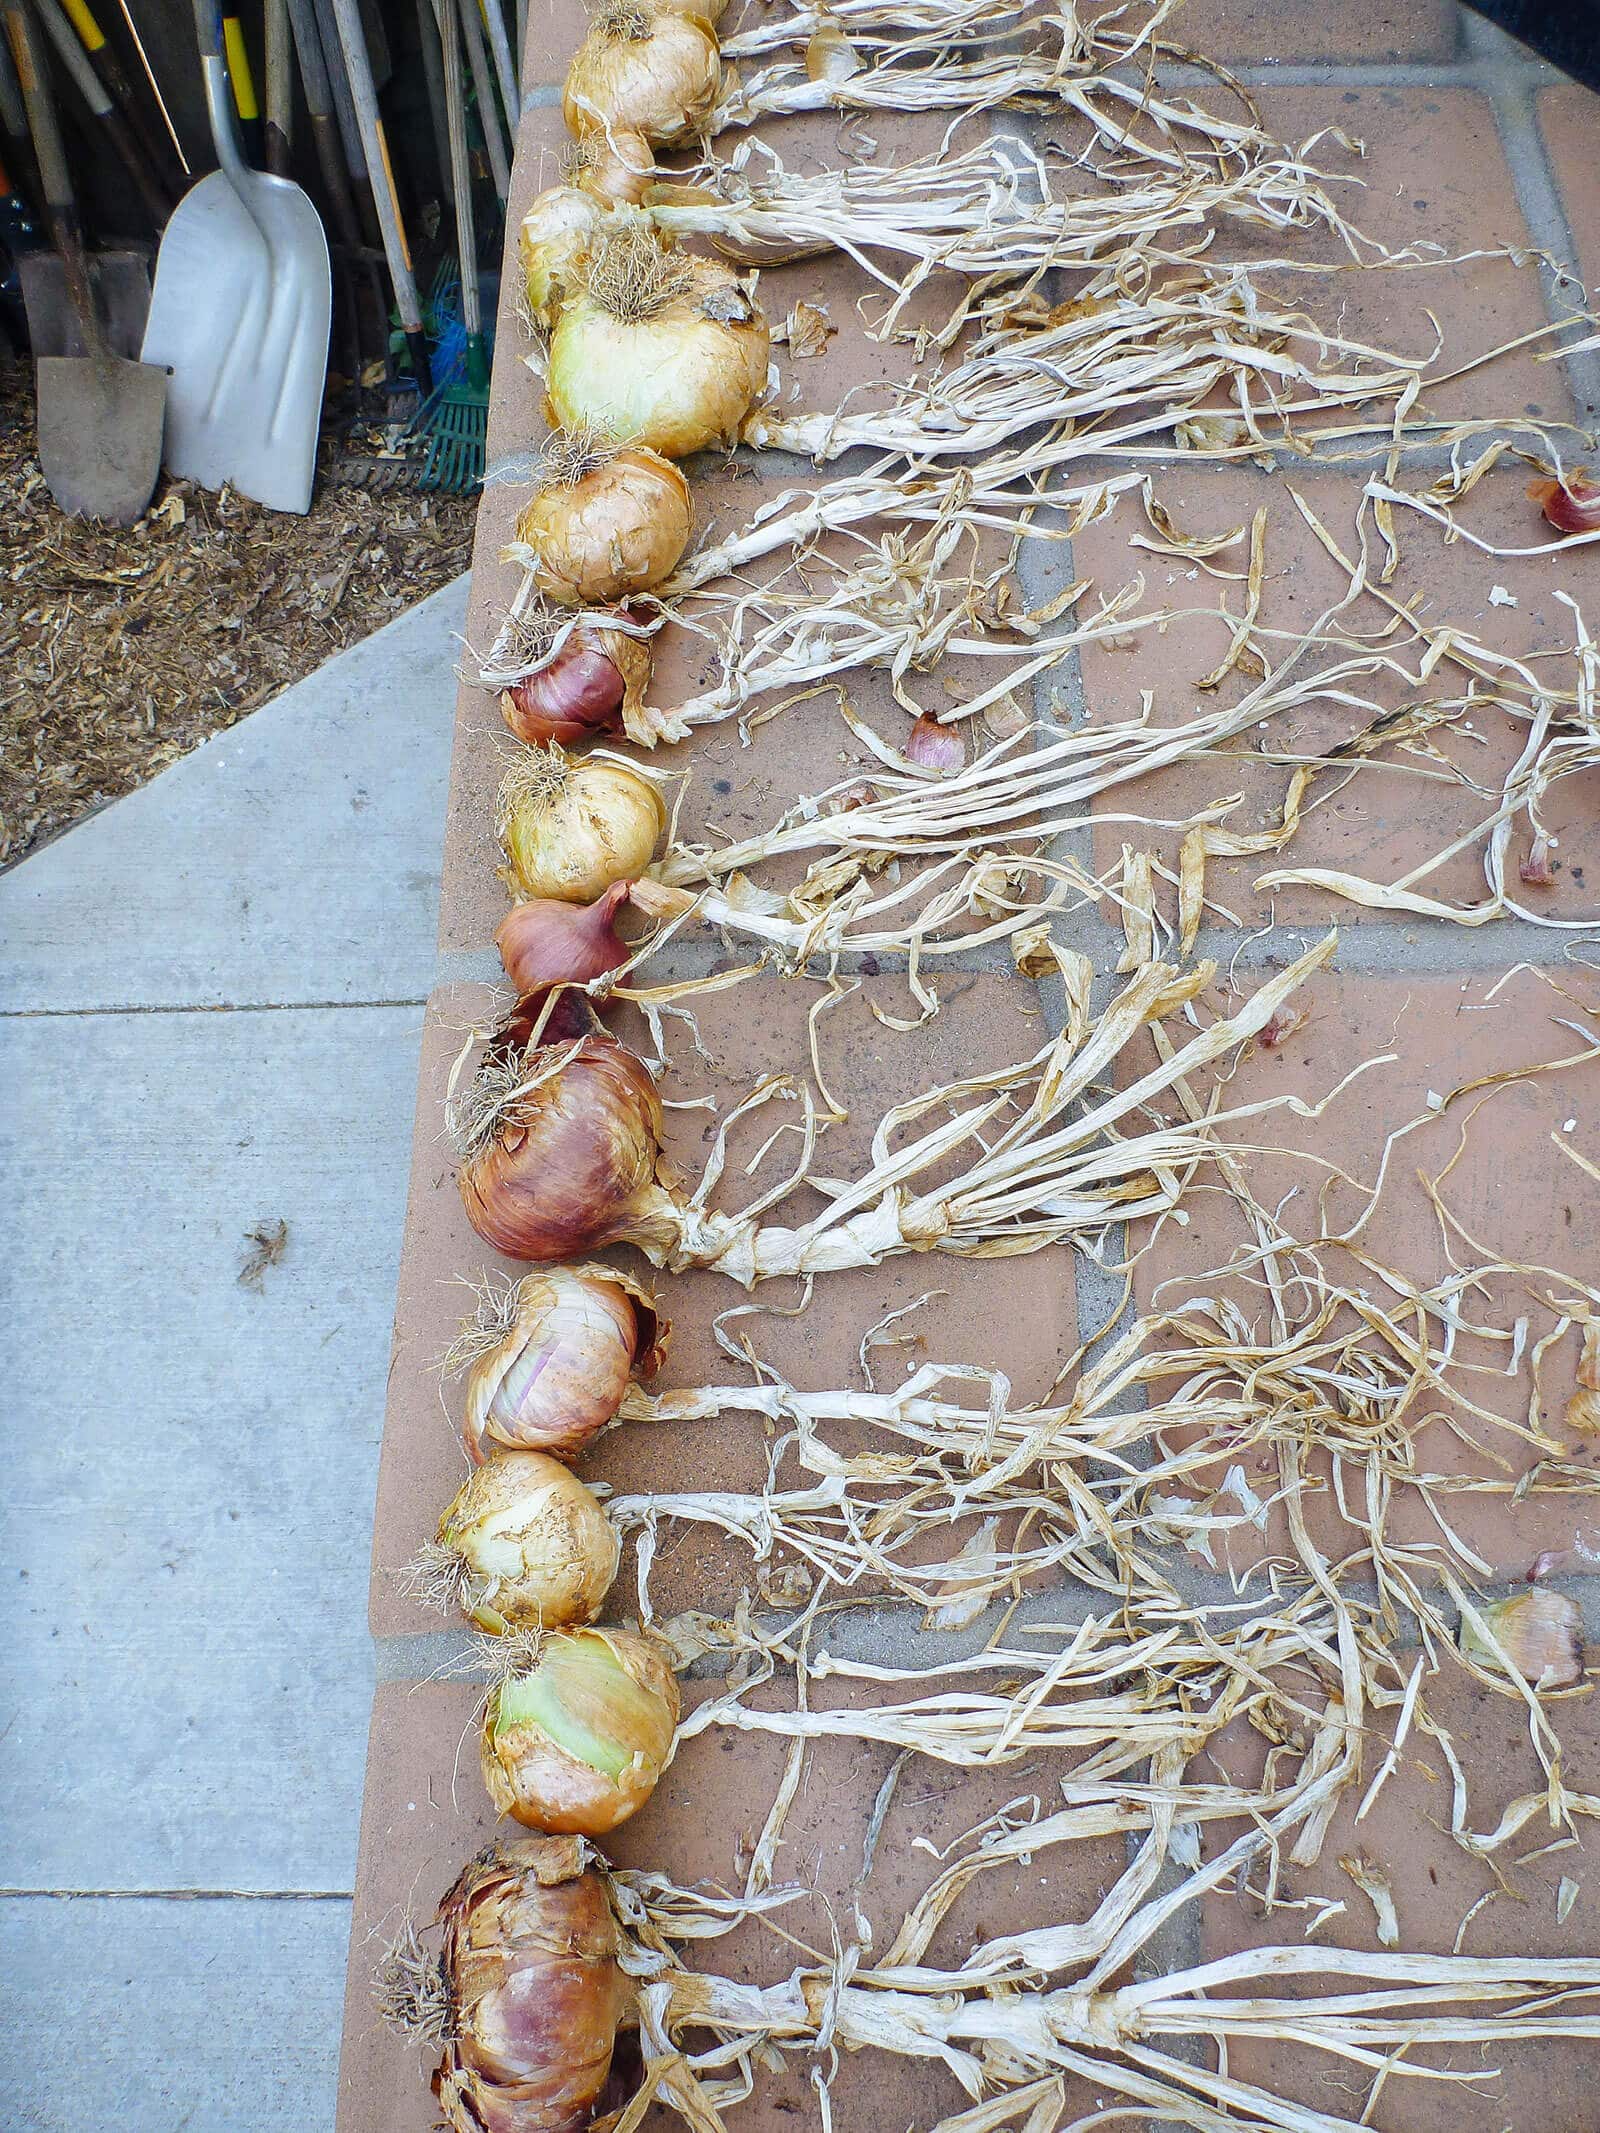
Credit: www.gardenbetty.com
So, let’s dive in and discover how to properly cure shallots to maintain their quality and taste.
Why Curing Shallots Is Essential For Storage
Why is curing shallots essential for storage? There are several reasons. Firstly, curing helps prevent the growth of mold and rot. By allowing the outside layers of the shallots to dry and form a protective skin, it creates a barrier against moisture and bacteria. This ensures that the shallots remain fresh and do not spoil easily.
Secondly, curing extends the shelf life of shallots. Properly cured shallots can last for several months, allowing you to enjoy their flavor and nutritional benefits long after harvest. This is particularly useful if you have a surplus of shallots that you want to preserve for future use.
Finally, curing helps preserve the taste and quality of shallots. The drying process allows the natural sugars and flavors to concentrate, resulting in a more intense and delicious flavor. Cured shallots are also less prone to sprouting, maintaining their firm texture and overall quality.
How to Cure Shallots After Harvest : Step by Step Guide
Preparing The Shallots For Curing
To properly cure shallots after harvest, it is important to follow specific harvesting techniques and take the necessary steps to prepare the shallots for curing.
First, when harvesting the shallots, make sure to gently lift them from the ground using a garden fork or spade. Avoid pulling them forcefully as this can damage the bulbs. Once harvested, allow the shallots to dry in the sun for a few hours to help loosen any remaining soil.
Next, clean the shallots thoroughly by removing any excess dirt and outer layers. Gently rub them with your hands or use a soft brush to clean the bulbs. Avoid using water or washing the shallots as excess moisture can lead to rot during curing.
After cleaning, trim the tops and roots of the shallots. Cut off the green tops, leaving about an inch of stem attached to the bulbs. Remove any long, dangling roots as well.
By following these steps and taking the time to properly prepare your shallots after harvest, you can ensure a successful curing process and enjoy flavorful, long-lasting shallots throughout the year.
Drying And Curing Methods
Option 1: Air Drying
In order to cure shallots after harvest, air drying is a popular method. Start by gently brushing off any excess soil from the shallots. Spread the shallots in a single layer on a clean, dry surface in a well-ventilated area. Keep them away from direct sunlight. Leave the shallots to dry for 1-3 weeks, turning them occasionally to ensure even drying. Once the outer skins become dry and papery, they are ready for storage.
Option 2: Curing in a Well-Ventilated Area
Another method for curing shallots is by providing a well-ventilated area. After harvest, remove any loose dirt and trim the roots. Place the shallots in a single layer in crates or mesh bags, ensuring proper air circulation. Keep them in a cool, dry, and dark area with good airflow for 2-3 weeks. Check regularly for any signs of mold or decay, and discard any affected bulbs.
Option 3: Using a Dehydrator
If you prefer a faster method, using a dehydrator can be a convenient option. Begin by cleaning and trimming the shallots, then slice them into even pieces. Arrange the slices on the dehydrator trays in a single layer, leaving space between each slice for air circulation. Set the temperature to 125°F (52°C) and dehydrate for approximately 8-10 hours, or until the shallots are thoroughly dry and crispy. Allow them to cool before storing in airtight containers.
Monitoring The Curing Process
When curing shallots after harvest, it is crucial to check for dryness and firmness. This will indicate whether the shallots are ready for storage. Look for shallots that have dried out and their outer skins have turned papery. The shallots should feel firm to the touch, indicating that moisture has been sufficiently removed. If the shallots still feel soft or damp, they need more time to cure.
Along with checking for dryness and firmness, it’s important to be vigilant for any signs of mold or decay. Inspect the shallots for any visible spots or discoloration, which may indicate the presence of mold or decay. Remove any shallots that show these signs to prevent contamination of the rest of the crop.
| Adjusting Temperature and Humidity Levels |
|---|
| To ensure optimal curing conditions, it’s essential to control the temperature and humidity levels. Shallots should be ideally cured at a temperature between 70°F to 90°F (21°C to 32°C) and humidity levels around 65% to 70%. Use a thermometer and hygrometer to monitor and maintain these conditions in the curing area. Adjust the temperature and humidity as needed to prevent spoilage and promote proper drying. |
Preparing Shallots For Storage
After harvesting shallots, it is important to properly cure them to ensure long-term storage. The first step is to remove any remaining dirt or debris. Gently brush off the loose soil or use a soft cloth to wipe away any clinging dirt. Be careful not to bruise or damage the bulbs during this process.
Once the shallots are clean, it is time to separate them into individual bulbs or clusters. Carefully twist or snap the bulbs apart, making sure to keep the papery outer layer intact. This will help protect the shallots from moisture and prevent the spread of any potential diseases or pests.
By following these simple steps, you can ensure that your shallots are properly prepared for storage. With their outer layers intact and any dirt or debris removed, they will be ready to be placed in a cool, dry, and well-ventilated area for curing. Remember to regularly check on your stored shallots to remove any that show signs of spoilage and enjoy their rich flavor in your dishes throughout the year.
Choosing The Right Storage Environment
After harvesting shallots, it is crucial to cure them properly to ensure their long-term storage. Choosing the right storage environment is essential in maintaining the quality and freshness of your shallots. One key factor to consider is the ideal temperature and humidity levels. Shallots should be stored in a cool, dry place with temperatures ranging between 35-45°F (2-7°C) and humidity levels around 65-70%. This will prevent sprouting and decay, preserving the flavors of the shallots for months. Additionally, it is important to avoid exposing the shallots to sunlight as it can cause them to become bitter and lose their nutritional value.
When it comes to selecting suitable containers, opt for a breathable option that allows air circulation, such as mesh bags or hanging racks. This will help prevent moisture build-up and mold formation. Avoid using plastic bags or airtight containers as they can trap moisture and lead to rotting. By following these guidelines, you can effectively cure your shallots and extend their shelf life, ensuring a fresh supply of shallots for your culinary delights.
Maximizing Shelf Life
Regularly inspecting shallots for spoilage is a crucial step in ensuring their long shelf life. By examining each bulb closely, you can identify any signs of rot or decay, promptly removing any spoiled shallots from the batch. Remember to rotate your stock, using the oldest shallots first. This method prevents any bulbs from sitting idle for too long and reduces the risk of spoilage. To extend the shelf life further, consider freezing or drying excess shallots. Freezing shallots helps preserve their quality, while drying them can enhance their flavor. Properly storing the frozen or dried shallots in airtight containers will maintain their freshness and allow you to enjoy their wonderful taste for months to come.
Frequently Asked Questions Of How To Cure Shallots After Harvest
How Long Does It Take To Cure Shallots After Harvest?
Shallots generally take around 2 to 3 weeks to cure after harvest. During this period, they should be placed in a cool, dry, and well-ventilated area. Curing helps the shallots develop a papery covering and enhances their flavor and storage life.
Why Is It Important To Cure Shallots After Harvest?
Curing shallots after harvest is essential for their proper development and storage. It allows the shallots to develop a protective skin, which prevents them from rotting and drying out quickly. Additionally, curing helps to concentrate the flavors, resulting in a sweeter and more robust taste.
What Is The Best Way To Cure Shallots After Harvest?
The best way to cure shallots after harvest is to spread them out in a single layer on a clean, dry surface. It’s important to ensure good air circulation and avoid direct sunlight. Leave them undisturbed for 2 to 3 weeks until the outer layer is fully dried and papery.
Can I Cure Shallots Indoors?
Yes, you can cure shallots indoors as long as you have a cool, dry, and well-ventilated space. Find an area with good air circulation, such as a basement or a room with a fan. Spread the shallots in a single layer and follow the same curing process as you would outdoors.
Conclusion
To conclude, curing shallots after harvest is a crucial step in preserving their flavor and extending their shelf life. By following the simple techniques mentioned in this blog post, you can ensure that your shallots retain their quality and taste for a longer period.
Remember to provide adequate ventilation, maintain optimal temperature and humidity levels, and store them in a dry, dark area. By mastering the art of curing, you’ll be able to enjoy the rich flavors of shallots throughout the year.