
To cut Swiss chard from the garden, simply grasp the base of the stalk and use a sharp knife to remove the leaves. Swiss chard is a versatile and nutritious leafy green that can be enjoyed in a variety of dishes.
Whether you are growing it in your backyard garden or bought a bunch from the local market, knowing how to properly harvest Swiss chard is essential. By following a few simple steps, you can easily cut Swiss chard from the garden and enjoy its vibrant flavors and health benefits.
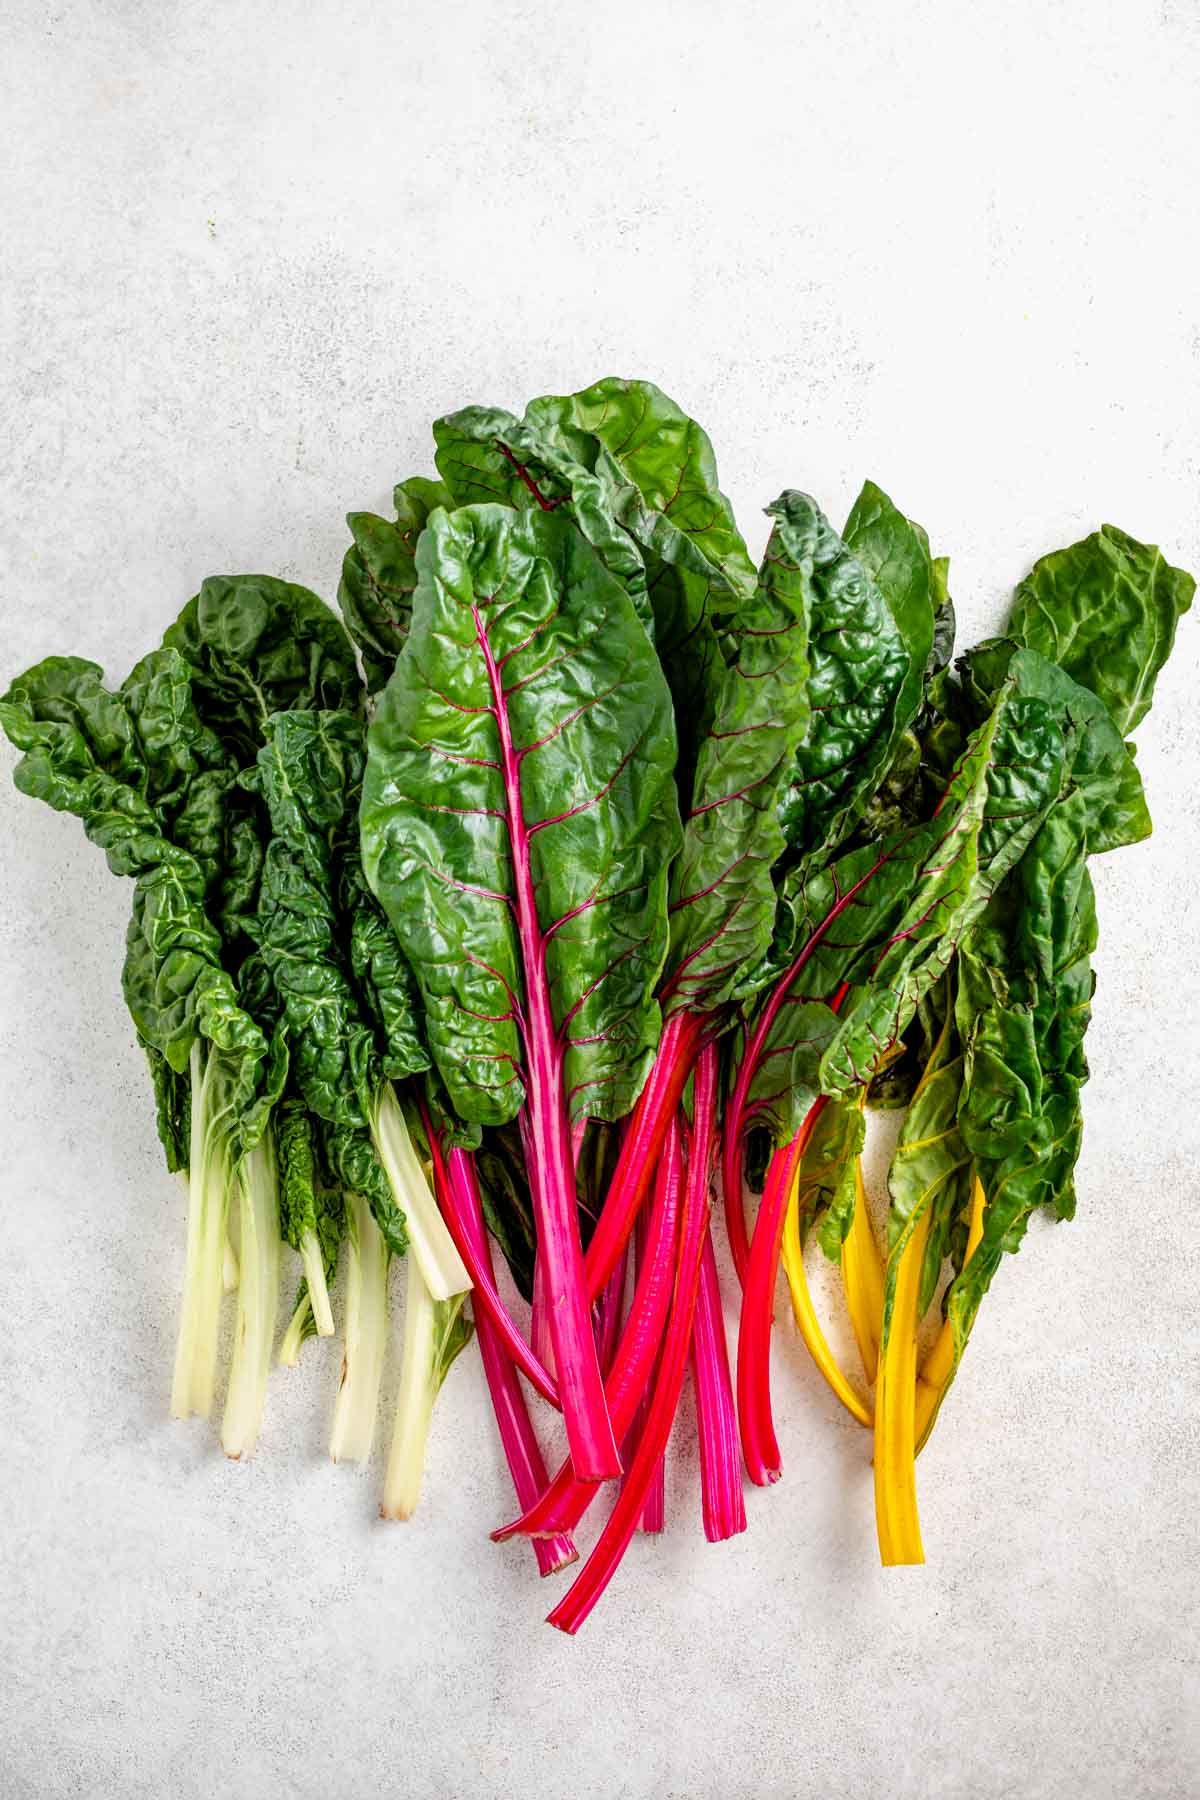
Credit: www.healthyseasonalrecipes.com
We will guide you through the process of harvesting Swiss chard, including when and how to cut the leaves, as well as some tips for storing and using this delicious vegetable in your cooking. So, let’s get started and learn how to cut Swiss chard from the garden.
Benefits Of Growing Swiss Chard In Your Garden
Swiss chard is a fantastic addition to any garden, with numerous benefits worth considering. This leafy green vegetable is not only delicious but also packed with essential nutrients. By growing Swiss chard yourself, you can experience significant cost savings compared to purchasing it from the store.
Another advantage is that Swiss chard is easy to maintain and can tolerate various cooking methods. It’s incredibly versatile and can be used in multiple dishes, adding a pop of color and flavor. With its high nutritional value, this plant is an excellent addition to any diet.
So, why not try growing Swiss chard in your garden and enjoy the benefits it brings?
How to Cut Swiss Chard from Garden : Step by Step Guide
Preparing Your Garden For Swiss Chard
Preparing your garden for Swiss Chard involves selecting the right location, ensuring proper soil preparation and fertilization, and using the right planting methods and timing. For choosing the location, look for an area that receives full sun for at least six hours a day.
This will promote healthy growth and maximum yield. When it comes to soil preparation, Swiss Chard prefers well-drained soil that is rich in organic matter. Prior to planting, add compost or well-rotted manure to improve fertility. It’s important to avoid heavy nitrogen-rich fertilizers as they can lead to excessive leaf growth.
Instead, opt for a balanced organic fertilizer. When planting, sow the seeds directly into the ground or start them indoors and transplant the seedlings later. Swiss Chard is a cool-season crop, so make sure to plant it in early spring or late summer for the best results.
By following these guidelines, you’ll be on your way to successfully growing Swiss Chard in your garden.
Harvesting And Cutting Swiss Chard
Swiss chard is a nutritious leafy green that is easy to grow and harvest from your garden. Knowing when it is ready to be cut is important for optimal taste and texture. Look for signs such as mature leaves, vibrant color, and sturdy stalks.
To cut Swiss chard, you’ll need a sharp pair of garden shears or scissors. When cutting, make clean, diagonal cuts just above the base of the plant. This technique promotes regrowth and allows for multiple harvests throughout the season. Remember to avoid overharvesting and leave a few leaves on each plant to ensure continued growth.
By properly cutting Swiss chard, you’ll enjoy a bountiful harvest and nutritious addition to your meals.
Storing And Preserving Swiss Chard
Swiss chard is a nutritious and versatile vegetable that can be easily grown in your garden. Once you have harvested your chard, it is important to properly store and preserve it for future use. Begin by cleaning and washing the freshly harvested chard to remove any dirt or debris.
There are different methods of storing Swiss chard, including in the refrigerator or by blanching and freezing it. To store in the refrigerator, remove any damaged leaves and place the chard in a plastic bag in the crisper drawer. For freezing or canning Swiss chard, blanch the leaves in boiling water for a few minutes, then transfer them to an ice bath to halt the cooking process.
Once cooled, pack the chard into freezer bags or cans for long-term storage. These techniques will ensure that your Swiss chard stays fresh and retains its flavor for use throughout the year.
Utilizing Swiss Chard In Delicious Recipes
Swiss chard, a leafy green vegetable, is a versatile and nutritious addition to any garden. It can be used in a variety of delicious recipes that showcase its unique flavors. One classic way to enjoy Swiss chard is by sautéing it with garlic and olive oil.
The garlic adds a savory kick to the tender chard leaves, while the olive oil provides a rich and smooth texture. Another creative way to incorporate Swiss chard into your meals is by stuffing it inside chicken breast along with feta cheese.
This combination creates a flavorful and satisfying main dish. Additionally, Swiss chard can be used as an ingredient in smoothies and salads, adding a vibrant burst of color and freshness. Its mild flavor pairs well with a variety of fruits and vegetables, making it a versatile option for healthy and delicious recipes.
Whether you’re a seasoned gardener or a beginner, cutting Swiss chard from your garden opens up a world of culinary possibilities.
Troubleshooting Common Swiss Chard Issues
Swiss chard is a popular green vegetable, but like any plant, it can face certain issues. One common problem is pests and diseases that can damage the leaves. To manage these, you can use organic pest-control methods, such as introducing beneficial insects or using natural sprays.
Another concern is nutrient deficiencies, which can cause stunted growth or discolored leaves. To address this, you can add compost or organic fertilizers to improve soil fertility. Lastly, if your Swiss chard becomes overgrown or starts bolting (producing flowers), you may want to harvest the leaves when they are younger for the best taste and texture.
By following these tips, you can troubleshoot and manage any issues that arise with your Swiss chard plants.
Frequently Asked Questions About Cutting Swiss Chard From Garden
Cutting Swiss chard from the garden is a common practice among gardeners. People often wonder if Swiss chard can be cut multiple times in a season. The answer is yes, you can cut Swiss chard multiple times to encourage new growth.
There are also alternative cutting methods for Swiss chard, such as cutting the outer leaves first and leaving the center intact. This allows the plant to continue producing new leaves. Additionally, Swiss chard can be cut while it is still young.
Young leaves are more tender and have a milder flavor. By following these tips, you can ensure a bountiful harvest of Swiss chard from your garden throughout the season.
Frequently Asked Questions For How To Cut Swiss Chard From Garden
Will Swiss Chard Grow Back After Cutting?
Yes, Swiss chard will regrow after cutting, making it a resilient and sustainable vegetable option.
How Do I Cut Swiss Chard?
To cut Swiss chard, start by removing the stems. Then, stack the leaves and slice them into desired sizes.
How Many Times Can You Harvest Swiss Chard?
Swiss chard can be harvested multiple times throughout its growing season.
How Do You Harvest Swiss Chard Without Killing The Plant?
To harvest Swiss chard without harming the plant, carefully cut individual leaves near the base.
Conclusion
Cutting Swiss chard from your garden is a simple yet rewarding task that allows you to enjoy the freshest greens straight from your backyard. By following these easy steps, you can ensure a successful harvest. Begin by selecting mature leaves and using sharp gardening shears to cut them at the base of the plant.
Remember to leave at least one-third of the leaves intact to avoid damaging the plant. After cutting, rinse the leaves thoroughly with water to remove any dirt or debris. Once cleaned, you can chop, sauté, or add them to your favorite recipes.
Swiss chard is not only delicious but also packed with nutrients, making it a versatile and healthy addition to your meals. So grab your shears and start cutting, and enjoy the bounty of your own garden. Happy gardening!