
To dig up dahlias, first, cut the stem down to about 6 inches from the ground using sharp gardening shears. Then, carefully dig around the plant, loosening the soil with a spade to avoid damaging the tubers.
Lift the clump of tubers out of the ground, gently shake off excess soil, and separate any tubers that have multiplied. Next, place the tubers in a cool, dry area to dry for a few days, and remove any remaining foliage.
Finally, store the tubers in a well-ventilated container with sawdust, peat moss, or vermiculite in a cool, dark place until ready for planting again. Digging up dahlias is an essential step in their care, particularly in regions with cold winters. By correctly lifting and storing the tubers during the dormant season, gardeners can ensure their dahlias survive the winter and produce beautiful blooms year after year. We will discuss the step-by-step process of digging up dahlias, including cutting back the foliage, safely removing the tubers from the ground, drying and storing them for the winter, and preparing them for planting in the spring. By following these guidelines, you can maintain a healthy stock of dahlias in your garden and enjoy their vibrant colors throughout the growing season.
Credit: www.themarthablog.com
Tools And Materials Needed
To dig up dahlias, you will need a shovel, pruning shears, garden gloves, a trowel, and marker or tags for labeling. The shovel will help you loosen the soil around the dahlia tubers. Pruning shears are essential for cutting back the foliage before digging.
Garden gloves will protect your hands from dirt and potential thorns. A trowel is useful for carefully lifting the tubers out of the ground. Lastly, markers or tags are necessary for labeling the different dahlias, ensuring you can identify them when replanting.
These tools and materials are crucial for a successful dahlia digging process. Remember to handle the tubers gently and store them properly for next year’s bloom.
Choosing The Right Time To Dig
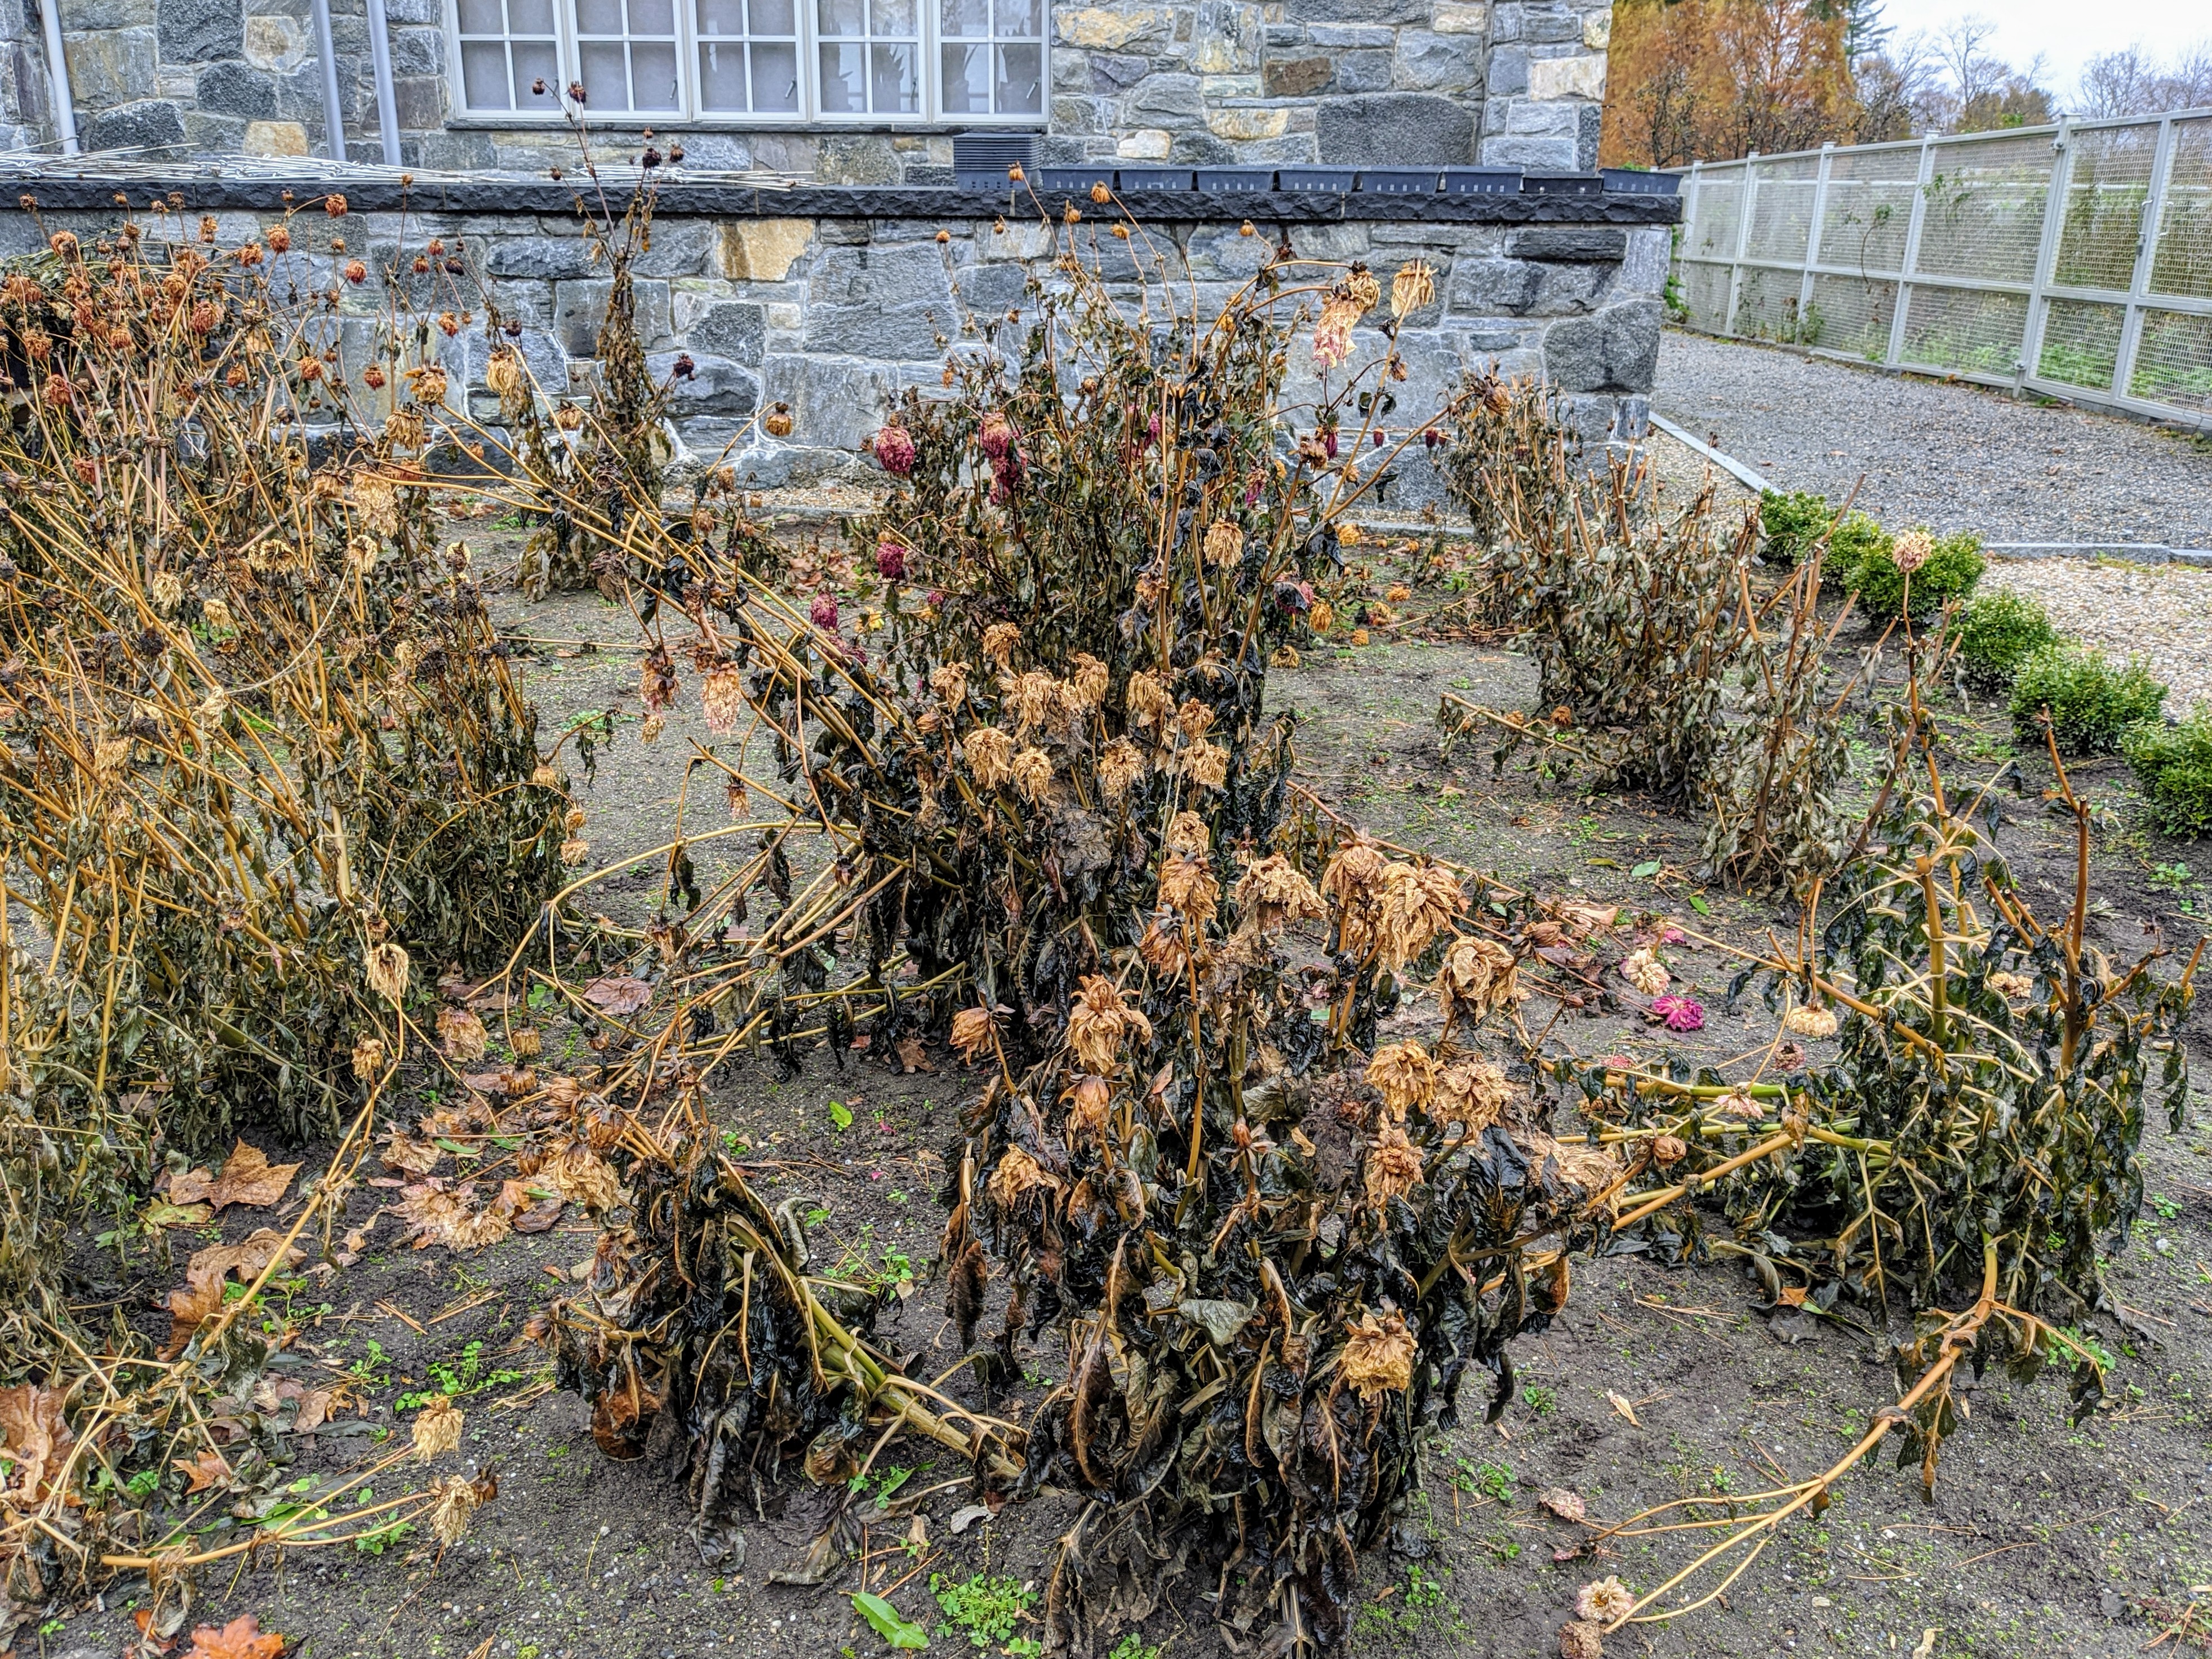
Choosing the right time to dig up dahlias requires careful consideration of the weather and frost dates in your area. To ensure successful digging, it’s important to identify when the dahlias are ready. Look for signs such as foliage turning black and stems starting to wither.
These are indications that the plants have reached their natural life cycle and it’s time to dig them up. However, it’s crucial to avoid digging them up too early, as this can impact their ability to store energy for the next growing season.
The ideal time to dig up dahlias is after the first frost has occurred, but before the ground freezes completely. This allows the tubers to develop strong storage roots and ensures their survival during winter. By following these guidelines, you’ll be able to dig up dahlias at the right time, promoting their health and longevity.
How to Dig Up Dahlias: 9 Effective Methods
Step 1: Cutting Back The Foliage
Digging up dahlias requires a step-by-step approach. Start by cutting back the foliage, trimming the leaves and stems to around 6 inches. Ensure proper disposal of the cuttings to prevent any spread of diseases. This will help promote healthy growth for next year’s blooms.
It’s important to follow these guidelines to maintain the vigor and longevity of your dahlias. By handling this process carefully, you can store the tubers during winter and replant them in spring, enjoying their vibrant colors and beautiful blooms year after year.
Keep in mind that digging up dahlias is a necessary task to protect these tender perennials from cold weather and ensure their survival. Prepare your garden for the upcoming seasons by properly digging up and storing your dahlia tubers.
Step 2: Loosening The Soil Around The Tubers
Loosening the soil around the tubers is a crucial step in digging up dahlias. To avoid damage to the tubers, gently dig around the clumps. Gradually lift the clumps while loosening the soil. This process allows for easier removal of the dahlias without harming the tubers.
The goal is to create a smooth transition from the soil to the tubers, ensuring their preservation during the digging process. By gently working the soil and avoiding any unnecessary force, the tubers will remain intact and ready for storage or propagation.
Remember to be patient and take your time when loosening the soil, as haste may result in unnecessary damage to the dahlias and their tubers.
Step 3: Cleaning And Drying The Tubers

After carefully digging up the dahlias, it is important to clean and dry the tubers properly. Start by removing excess soil from the tubers, ensuring that they are free from any debris. This will help prevent any potential rot or disease.
Once the excess soil is removed, allow the tubers to air dry for a few hours before storing. It is crucial to ensure that the tubers are completely dry before storing to prevent any moisture build-up and subsequent rot. By following these steps, you can ensure the longevity and health of your dahlias for future growth and enjoyment.
Step 4: Dividing The Tubers (Optional)
Dividing tubers is an optional step in the process of digging up dahlias. Before separating tubers into individual clumps, it’s important to evaluate whether or not it is necessary to divide them. This evaluation can be based on factors such as the size of the clumps, the overall health of the tubers, and the desired growth in the next season.
Dividing tubers allows for better air circulation, prevents overcrowding, and promotes healthier plant growth. To divide the tubers, gently separate them from each other, ensuring that each clump has at least one healthy and viable tuber attached. It is essential to handle the tubers with care to avoid any damage.
Once divided, each individual clump can be replanted in a suitable location, ready to bloom again in the next season.
Step 5: Inspecting For Damage Or Disease
Inspect your dahlias for signs of rot, pests, or diseases. Look for any damage or wilted plants. Treat any issues found as soon as possible to prevent further spread. Dispose of any damaged tubers properly to avoid contamination. Keeping a close eye on your dahlias can help ensure their health and longevity.
Regular inspections are essential for catching and addressing problems early on. Remember to provide appropriate care and maintenance to promote optimal growth and blooming. By taking these steps, you can keep your dahlias in top shape and enjoy their beautiful blossoms throughout the season.
Step 6: Labeling And Storing The Tubers
When storing dahlias for the winter, it is important to label each tuber with relevant information. This helps ensure that you can easily identify them when it’s time to plant them again. Additionally, choosing the appropriate storage method based on your climate is crucial to their survival.

Some gardeners prefer storing tubers in paper bags or cardboard boxes, while others opt for using plastic containers or mesh bags. It’s important to keep the tubers in a cool, dry and dark place to prevent them from rotting. As winter approaches, dig up your dahlias carefully, label them accordingly, and store them properly to enjoy beautiful blooms again next year.
Step 7: Handling Tubers With Care
Gently handling and taking precautions with dahlia tubers is crucial to their successful digging. Dropastep or rough handling can damage the delicate roots, resulting in poor growth or even death. To ensure the safety of your tubers, always remember to handle them with utmost care.
Be mindful of your movements and avoid any accidental drops or rough jostling. Keep a steady grip on the tubers, making sure not to apply excessive pressure that could cause harm. By following these simple guidelines, you can safeguard the delicate tubers and ensure a successful dahlia planting season.
Step 8: Regular Inspections During Storage
Regular inspections are crucial when storing dahlia tubers. Periodically check for signs of rot or drying out to prevent any issues. Take necessary preventive measures if problems arise. By keeping a close eye on your stored dahlias, you can ensure their health and longevity.
Don’t overlook this important step in maintaining your dahlia collection. Regularly monitoring your tubers will help avoid any surprises when it’s time to plant them again. Protect your investment and give your dahlias the best chance to thrive by staying vigilant during storage.
Take the time to inspect your stored tubers and address any issues promptly. Your diligence will be rewarded with beautiful blooms when the time comes to dig up your dahlias again.
Step 9: Planning For Next Season
Replanting dahlias requires careful planning and preparation. Start by reviewing your dig up process to identify areas for improvement. Evaluate the tools and techniques you used, and consider if there are any adjustments you can make for next season. Assess the timing of your dig up and whether you need to make any changes to ensure optimal growth.
Take note of the condition of the dahlias you dug up and think about any modifications you could make to improve their health. Consider the location where you stored your dahlias over winter and determine if a different spot would be more suitable.
By carefully reviewing and analyzing your dig up process, you can make the necessary adjustments for a successful dahlia replanting season.
Frequently Asked Questions For How To Dig Up Dahlias
How Do You Dig Up Dahlias?
To dig up dahlias, first use a garden fork to loosen the soil around the plants. Carefully lift the tubers out of the ground, being cautious not to damage them. Shake off excess soil and trim any dead foliage. Store the tubers in a cool and dry place until the next planting season.
When Is The Best Time To Dig Up Dahlias?
It is recommended to dig up dahlias after the first hard frost. This typically occurs in late fall. Waiting until after the frost ensures that the dahlias have stopped growing and the tubers are ready for storage. Be sure to check your local climate for specific frost dates.
How Should I Store Dahlia Tubers?
After digging up dahlias, let the tubers dry out for a few days. Once dry, gently brush off excess soil and place them in a cardboard box or a paper bag. Store the tubers in a cool and dry location, such as a basement or garage.
Regularly check for any signs of rot or mold during storage.
Conclusion
In this blog post, we have explored the step-by-step process of digging up dahlias. By following these guidelines, you can ensure a successful and stress-free experience. Start by preparing the area around the dahlia plant, loosening the soil and removing weeds.
Then, carefully dig around the plant, avoiding any damage to the tubers. Gently lift the plant out of the ground, shaking off excess soil. Trim the foliage and inspect the tubers for any signs of damage or disease. Finally, store the tubers in a cool, dry location until it is time to replant them.
Remember, proper care and maintenance of dahlias during the digging process will help ensure healthy growth and beautiful blooms in the next growing season. So go ahead, put these tips into action and enjoy the vibrant beauty of dahlias year after year!