Drying celosia is a simple process that allows you to preserve the vibrant colors and unique textures of this beautiful flower for a variety of uses. Whether you want to create lasting floral arrangements, craft decorations, or save them as keepsakes, drying celosia ensures their beauty endures long after the growing season ends. This guide will walk you through the steps of how to dry celosia effectively and maintain its appeal.
Why Celosia is Preferred to Dry
Celosia is a popular choice for drying due to its vibrant colors, remarkable texture, and long-lasting appeal. Unlike many other flowers, celosia retains its bold hues and unique shapes even after the drying process, making it an excellent candidate for preserved arrangements. Its sturdy structure ensures that the flowers are less likely to crumble or lose their form, which is a common issue with more delicate blooms.
Additionally, celosia is versatile, available in various types such as the feathery plumes of celosia argentea or the intricate, brain-like appearance of cockscomb celosia, allowing for creative and visually stunning dried floral designs. These qualities make celosia a favorite among crafters and decorators alike.
Best Time to Harvest Celosia
The ideal time to harvest celosia is when the blooms are fully developed but before they begin to fade or produce seeds. This is crucial for maintaining both the vibrant color and sturdy structure of the flowers, which are key qualities for drying and preserving. Early morning is often the best time to harvest, as the flowers contain more moisture and are less likely to wilt.
Using clean, sharp scissors or pruning shears, cut the stems just above a leaf node to encourage further growth on the plant. Proper timing ensures that your celosia retains its beauty and longevity for artistic and decorative projects.
Tools and Materials You’ll Need
To successfully harvest and preserve celosia, you’ll need a few essential tools and materials. These include a pair of clean, sharp scissors or pruning shears for precise cutting without damaging the stems. A basket or container to hold the cut flowers will help prevent bruising or bending during transport.
For the drying process, twine or rubber bands are useful to bundle the stems together, and a well-ventilated space with hooks or a clothesline is ideal for hanging them upside down. Consider having silica gel on hand if you want to preserve the flowers through desiccation for a more vivid outcome.
Additionally, gloves can protect your hands if the stems are tough or prickly. Preparing these items ahead of time will streamline the process and ensure the best results.
10 Methods How to Dry Celosia
1. Air Drying Upright (Traditional Method)
One of the most straightforward and reliable methods for drying celosia is air drying it upright. Begin by harvesting the flowers when they are at their peak bloom—firm, vibrant, and before any browning begins. Strip off most of the foliage from the stems to reduce moisture and prevent mold.

Next, place the stems in an empty vase or container, ensuring good air circulation around each flower. Choose a warm, dry, and dark room, such as a closet or attic, to prevent color fading. Let the flowers dry naturally for two to three weeks. This gentle drying preserves the shape and color, especially for plume-type celosia.
2. Air Drying Upside Down (Hanging Method)
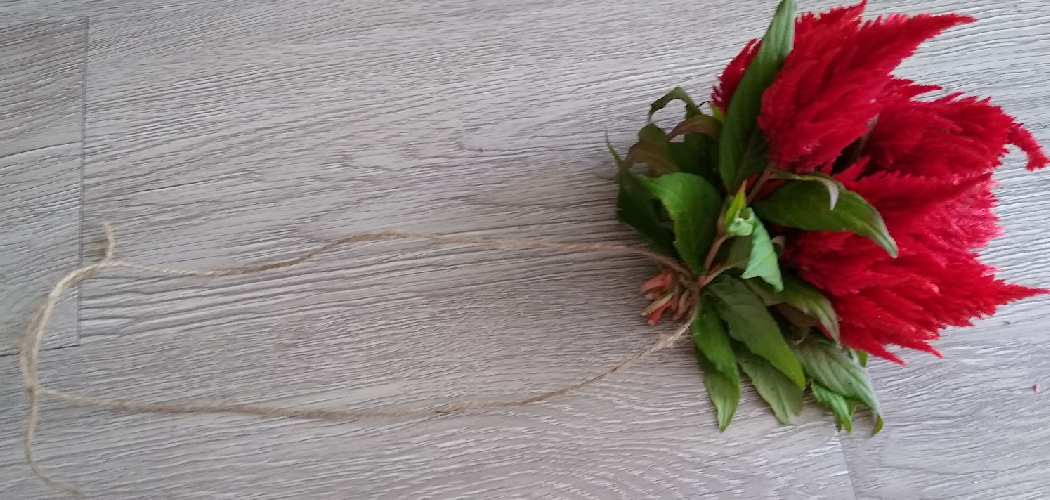
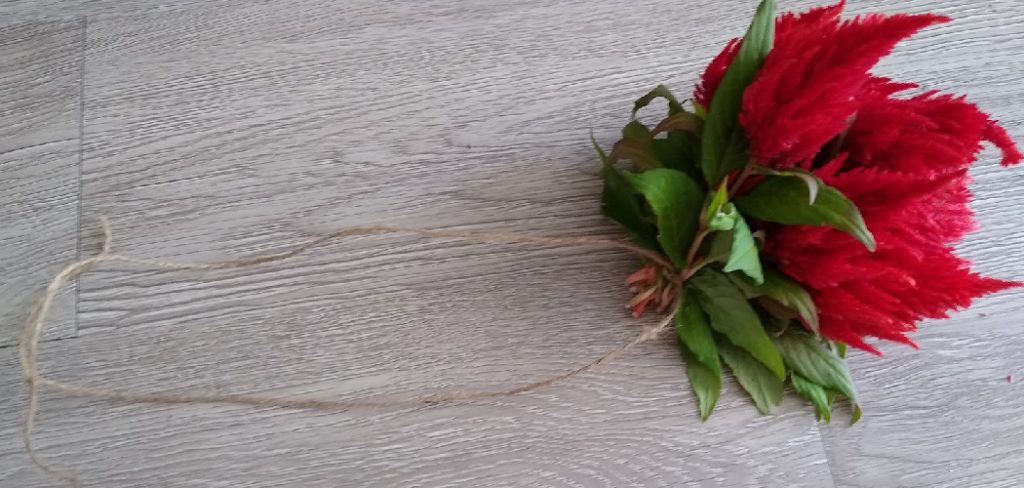
For those looking to preserve a natural look and reduce stem curling, drying celosia upside down is highly effective. Gather the stems into small bunches, securing them with rubber bands or twine. Hang each bunch upside down in a dark, well-ventilated area. Darkness helps retain the intense reds, oranges, and purples celosia is known for.
Space the bunches apart to avoid crowding, which can lead to uneven drying or mold. After two to four weeks, depending on humidity, the blooms will feel dry and crisp to the touch—ready to use in arrangements or displays.
3. Using Silica Gel for Color Preservation
Silica gel is a desiccant that quickly removes moisture from plant material while helping preserve color and detail. This method is ideal for the more compact crested celosia (cockscomb type), which can be difficult to dry without shape distortion. To use this method, fill an airtight container with a 1-inch layer of silica gel.
Gently place the flower heads in the gel, then cover them completely, being careful not to crush the petals. Seal the container and leave it undisturbed for 7–10 days. Once dry, gently remove the flowers and brush off any residual silica with a soft brush.
4. Drying with a Microwave and Desiccant
If you need to dry celosia quickly—perhaps for a last-minute craft or event—the microwave method with silica gel is a fantastic option.
Use a microwave-safe container and follow the same steps as in Method 3. Microwave the container on medium heat for 1–2 minutes, checking frequently. Allow the container to cool before removing the flowers. This method works best with smaller blooms and offers surprisingly vibrant, well-preserved results when done with care. Be cautious, as overheating can cause discoloration or brittle petals.
5. Pressing Between Paper for Flat Crafts
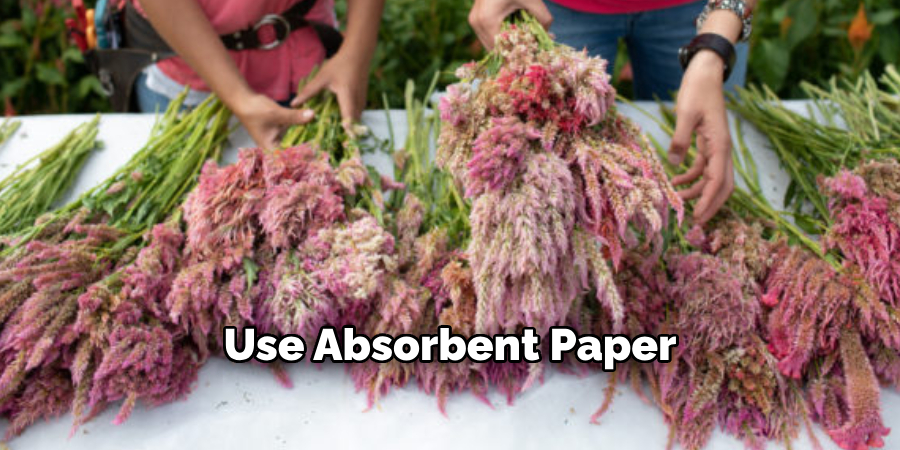
For scrapbooking, framed art, or pressed flower projects, pressing celosia is another drying method to consider. While celosia is not the typical choice for pressing due to its thickness, smaller varieties or parts of the bloom can be successfully flattened.
Use absorbent paper (like newspaper or parchment) and press the flowers between heavy books or a wooden flower press. Replace the paper every few days to prevent mold. After 2–3 weeks, the flowers should be thoroughly dried and ready to use in flat decorative applications.
6. Drying in a Dehydrator
A food dehydrator with adjustable temperature control can be used to dry celosia flowers gently and evenly. Set the dehydrator to a low temperature (around 95–115°F or 35–45°C) to avoid scorching. Spread the celosia stems or heads on the trays with adequate spacing to allow air circulation.
Dehydrating may take 12–24 hours depending on humidity and flower size. This method is particularly useful in humid climates where traditional air drying may take too long or fail due to mold.
7. Using a Fan for Faster Air Drying
When time is of the essence or humidity is high, supplementing air drying with a fan can speed up the process. Place celosia stems in a vase or hang them upside down in front of a small oscillating fan in a cool, dry room. The constant air movement accelerates moisture evaporation, reducing the risk of mold or petal wilt. However, make sure the airflow is gentle—too strong a draft may cause delicate blooms to break or scatter.
8. Drying on a Screen or Mesh Surface

For celosia blooms that are fragile or prone to distortion, drying them on a flat mesh screen is a gentle and effective method. Lay each flower individually on a mesh tray or screen in a single layer, ensuring no overlapping. Turn the flowers daily for even drying. This method allows airflow on all sides, encouraging uniform drying while protecting bloom shape. Place the screen in a dry, shaded, and well-ventilated area to preserve vivid colors.
9. Drying in Bundles for Wreath Making
If your end goal is to make dried celosia wreaths or swags, you can prepare by drying the flowers in the very bundles you’ll use. Group 5–8 stems together and bind them with twine, then hang them upside down in a dry, dark area. Once dried, the bundles can be shaped or tied directly into wreath frames without disturbing individual stems.
This is an efficient method when preparing for seasonal décor, reducing handling and preserving arrangement shapes.
10. Oven Drying for Emergency Use
While not the most ideal method due to potential heat damage, oven drying can be used in a pinch. Preheat your oven to the lowest setting (usually around 150°F or 65°C). Line a baking sheet with parchment paper and lay the celosia flowers flat, spacing them out.
Leave the oven door slightly open to let moisture escape, and bake for 2–4 hours, checking every 30 minutes. This method can dull color but is useful when quick drying is needed for a project.
Common Mistakes to Avoid
When drying celosia flowers, avoiding common mistakes can help preserve their natural beauty and ensure the best results. One major mistake is exposing the flowers to direct sunlight during the drying process, as this can cause fading and brittle stems. Similarly, using high heat, whether in the oven or other artificial methods, can lead to discoloration and a loss of texture.

Overcrowding the flowers, whether hanging them upside down or laying them flat, restricts airflow and can result in uneven drying or mold growth. Lastly, skipping a thorough inspection for pests or moisture before starting the drying process can introduce issues that compromise the quality of your preserved flowers. Careful preparation and a mindful approach will yield the most vibrant and long-lasting results.
Conclusion
Drying celosia is a rewarding way to preserve its brilliant hues and stunning textures for long-term enjoyment. Whether you prefer the simplicity of air drying, the speed of a microwave, or the color preservation of silica gel, each method offers unique benefits depending on your needs.
With a little care, patience, and the right environment, you can enjoy dried celosia in home décor, bouquets, and craftwork all year long. Thanks for reading, and we hope this has given you some inspiration on how to dry celosia!