To germinate clover seeds, you need to provide adequate moisture and a temperature of around 70°F. Plant the seeds in well-draining soil and keep it consistently moist until they sprout.
Germinating clover seeds is a straightforward process that requires proper moisture and temperature conditions. Whether you’re planning to grow clover for its verdant foliage, as a groundcover, or to enrich your soil, understanding the germination process is essential. By providing the right environment and following a few simple steps, you can ensure successful seed germination.
We will discuss how to germinate clover seeds effectively, so you can have a thriving clover garden or a lush green pasture. With these guidelines, you’ll learn how to promote optimal conditions for clover seed germination, leading to healthy and vibrant clover plants.
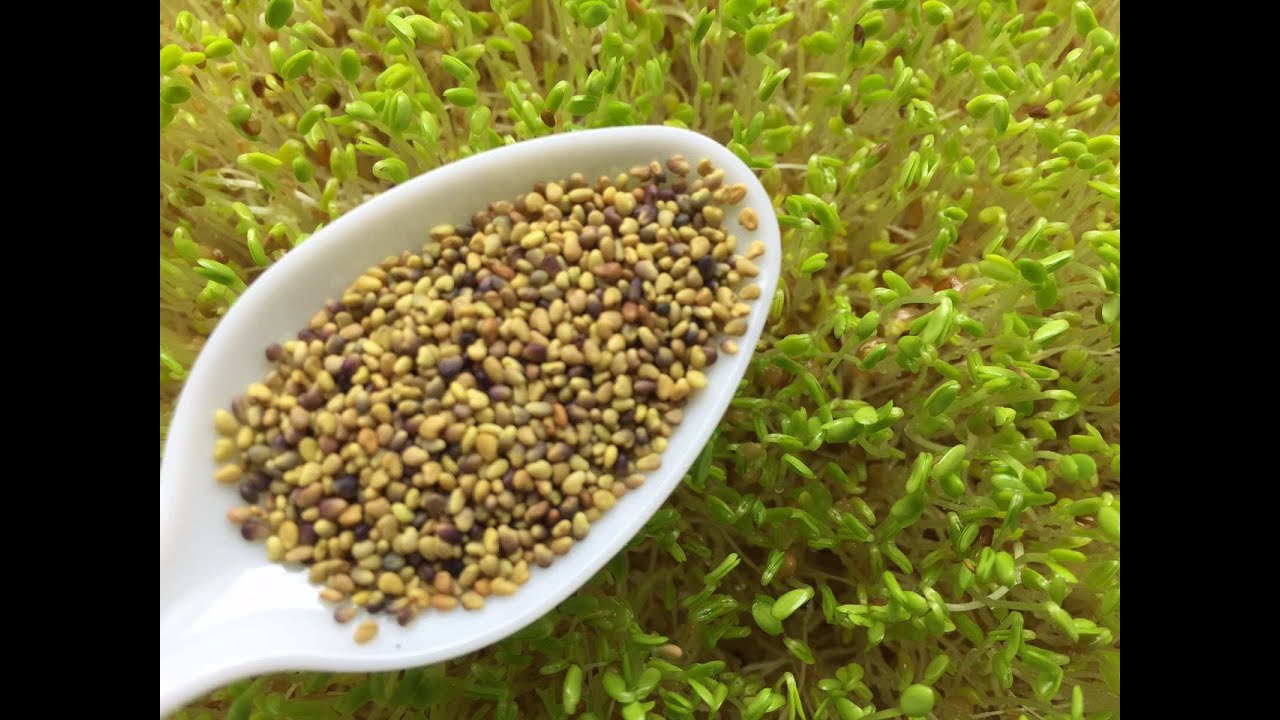
Credit: sproutpeople.org
The Importance Of Germinating Clover Seeds
Germinating clover seeds is essential for successful clover growth. By germinating the seeds, you can maximize the chances of achieving healthy plants and a thriving garden. There are several benefits associated with germinating clover seeds:
- Improved Germination Rate: Germinating the seeds helps improve their rate of germination. This means that a higher percentage of the seeds will successfully sprout and develop into seedlings.
- Quicker Growth: Germinated seeds tend to grow more quickly compared to non-germinated seeds. This can be especially beneficial if you are looking to establish a clover ground cover or pasture as soon as possible.
- Enhanced Nutrient Uptake: During germination, the seed activates various enzymes and processes that promote nutrient uptake. This ensures that the young plants have access to the necessary nutrients for healthy growth.
- Reduced Competition: Germination allows you to control the location and spacing of the seedlings. This helps reduce competition for resources such as sunlight, water, and nutrients, leading to healthier and more robust plants.
Step-by-step Guide To Germinating Clover Seeds
Choosing the Right Clover Seed Variety:
Selecting the appropriate type of clover seed is crucial for successful germination. Consider factors such as the region’s climate, intended use, and soil type before making a choice.
Preparing the Germination Environment:
Ensure that the soil is well-prepared by removing any debris, weeds, or rocks. Loosen the soil with a rake or garden fork to promote good drainage and aeration.
Providing Adequate Moisture:
Moisture is essential for seed germination. Keep the soil consistently damp but not waterlogged. Consider using a misting spray bottle to avoid overwatering.
Maintaining Optimal Temperature:
Most clover seeds require temperatures between 50°F and 70°F (10°C and 21°C) for successful germination. Consider using a greenhouse or a heat mat to regulate the temperature.
Ensuring Proper Light Conditions:
While some clover seeds germinate best in complete darkness, others require exposure to light. Ensure you follow the specific light requirements mentioned on the seed packet.
Pre-treatment Methods for Stubborn Seeds:
Certain clover seeds may require pre-treatment to break their dormancy. Scarification involves scratching the seed coat, while stratification involves simulating winter conditions to encourage germination.
| Paper towel method: | Moisten a paper towel, place the clover seeds on it, and fold it over. Keep the paper towel in a sealed plastic bag and store it in a warm area. Check regularly for germination progress. |
| Seedling tray method: | Fill a seedling tray with a sterile seed-starting mix. Plant the clover seeds at the recommended depth, water gently, and cover the tray to create a greenhouse-like environment. Maintain proper moisture and light conditions. |
Direct Sowing:
Prepare the soil by loosening it and removing any weeds. Scatter the clover seeds evenly over the desired area and lightly rake them into the soil. Water gently and ensure they receive adequate light.
Broadcast Seeding:
Prepare the soil as mentioned earlier. Mix the clover seeds with a filler material such as sand or vermiculite to help distribute them evenly. Broadcast the seed mixture over the area, rake lightly, and water gently.
Best Practices For Ensuring Successful Germination
Successful germination of clover seeds requires careful attention to several key practices. Timing and season for planting are crucial factors to consider. Clover seeds should be sown during the ideal season for their specific variety. Soil preparation and amendment play a vital role in promoting germination. Prior to planting, the soil must be well-loosened and free from debris. It is important to ensure that the soil pH meets the requirements for clover growth. Adequate nutrient levels are also essential.
Conducting a soil test can help determine the nutrient status, allowing for necessary adjustments. Watering and irrigation guidelines are essential to prevent overwatering and underwatering. Consistency in the frequency and amount of water is important for healthy germination. During this stage, it is crucial to identify potential pests and diseases that can affect clover seeds. Implementing preventive measures and appropriate control strategies will help ensure successful germination and healthy growth.
| Pest and Disease Management | Identifying Potential Threats | Prevention and Control Measures |
|---|---|---|
| Fungal diseases | Regularly inspect plants for signs of fungal infection. | Apply fungicides as directed and remove infected plants to prevent further spread. |
| Insect pests | Monitor plants for any signs of insect damage. | Use organic insecticides and natural predators to manage pest populations. |
| Weeds | Remove weeds that compete for nutrients and sunlight. | Apply mulch to suppress weed growth and prevent weed establishment. |
Troubleshooting Common Germination Issues With Clover Seeds
Having trouble germinating your clover seeds? Discover effective troubleshooting tips to overcome common germination issues and successfully grow your clover plants.
| Troubleshooting Common Germination Issues with Clover Seeds | |
|---|---|
| How to Germinate Clover Seeds | |
| Subheading: | Slow or uneven germination |
| Slow or uneven germination of clover seeds can be caused by various factors. Ensuring proper soil temperature is crucial for successful germination. Clover seeds generally germinate best at temperatures between 60-70°F (15-21°C). Excessive moisture or lack of moisture can also impact germination. It’s important to maintain moist, but not waterlogged, soil during the germination process. Additionally, using high-quality seeds can greatly improve germination rates. | |
| Subheading: | Seedling damping-off |
| Seedling damping-off is a common issue that can affect the germination of clover seeds. This is caused by fungal pathogens in the soil. To prevent damping-off, it’s crucial to use well-draining soil and avoid overwatering. Providing proper air circulation and ensuring adequate spacing between seeds can also help prevent this issue. Additionally, treating seeds with a fungicide prior to sowing can offer added protection against damping-off. | |
| Subheading: | Pests and diseases affecting germinating seeds |
| Pests and diseases can impact the germination of clover seeds. Common pests that can cause damage include slugs, snails, and birds. To protect seeds from pests, consider using physical barriers, such as netting or row covers. Regularly inspecting the germinating seeds and taking necessary steps to control pests can help prevent damage. Diseases, such as root rot or powdery mildew, can also hinder germination. Proper sanitation practices and providing well-draining soil can reduce the risk of diseases affecting germinating seeds. | |
| Subheading: | Nutrient deficiencies in seedlings |
| Nutrient deficiencies can lead to poor germination and weak seedlings. Clover plants require a balanced supply of nutrients, including nitrogen, phosphorus, and potassium. Before sowing, it’s important to amend the soil with organic matter or a balanced fertilizer to ensure adequate nutrient levels. Maintaining proper pH levels is also crucial for nutrient availability. Regular soil testing can help identify any nutrient deficiencies and allow for targeted remediation. | |
Post-germination Care For Clover Seedlings
After the germination of clover seeds, it is important to provide proper care to ensure healthy seedling development. Transplanting the seedlings is a crucial step in this process. Start by selecting the right location for transplanting. Choose an area that receives ample sunlight and has well-draining soil.
When transplanting, follow appropriate techniques and considerations to minimize stress on the seedlings. Gently separate the seedlings from their original container or nursery tray, making sure to keep their root system intact. Place them in prepared holes, ensuring they are at the proper depth.
After transplanting, fertilize the seedlings with the right balance of nutrients. You can choose between organic and synthetic fertilizers based on your preferences. Both options can provide essential nutrients for healthy clover growth.
| Weed Management | Watering and Irrigation | Monitoring and Maintenance |
|---|---|---|
| To prevent weed competition, remove any weeds that appear in the vicinity of the seedlings. | Establish a regular watering schedule to keep the soil consistently moist, but avoid overwatering. | Monitor the seedlings for signs of stress or disease and take appropriate measures for proper care and treatment. |
By following these post-germination care practices, you can promote optimal growth and ensure the success of your clover seedlings.
Conclusion (optional)
The process of germinating clover seeds is essential for ensuring successful growth. Germination sets the foundation for optimal development and ensures that the seeds have a higher chance of sprouting into healthy plants.
Here is a summary of the key steps and best practices for germinating and caring for clover seeds:
| Step | Description |
|---|---|
| 1 | Soak the seeds in water overnight to ensure proper hydration. |
| 2 | Prepare a well-draining potting mix or soil that is rich in organic matter. |
| 3 | Sow the seeds evenly on the soil surface and lightly cover them with a thin layer of soil. |
| 4 | Keep the soil consistently moist but not waterlogged. Use a spray bottle or misting system for gentle watering. |
| 5 | Place the container in a warm location with indirect sunlight. |
| 6 | Monitor the moisture levels and provide additional water as needed. |
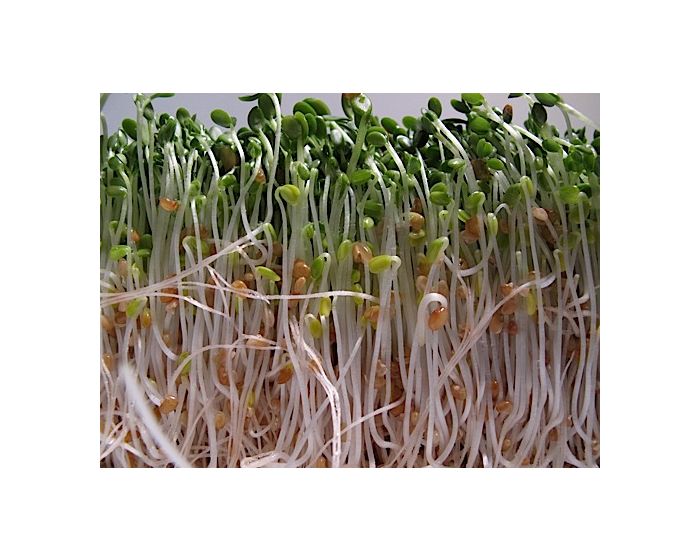
| 7 | Seedlings typically emerge within 7-10 days. Once they have grown a few inches, transplant them into a larger pot or outdoor garden. |
By following these steps, you can ensure that your clover seeds germinate effectively and give your garden a vibrant, lush green cover. Remember to provide proper post-germination care to maintain healthy growth and enjoy the beauty and benefits of clover in your landscape.
Frequently Asked Questions For How To Germinate Clover Seeds
Can I Just Throw Clover Seed On The Ground?
Yes, you can simply scatter clover seeds onto the ground. It’s an easy way to grow clover.
Should Clover Seeds Be Soaked Before Planting?
No, soaking clover seeds before planting is not recommended. Clovers have hard seed coats that can inhibit water absorption, so soaking may not be effective. It’s best to sow the seeds directly into the soil and provide consistent moisture for germination and growth.
How Long Does It Take For Clover Seeds To Germinate?
Clover seeds typically take around 7-10 days to germinate under optimal conditions.
Will Clover Seed Germinate On Top Of Soil?
Yes, clover seed can germinate on top of the soil.
Conclusion
Germinating clover seeds is a simple and rewarding process that can enhance the abundance and health of your garden. By following the proper techniques outlined in this blog post, you can ensure successful germination and promote the growth of lush clover plants.
Remember to provide the ideal conditions of moisture, temperature, and sunlight, and watch as your clover seeds transform into vibrant and beneficial additions to your garden. Happy germinating!