
Lily of the Valley plants, while charming with their delicate white flowers and sweet fragrance, can quickly become invasive if left unchecked. These perennials spread through underground rhizomes, making them difficult to control once established. For gardeners or homeowners who want to prevent them from overtaking their spaces, it’s crucial to understand the best methods for removal. This guide will provide effective strategies on how to get rid of lily of the valley plants from your garden or yard.
Why It Spreads So Aggressively
Lily of the Valley plants are notoriously aggressive spreaders due to their robust underground rhizome system. These rhizomes produce new shoots, allowing the plant to create dense colonies over time. Additionally, the plant’s adaptability to various soil types and its tolerance for both sun and shade give it the ability to thrive in diverse environments. Another factor contributing to its rapid spread is that it is relatively pest-resistant, further reducing obstacles to growth. Without proper intervention, these qualities enable Lily of the Valley to quickly dominate garden spaces, crowding out other desirable plants.
Identifying the Extent of the Spread
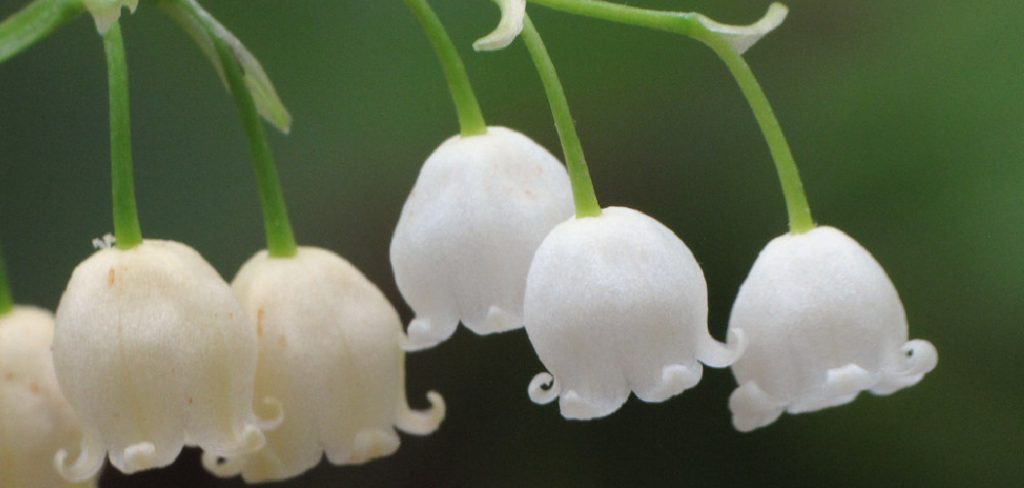
Before tackling the removal process, it’s essential to assess how far the lily of the valley plants have spread. Start by carefully inspecting your garden or yard for their signature features – clusters of broad, lance-shaped green leaves and small, bell-shaped white flowers during their blooming season. Look for areas where the plants appear to be thriving, as well as sections where their underground rhizomes may have extended. Checking surrounding soil for new shoots or runners can help determine their reach underground. Mapping out the affected areas will give you a clear understanding of the scope of infestation, allowing you to plan the most effective removal strategy.
10 Methods How to Get Rid of Lily of the Valley Plants
1. Manual Removal
One of the most effective yet labor-intensive methods to remove lily of the valley is manually pulling it out. Start by thoroughly watering the area to loosen the soil, which makes it easier to extract the entire plant, including its extensive root system. Use a garden fork or spade to gently dig around the plant, ensuring you remove every rhizome. Any small root fragments left behind can regenerate, so be meticulous in your efforts. This method may need to be repeated multiple times over several months to completely eliminate any hidden remnants.
2. Smothering with Mulch or Barriers

Cutting off the plant’s access to sunlight and oxygen can be an effective way to suppress its growth. Cover the affected area with a thick layer (at least 6 inches) of organic mulch, such as wood chips, straw, or pine needles. Alternatively, lay down black plastic sheeting, cardboard, or landscape fabric to create a physical barrier that blocks sunlight and prevents new shoots from emerging. Leave the covering in place for several months, as lily of the valley is persistent and can take time to die off completely. This method works best when combined with manual removal to weaken the root system further.
3. Solarization for Soil Sterilization
A highly effective, chemical-free approach to killing lily of the valley involves solarization. During the hottest months of the year, cover the infested area with a clear plastic sheet, securing the edges with heavy objects like bricks or stones. The sun’s heat will become trapped under the plastic, raising the temperature of the soil and effectively killing off the plants, roots, and any seeds present. This process may take 6-8 weeks for optimal results. Solarization not only eliminates lily of the valley but also helps eradicate other weeds and pests lurking in the soil.
4. Frequent Mowing or Cutting
Repeatedly cutting down lily of the valley before it has a chance to photosynthesize effectively weakens the plant. Use a lawnmower, weed trimmer, or garden shears to remove foliage down to ground level. The constant removal of leaves and stems forces the plant to exhaust its stored energy, eventually leading to its demise. For best results, mow or trim every two weeks, ensuring you dispose of the clippings to prevent any rhizomes from reestablishing.
5. Digging and Sieving the Soil
In cases of severe infestation, a more aggressive approach may be required. Dig up the soil to a depth of at least 12 inches, as lily of the valley’s rhizomes can extend deep underground. Use a garden sieve or manually sift through the soil to remove all visible root fragments. Dispose of the roots properly—do not compost them, as they can easily sprout again. This method, although labor-intensive, is one of the most thorough ways to remove the plant permanently.
6. Applying Chemical Herbicides
If manual and organic methods prove insufficient, herbicides can be used as a last resort. Glyphosate-based herbicides are highly effective against lily of the valley but must be applied carefully to avoid harming desirable plants. Apply the herbicide directly to the leaves or inject it into cut stems for a targeted approach. It is important to follow the manufacturer’s instructions and apply treatments multiple times, as lily of the valley is resilient and may require several applications before dying completely.
7. Using Vinegar as a Natural Herbicide
For those seeking an alternative to chemical herbicides, vinegar can be an effective option. High-concentration vinegar (at least 20% acetic acid) can be sprayed directly onto the leaves of lily of the valley, causing dehydration and eventual death. This method works best on hot, sunny days when the plant is actively absorbing moisture. Be cautious, as vinegar can lower soil pH and affect nearby plants, so apply it carefully and avoid overspraying desirable vegetation.
8. Boiling Water Treatment
A simple yet powerful method for killing lily of the valley is pouring boiling water directly onto the plants. The extreme heat destroys the cellular structure of the leaves and roots, preventing further growth. This method is particularly useful for small patches of infestation or areas where chemicals are not an option. For best results, apply boiling water multiple times, ensuring you reach as much of the root system as possible.
9. Removing and Replacing Soil
For persistent infestations where lily of the valley continues to return despite repeated removal efforts, replacing the top layer of soil can be an effective last resort. Dig up and remove at least 12 inches of soil, replacing it with fresh, sterilized soil free of any rhizomes or seeds. This method is particularly beneficial in garden beds, where maintaining a clean growing environment is crucial for cultivating other plants.
10. Encouraging Competitive Plant Growth
Introducing strong, fast-growing plants that compete with lily of the valley can help suppress its regrowth over time. Native grasses, ferns, or other ground cover plants with aggressive root systems can create competition for nutrients, water, and sunlight, making it difficult for lily of the valley to thrive. Companion planting with vigorous species can be an effective long-term strategy to prevent re-infestation and maintain control over your garden.
Common Mistakes to Avoid
When dealing with lily of the valley infestations, it is crucial to steer clear of common pitfalls that can hamper your efforts or even exacerbate the problem. Here are some mistakes to watch out for:
1. Underestimating the Root System
One of the biggest mistakes is not addressing the extensive rhizome network beneath the soil. Simply removing the visible foliage will not eliminate the plant, as the roots will continue to produce new growth. Ensure you target the entire root system for effective removal.
2. Composting Removed Rhizomes

Attempting to compost lily of the valley rhizomes is a frequent error. These resilient roots can survive and regenerate in the compost pile, potentially spreading the infestation when the compost is later used. Always dispose of rhizomes and plant debris in sealed bags or burn them, if permitted.
3. Applying Herbicides Improperly
Misapplication of chemical herbicides can lead to unintended damage to desirable plants or create environmental concerns. Avoid overspraying or using herbicides on windy days, and always follow the manufacturer’s instructions carefully. Neglecting proper application techniques may result in ineffective treatment and repeat infestations.
4. Overlooking New Growth
Failing to monitor the treated area after removal or treatment is a common oversight. Lily of the valley is highly resilient and may regrow from even tiny rhizome fragments left in the soil. Regular inspections and immediate action are critical to stopping its return.
5. Skipping Maintenance
Some gardeners assume that once the plant is removed, the job is done. However, without proper upkeep, the invasive nature of lily of the valley can allow it to re-establish quickly. Neglecting preventative measures, such as mulching or competitive planting, makes it more difficult to control the problem in the long term.
Conclusion
Eradicating lily of the valley requires a strategic, persistent approach, as this plant’s resilient nature makes it difficult to remove completely. Whether you choose manual removal, natural suppression techniques, or chemical treatments, consistency is key. Combining multiple methods will increase your chances of success and prevent regrowth. Thanks for reading our blog post on how to get rid of lily of the valley plants! We hope you found it helpful and informative.