Black raspberry plants are a rewarding addition to any garden, producing delicious fruit and adding a touch of natural beauty to your outdoor space. Known for their deep, rich flavor, black raspberries are versatile and can be used in jams, desserts, or enjoyed fresh.
Growing these plants at home is both enjoyable and economical, but it requires proper preparation and care to ensure a healthy, fruitful harvest. This guide on how to grow black raspberry plants will walk you through the essential steps for successfully growing and maintaining black raspberry plants.
What is a Black Raspberry?
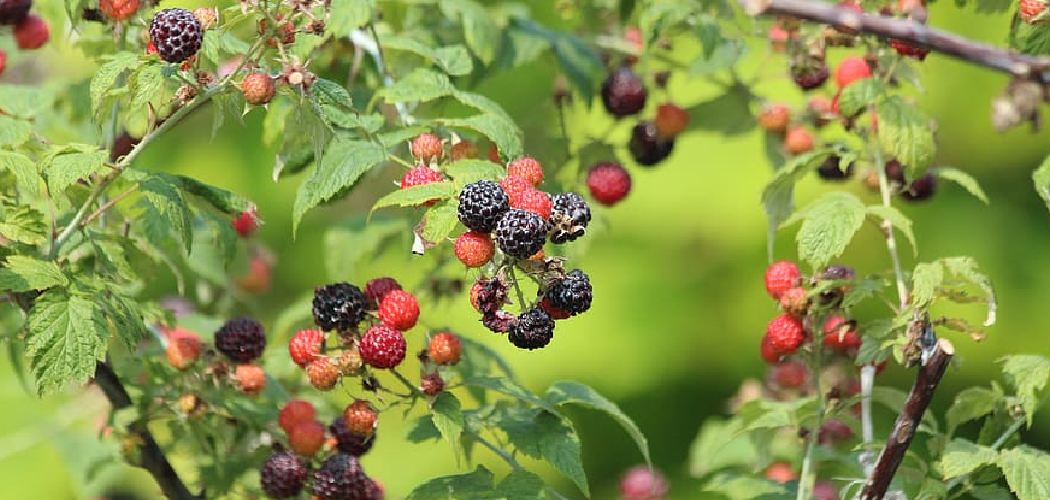
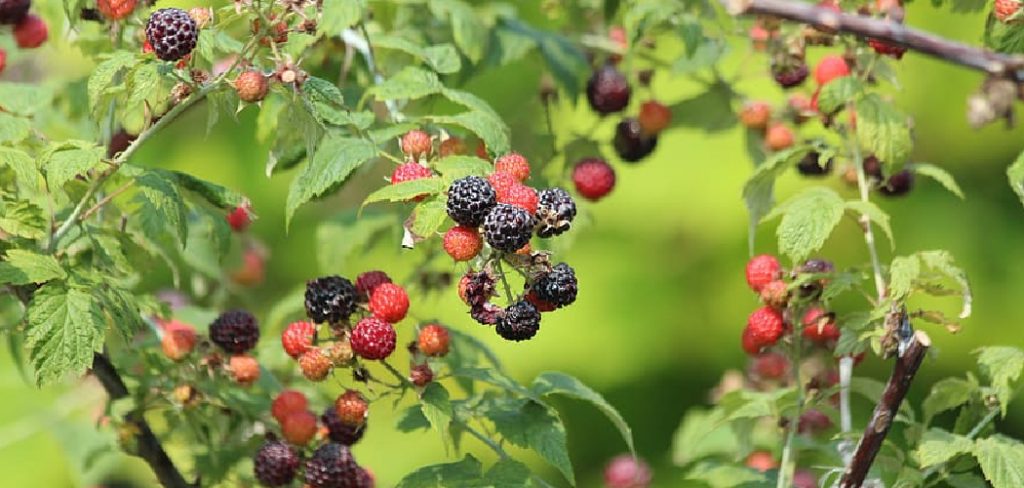
Black raspberries, also known as Rubus occidentalis, are a type of fruiting plant native to North America. They belong to the same family as other popular berries such as blackberries, raspberries, and strawberries. These plants produce dark purple to black colored berries that are small and delicate in size.
Black raspberry plants typically grow up to 6 feet tall and have thorny stems with deep green leaves. They are perennials, meaning they come back year after year, making them a great addition to any home garden.
Choosing the Right Location
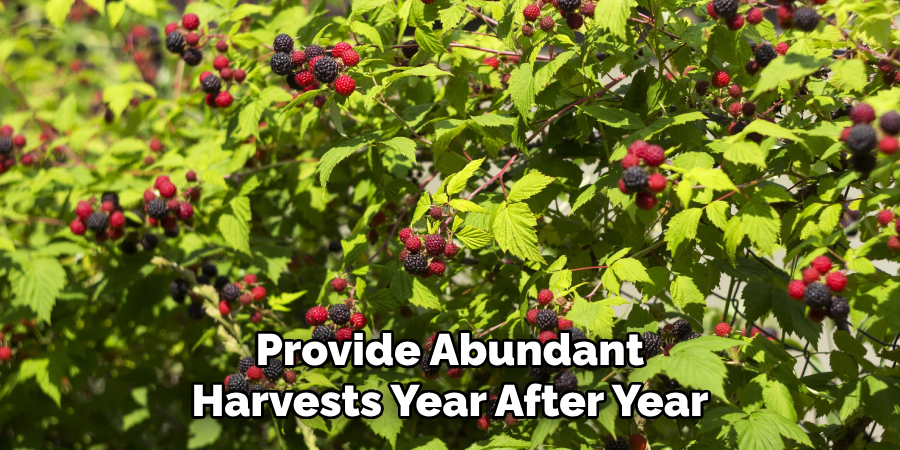
When planting black raspberries, selecting the right location is crucial to ensure healthy growth and maximum fruit production. These plants thrive in areas with full sun, receiving at least 6–8 hours of direct sunlight daily. The soil should be well-drained and rich in organic matter, as overly wet or compacted soil can lead to root rot and poor growth.
Additionally, picking a spot with good air circulation can help reduce the risk of fungal diseases. Avoid areas where other bramble plants have recently grown to minimize the chance of pest or disease transfer. With proper site selection, black raspberry plants can flourish and provide abundant harvests year after year.
When and Where to Plant?
The best time to plant black raspberry bushes is in early spring, as soon as the soil is workable and the danger of frost has passed. This timing allows the plants to establish their roots before the growing season fully begins. Choose a sunny location that receives at least 6–8 hours of sunlight daily to ensure healthy growth and maximum fruit production.
The soil should be well-draining, with a pH between 5.5 and 6.5, and rich in organic matter to provide the necessary nutrients. Avoid planting in areas prone to waterlogging or where bramble plants have recently been grown, as this can increase the risk of diseases or pests. With the right timing and location, your black raspberries will thrive and yield plentiful fruit.
10 Step-by-Step Guidelines on How to Grow Black Raspberry Plants
Step 1: Choose the Right Variety
The first step in growing black raspberry plants is selecting the right variety that suits your region and preferences. Popular varieties include ‘Bristol’, known for its large, flavorful berries and disease resistance, and ‘Jewel’, prized for its excellent yield and adaptability. When choosing a variety, consider your local climate, soil conditions, and the intended use of the fruit, whether for fresh eating, preserves, or baking.
Look for certified disease-free plants from reputable nurseries to ensure a healthy start for your raspberry garden.
Step 2: Prepare the Planting Site
Proper preparation of the planting site is essential to ensure your raspberry plants thrive. Choose a location that receives full sunlight for at least 6-8 hours a day, as raspberries require abundant light for optimal growth and fruit production. The soil should be well-draining with a pH between 5.5 and 6.5, as overly wet or compacted soil can lead to root rot. Before planting, clear the area of weeds, grass, and debris, as these can compete with your plants for nutrients and water. Incorporate organic matter, such as compost or well-rotted manure, into the soil to improve fertility and structure.

Raised beds can also be a great option if your soil drainage is poor. Taking the time to prepare the site thoroughly will set the foundation for a productive and healthy raspberry garden.e
Step 3: Obtain Healthy Plants
Select healthy raspberry plants from a reputable nursery or garden center to ensure a strong start to your garden. Look for plants that appear vibrant with firm, disease-free stems and roots. Bare-root plants are a popular choice as they are easy to transport and often establish well when planted correctly.
If purchasing potted plants, ensure the roots are not overly bound or exhibiting signs of rot. Choose varieties suited to your climate and desired harvest season, such as summer-bearing or everbearing raspberries. Investing in high-quality plants will significantly increase the likelihood of a successful and plentiful harvest.
Step 4: Planting
To begin planting your raspberries, select a well-drained, sunny location with soil rich in organic matter. Prepare the soil by loosening it to a depth of 12-18 inches and incorporating compost or well-rotted manure to enhance fertility. Space the plants about 2-3 feet apart in rows, leaving at least 6-8 feet between rows to allow for easy access and sufficient airflow. If planting bare-root plants, soak the roots in water for one to two hours prior to planting to keep them hydrated.
Dig a hole large enough to spread out the roots comfortably and position the plant so the crown sits just at or slightly above the soil line. Fill the hole with soil, gently firm it down, and water thoroughly to eliminate air pockets. Adding a layer of mulch around the base of the plants helps retain moisture, suppress weeds, and regulate soil temperature, ensuring optimal growing conditions.

Step 6: Watering
Proper watering is crucial to the success of your plants. After planting, water deeply to encourage the roots to establish themselves in the soil. Moving forward, aim to keep the soil consistently moist but not waterlogged. Check the moisture level regularly by pressing your finger about an inch into the soil—if it feels dry, it’s time to water.
For most plants, early morning is the best time to water, as it allows leaves to dry throughout the day, reducing the risk of fungal diseases. Adjust your watering schedule based on weather conditions, increasing frequency during hot, dry spells and scaling back during cooler or rainy periods.
Step 7: Fertilizing
Proper fertilization is essential for promoting healthy plant growth and maximizing blooms or yields. Choose a fertilizer that suits the specific needs of your plants—this could be an all-purpose option or one designed for flowering, fruiting, or leafy varieties. Follow the recommended application rates listed on the product label to avoid over-fertilizing, which could harm your plants.
Fertilize during the growing season, typically every 4-6 weeks, depending on the type of fertilizer used. Organic options, such as compost or well-rotted manure, are also excellent alternatives for enriching the soil with nutrients while maintaining its natural balance.
Step 8: Pruning
Pruning is an essential practice for maintaining the health and appearance of your plants. Regularly remove dead, diseased, or damaged branches to encourage new growth and prevent the spread of pests or diseases. Prune flowering plants at the appropriate time—usually after they have finished blooming—to promote future blossoms.
For fruiting plants, trimming excess growth can improve sunlight penetration and air circulation, which enhances fruit production. Always use clean, sharp tools to make precise cuts and minimize stress on the plant. Proper pruning ensures your plants remain vigorous, productive, and aesthetically pleasing.
Step 9: Harvesting
Harvesting is one of the most rewarding stages of gardening, as it allows you to enjoy the fruits of your labor. The timing of your harvest is crucial and varies depending on the type of plant. For fruits and vegetables, check for signs of ripeness, such as vibrant color, appropriate size, and a slight give when gently pressed.
Use clean, sharp tools, such as scissors or pruning shears, to prevent damage to the plant while picking. For herbs, early morning harvesting often yields the best flavor as the essential oils are most concentrated at this time. Regular harvesting can also encourage continued production, ensuring a steady supply of fresh, homegrown produce.

Step 10: Storage
Black raspberries do not have a long shelf life and are best eaten fresh or preserved immediately after harvest. If storing in the fridge, place them in a single layer on a paper towel-lined tray and cover loosely with plastic wrap. They can also be frozen for later use by spreading them out on a baking sheet and freezing until solid before transferring them to an airtight container.
Following these steps on how to grow black raspberry plants will provide you with an abundant supply of delicious, nutritious berries to enjoy throughout the summer months. Whether eaten fresh or preserved, black raspberries are a delightful addition to any backyard garden. So why not give them a try and experience the satisfaction of growing your own food? Happy gardening!
Frequently Asked Questions
Q: Can I Plant Black Raspberries From Seeds?
A: Yes, it is possible to grow black raspberries from seeds, but it can be a slow and unpredictable process. It is recommended to buy established plants for a more successful harvest.
Q: How Do I Know When Black Raspberries Are Ripe?
A: Black raspberries are ripe when they turn dark purple or black and are easily removed from the plant with a gentle tug. They should also feel plump and slightly soft to the touch.
Q: What is the Best Way to Harvest Black Raspberries?
A: The best way to harvest black raspberries is by gently picking them off the plant with your fingers, being careful not to crush or bruise them. It is recommended to harvest in the morning before the berries have been exposed to direct sunlight and heat.
Q: How Long Does it take for Black Raspberries to Ripen?
A: Black raspberries typically take 3-4 weeks to fully ripen. However, the exact timing can vary depending on weather conditions and the specific variety of black raspberry.
Q: Can You Pick Black Raspberries When They Are Still Red?
A: Yes, you can pick black raspberries when they are still red. While some varieties may turn dark purple or black when fully ripe, others may stay red even when ripe. As long as the berries are plump and soft to the touch, they are ready to be picked.

Conclusion
Black raspberries are a delicious and versatile fruit that requires patience and careful observation to harvest at their peak ripeness. By understanding the differences in ripening times and color changes, you can ensure that you pick the berries when they are at their most flavorful.
Whether enjoyed fresh, baked into desserts, or preserved, black raspberries are a rewarding addition to any garden or table. Thanks for reading this article on how to grow black raspberry plants.