
Are you ready to add a fresh, green touch to your garden? Growing clover seeds is easier than you might think, and it brings many benefits to your lawn or garden.
Whether you want a natural ground cover, improve soil health, or attract pollinators, clover is a smart choice. In this guide, you’ll discover simple steps to help your clover seeds sprout quickly and thrive. Keep reading, and you’ll soon enjoy a lush, vibrant patch of clover that boosts your outdoor space in more ways than one.

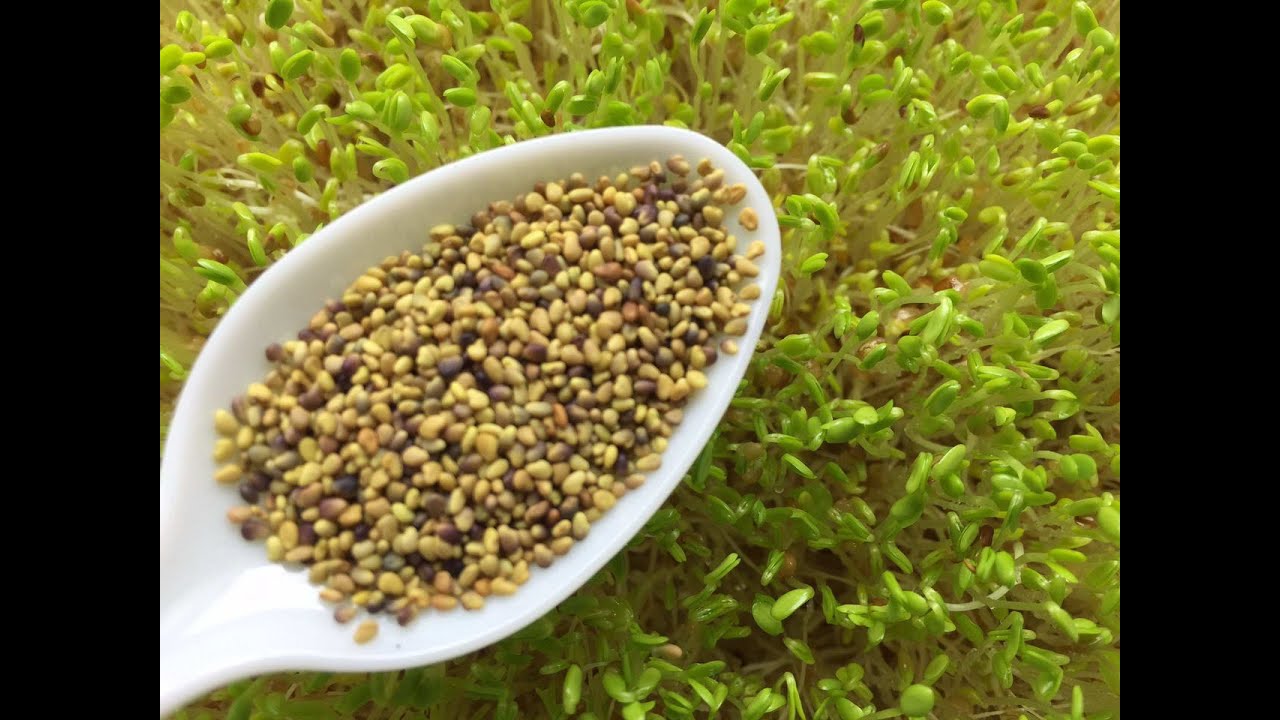
Credit: culturesforhealth.com
Benefits Of Clover Lawns
Clover lawns offer many benefits. They are a great choice for eco-friendly gardens. Clover is easy to grow and helps the soil. It creates a green carpet that stays fresh and healthy. Many gardeners prefer clover for its natural advantages.
Drought Resistance
Clover can survive long dry periods. Its deep roots find water underground. This makes it better than regular grass. Lawns stay green even in hot weather. It saves water and keeps your yard alive.
Natural Fertilizer
Clover adds nitrogen to the soil naturally. This helps plants grow strong and healthy. No need to buy chemical fertilizers. Clover works like a natural food for grass. It improves soil quality over time.
Low Maintenance
Clover needs less mowing than grass. It grows slowly and stays low. This saves time and effort for gardeners. Clover lawns also resist weeds well. They stay neat without much work.
Credit: www.youtube.com
Choosing The Right Clover Seeds
Choosing the right clover seeds is the first step in growing a healthy patch of clover. The type of seed you select affects how well your clover grows and fits your needs. Different clover types suit different climates, soils, and uses. High-quality seeds increase the chance of strong growth and a lush lawn or cover crop.
Types Of Clover
There are several common clover types. White clover is popular for lawns and pastures. It stays low and spreads well. Red clover grows taller and is good for soil improvement. Crimson clover blooms bright red flowers and adds beauty to gardens. Choose a type based on your garden’s sunlight and soil type.
Seed Quality Tips
Good seed quality means better growth and fewer weeds. Check the seed package for purity and germination rates. Higher purity means less dirt and other seeds mixed in. Germination rate tells how many seeds will sprout. Choose seeds with at least 80% germination for best results.
Where To Buy
Buy clover seeds from trusted garden centers or seed suppliers. Local stores often have seeds suited for your area. Online shops offer a wide variety and detailed descriptions. Always check reviews and product details before buying. Fresh seeds work better, so check the packaging date.
Preparing Your Lawn For Planting
Preparing your lawn is key to growing healthy clover seeds. Good preparation helps seeds grow strong roots and spread well. It creates the right environment for clover to thrive. Follow these steps to get your lawn ready.
Soil Testing
Test the soil to check its pH and nutrient levels. Clover grows best in soil with a pH between 6.0 and 7.0. Use a simple soil test kit or send a sample to a lab. Knowing the soil condition helps decide what to add for better growth.
Clearing Existing Grass
Remove current grass to give clover space to grow. Use a rake or garden tool to clear the area. This reduces competition for water and nutrients. Clear soil also allows seeds to contact the earth directly, improving germination.
Soil Amendments
Add organic matter like compost to improve soil texture. Mix in lime if the soil is too acidic. Fertilize lightly with a balanced fertilizer to boost nutrients. These changes create a healthy base for clover seeds to grow strong.

Credit: www.youtube.com
Planting Clover Seeds
Planting clover seeds is a simple step toward a green, healthy lawn or garden. Clover grows well in many soil types and needs little care. Starting with the right planting methods helps the seeds sprout strong and fast.
Proper planting sets the stage for thick clover coverage. This section explains the best time to plant, seeding techniques, and how many seeds to use.
Best Time To Plant
Plant clover seeds in early spring or late summer. These seasons offer mild temperatures and enough moisture. Avoid planting in hot, dry weather. Cool weather helps seeds sprout quickly. Early spring planting avoids summer heat stress. Late summer planting prepares clover for fall growth.
Seeding Techniques
Prepare the soil by loosening it with a rake or tiller. Scatter seeds evenly across the area. Lightly cover seeds with a thin layer of soil or compost. Press the soil gently to ensure good seed contact. Water the area immediately after planting. Keep soil moist until seedlings appear. Avoid deep planting; clover seeds need light to grow well.
Recommended Seed Rates
Use about 1 to 2 pounds of clover seed per 1,000 square feet. For mixed lawns, reduce seed rate to half. Too many seeds cause overcrowding and weak growth. Follow seed packet instructions for best results. Adjust seed amounts based on soil quality and climate. Proper seed rates help achieve even, healthy growth.
Watering And Care
Proper watering and care help clover seeds grow strong and healthy. Clover needs the right amount of water to sprout and thrive. Too much water can harm the seeds. Too little water can stop growth. Follow these tips to keep your clover patch green and lush.
Initial Watering Schedule
Right after planting, water the clover seeds gently. Keep the soil moist but not soaked. Water daily for the first two weeks. Early morning is the best time to water. Avoid watering in the evening to prevent mold. Check the soil surface; it should feel damp to touch.
Long-term Maintenance
Once clover seedlings grow, reduce watering to every few days. Water deeply to encourage strong root growth. During dry spells, increase watering frequency. Avoid overwatering to stop root rot. Mulching helps keep the soil moist longer. Monitor weather and adjust watering as needed.
Pest And Weed Control
Keep weeds away from young clover plants. Weeds steal water and nutrients. Pull weeds by hand or use a gentle hoe. Watch for pests like aphids or beetles. Use natural pest control methods like neem oil. Healthy clover is less likely to get pests.
Encouraging Thick Growth
Encouraging thick growth in clover seeds ensures a lush, green lawn that resists weeds and drought. Thick clover patches create a natural cover, improving soil health and reducing erosion. Proper care and maintenance help clover spread evenly and fill bare spots quickly. This section covers key practices to boost clover growth for a fuller, healthier lawn.
Mowing Tips
Mow clover regularly to keep it healthy and dense. Set your mower blade to about 3 inches high. Cutting too short weakens the plants and slows growth. Mow often enough to avoid letting clover get taller than 6 inches. Always use a sharp blade for clean cuts. Avoid mowing when the clover is wet to prevent damage.
Fertilizing Clover
Use a low-nitrogen fertilizer to support clover growth. Clover fixes nitrogen naturally, so excess nitrogen can harm it. Choose fertilizers with balanced phosphorus and potassium. Apply fertilizer in early spring or late fall. Follow package instructions to avoid over-fertilizing. Regular feeding helps clover stay thick and green throughout the season.
Overseeding Strategies
Overseeding fills thin areas and boosts clover density. Spread seeds evenly over bare or patchy spots. Lightly rake the soil to help seeds contact the ground. Water gently but thoroughly after sowing. Repeat overseeding every year or two to maintain a thick stand. Overseeding supports long-term clover health and coverage.
Troubleshooting Common Issues
Growing clover seeds can be easy, but problems may arise. Knowing how to fix common issues helps keep your clover healthy. This section covers three common problems and simple ways to handle them.
Yellowing Leaves
Yellow leaves often mean your clover lacks nutrients. Nitrogen is crucial for green, healthy leaves. Use a balanced fertilizer with nitrogen to help. Overwatering can also cause yellowing. Ensure the soil drains well and avoid waterlogging.
Patchy Growth
Patchy growth shows uneven seed spread or poor soil contact. Rake the soil before planting to make it smooth. Spread seeds evenly and press them lightly into the soil. Water gently but deeply to help seeds sprout evenly.
Pest Damage
Insects like aphids and beetles can harm clover leaves. Inspect plants regularly for signs of pests. Use natural sprays like neem oil to control bugs. Encourage beneficial insects such as ladybugs to protect your clover.
Frequently Asked Questions
How Long Does It Take For Clover Seeds To Grow?
Clover seeds usually sprout within 7 to 14 days. Growth speed depends on soil temperature and moisture. Warmer, moist soil promotes faster germination. Proper care accelerates healthy clover development.
What Soil Type Is Best For Growing Clover Seeds?
Clover grows best in well-drained, loamy soil with pH between 6. 0 and 7. 0. Avoid heavy clay or sandy soils. Nutrient-rich soil supports vigorous growth and dense coverage for clover.
How Often Should I Water Clover Seeds After Planting?
Water clover seeds lightly but consistently to keep soil moist. Water daily until germination, then reduce frequency. Avoid overwatering to prevent root rot and fungal issues.
Can Clover Seeds Grow In Partial Shade?
Yes, clover tolerates partial shade but grows best in full sun. Limited light may slow growth and reduce density. Choose a spot with at least 4-6 hours of sunlight daily.
Conclusion
Growing clover seeds can be simple and rewarding. Choose good soil and plant seeds evenly. Water them gently but regularly. Watch for sprouts and keep weeds away. Clover helps improve soil and looks nice too. With care, your clover will grow strong and healthy.
This small effort brings green beauty and benefits to your garden. Try it yourself and enjoy fresh, green clover soon.