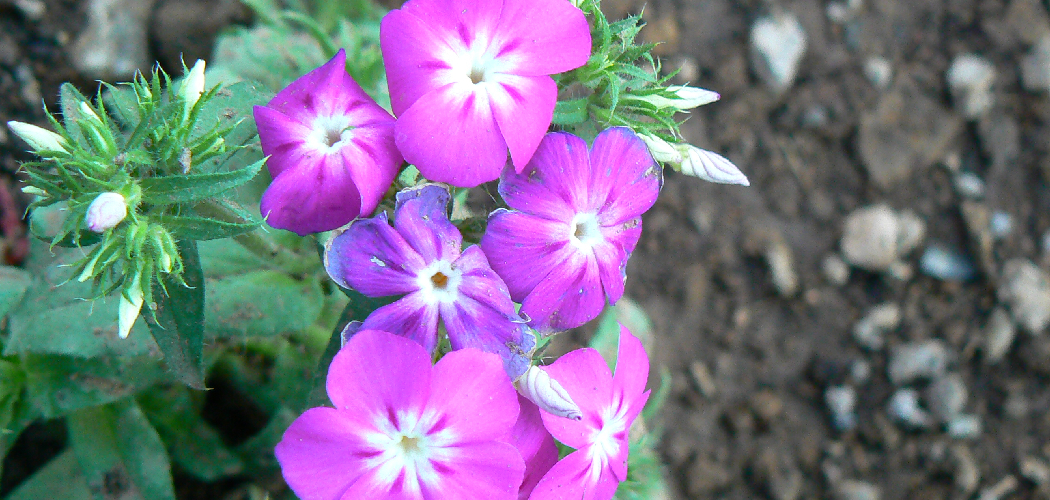
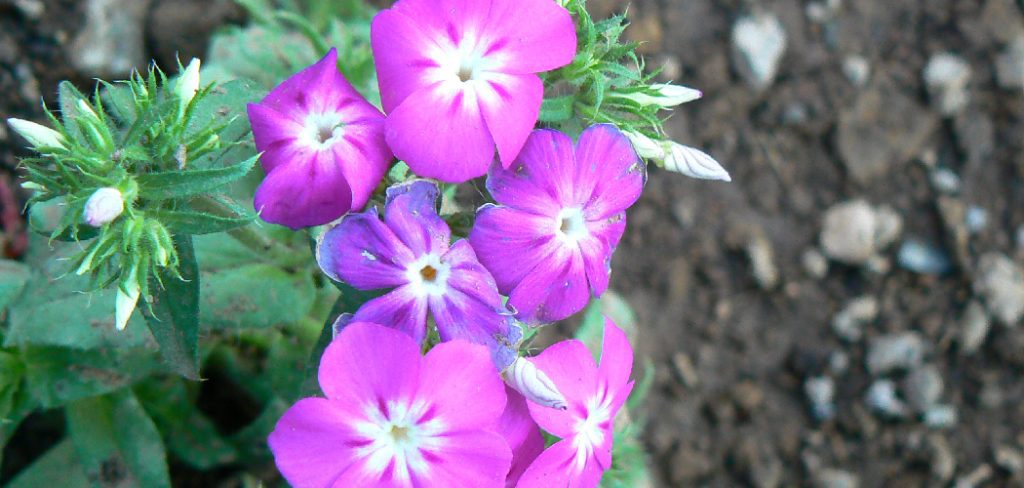
Phlox plants are vibrant and versatile flowers that can brighten up any garden. Known for their clusters of colorful blooms and pleasant fragrance, they are a favorite among gardeners. Phlox comes in a variety of species, ranging from creeping ground covers to tall, upright types, making them suitable for different landscaping needs.
These hardy plants are easy to grow and care for, thriving in various growing conditions. Whether you’re a seasoned gardener or a beginner, growing phlox can provide a rewarding and visually stunning addition to your green space.
In this article on how to grow phlox plants, we will cover everything you need to know about these beautiful flowers – from planting and care tips to common issues and solutions.
What is Phlox?
Phlox is a popular genus of flowering plants that belongs to the Polemoniaceae family. It consists of over 50 different species, including both annual and perennial varieties. These plants are native to North America and can be found growing in various regions, from woodlands to open meadows.
The name “phlox” comes from the Greek word for flame, reflecting the vibrant colors of its flowers. They come in shades of pink, purple, white, and red, making them a favorite among gardeners for adding pops of color to their outdoor spaces.
Choose the Right Type of Phlox
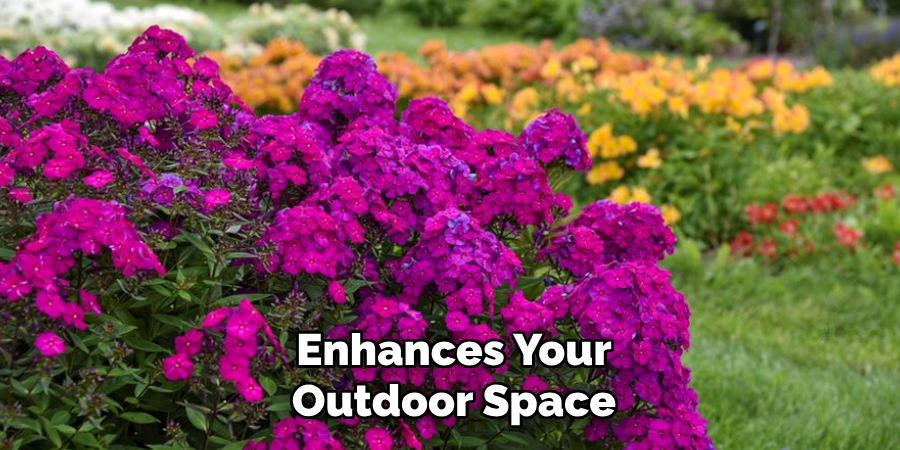
Selecting the right type of phlox for your garden depends on your specific needs and the growing conditions in your area. For ground cover, consider creeping phlox (Phlox subulata), which forms a dense mat of vibrant flowers, perfect for rock gardens or edging. For taller varieties, garden phlox (Phlox paniculata) is an excellent choice, producing large clusters of blooms that add vertical interest and attract pollinators like butterflies and bees.
Additionally, woodland phlox (Phlox divaricata) thrives in shaded areas, making it ideal for planting under trees or in less sunny parts of the garden. By assessing your garden’s layout, sunlight levels, and aesthetic goals, you can choose a phlox variety that complements and enhances your outdoor space.
5 Simple Step-by-Step Guidelines on How to Grow Phlox Plants
Step 1: Choose a Suitable Location
Selecting the right location is crucial for the healthy growth of your phlox plants. Most varieties thrive in areas with full sun, receiving at least 6 hours of sunlight daily. However, some species, like woodland phlox, prefer partial shade. Ensure the chosen spot has well-draining soil to prevent waterlogging, as excessive moisture can lead to root rot.
Additionally, consider the space each plant will need to grow and spread, allowing adequate room for airflow to prevent mildew. By picking the most suitable location, you’ll set the foundation for vibrant and flourishing phlox plants.
Step 2: Prepare the Soil
To ensure healthy growth, begin by preparing the soil properly for your phlox plants. Start by loosening the soil to a depth of 10 to 12 inches, which allows the roots to establish themselves easily. Mix in organic matter such as compost, well-rotted manure, or peat moss to improve soil fertility and drainage.
For optimal results, test the soil’s pH level—it should ideally range between 6.0 and 7.0. If adjustments are necessary, use garden lime to raise the pH or sulfur to lower it. Proper soil preparation is a crucial step to give your phlox the nutrients and structure it needs to thrive.
Step 3: Select Your Phlox
Choosing the right variety of phlox is essential to match your garden’s conditions and aesthetic. Phlox comes in many types, including tall garden phlox (Phlox paniculata), creeping phlox (Phlox subulata), and woodland phlox (Phlox divaricata). Consider factors such as the amount of sun your garden receives, the climate in your region, and the height or spread you desire for your plantings.
For sunny areas, tall garden phlox is ideal, while creeping phlox works well as ground cover or in rock gardens. Always select healthy plants or high-quality seeds from a reputable source to ensure vigorous growth and beautiful blooms.
Step 4: Planting Your Phlox
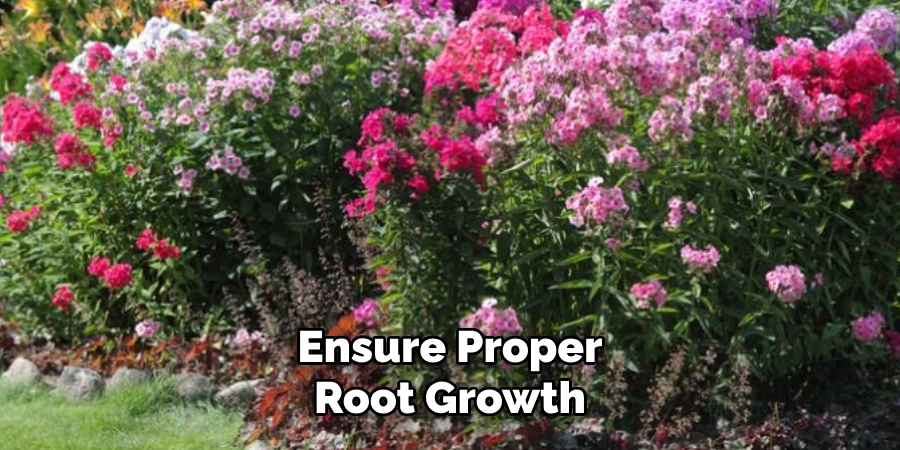
When planting your phlox, make sure to give each plant enough space to grow and spread. Depending on the variety, this can range from 12 to 18 inches apart. Dig a hole that is slightly larger than the root ball of your plant and gently loosen the roots before placing them in the hole. Fill in with soil and press down firmly around the base of the plant. Water thoroughly after planting to help settle the soil and ensure proper root growth.
It is important to note that phlox can also be grown from seed, but this method requires more patience and may result in a longer wait for blooms. If you choose to sow seeds, make sure to follow the instructions on the packet regarding planting depth and spacing.
Step 5: Care and Maintenance
Phlox plants are relatively low-maintenance once established, but there are a few things you can do to ensure their health and longevity. Regular watering is important during dry spells, especially for newly planted phlox. Adding a layer of mulch around the base of the plant can help retain moisture in the soil.
Following these steps on how to grow phlox plants can also help prevent common issues such as powdery mildew or root rot. Keep an eye out for any signs of disease or pest infestation and take action immediately if needed.
Pests and Diseases
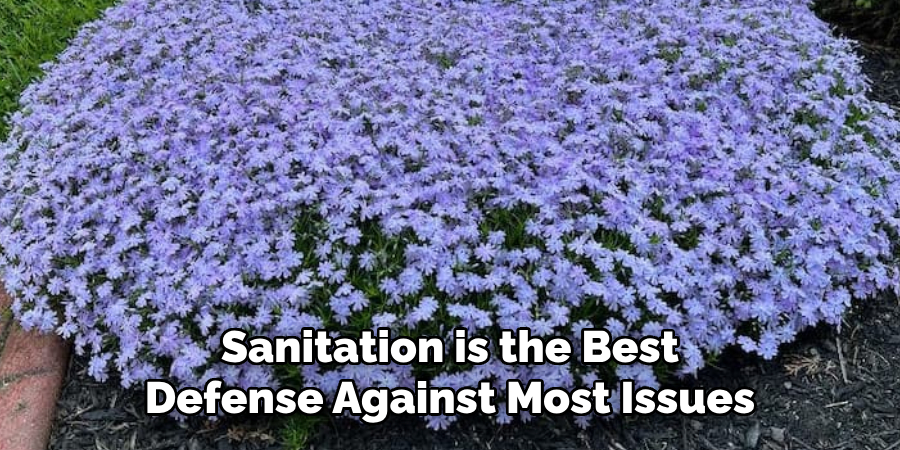
While phlox is generally a hardy plant, it can occasionally fall victim to certain pests and diseases. One common issue is powdery mildew, a fungal disease that appears as a white, powdery coating on the leaves. This can be prevented by ensuring proper air circulation around the plants and avoiding overhead watering.
Additionally, spider mites and aphids are potential pests that can infest phlox, causing damage to the foliage and stems. Regularly inspecting your plants and using insecticidal soap or neem oil when needed can help manage these pests effectively. Maintaining healthy plants through proper care and sanitation is the best defense against most issues.
Overwintering and Seasonal Care
Proper seasonal care is essential for ensuring the health and longevity of your phlox plants. As colder months approach, consider cutting back the stems to just a few inches above the soil after the first frost. This helps prevent the spread of diseases and pests that may overwinter in the debris. Applying a layer of mulch around the base of the plants can provide insulation and protect the root system from freezing temperatures.
In early spring, remove the mulch and watch for new growth to emerge. Fertilizing with a balanced, slow-release fertilizer can give your phlox a strong start to the growing season. Dividing overcrowded clumps every few years in the fall or spring ensures vigorous growth and prevents the plants from becoming too crowded. With proper care throughout the seasons, your phlox will reward you with vibrant blooms year after year.
Companion planting can enhance the health and beauty of your phlox while creating a thriving garden ecosystem. Consider pairing phlox with plants that have complementary bloom times and similar light and soil requirements. Coneflowers and black-eyed Susans are excellent companions, offering contrasting shapes and bold colors that accentuate the delicate blossoms of phlox. Ornamental grasses, such as switchgrass or fountain grass, provide texture and movement, creating a visually dynamic display. For a more fragrant garden, integrate lavender or bee balm, which also attract pollinators beneficial to all your plants. By thoughtfully combining your phlox with suitable companions, you can cultivate a harmonious and visually appealing garden.
Frequently Asked Questions
Q: How Do I Care for My Phlox Plants?
A: Phlox is a relatively low-maintenance plant, but it does require some basic care to thrive. It should be planted in well-draining soil and given regular waterings, especially during hot and dry periods. Deadheading spent blooms will encourage more flower production, and keeping the area around the plant weed-free will help prevent disease.
Q: Can I Divide My Phlox Plants?
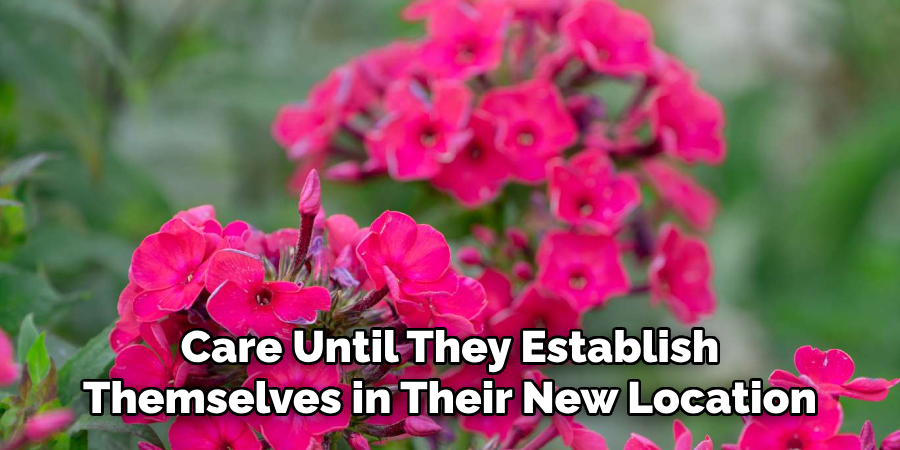
A: Yes, phlox can be divided every 2-3 years in early spring or late summer. This helps rejuvenate the plant and promotes better blooming. Simply dig up the clump and separate it into smaller sections with healthy root systems before replanting in a well-draining soil. Alternatively, you can also take stem cuttings to propagate new plants. Dividing and propagating phlox is a great way to expand your garden and share this beautiful plant with others. Just be sure to give the newly divided or propagated plants enough water and care until they establish themselves in their new location.
Conclusion
In conclusion, phlox is a versatile and captivating addition to any garden, offering a wide array of colors, sizes, and growing conditions to suit your space.
By pairing it with complementary plants and considering its needs for optimal growth, you can create a vibrant, harmonious garden that provides beauty and enjoyment throughout the growing season. With thoughtful planning and care, phlox will reward you with its enduring charm and vibrant blooms year after year. Thanks for reading this article on how to grow phlox plants.