Turmeric is a vibrant yellow-orange spice that has been used for centuries in cooking, traditional medicine, and as a natural dye. Known for its rich flavor and numerous health benefits, turmeric is derived from the rhizomes of the Curcuma longa plant.

Growing turmeric at home is a rewarding and straightforward process, allowing you to enjoy fresh, organic turmeric for culinary and medicinal use. Whether you have a spacious garden or limited space indoors, this guide on how to grow turmeric will help you understand the basics of cultivating turmeric successfully.
Understanding Turmeric Growth Requirements
Turmeric thrives in warm, humid climates and requires a growing environment that mimics its native tropical conditions. It is best cultivated in regions where the temperature ranges between 68°F (20°C) and 95°F (35°C). The plant demands well-draining, fertile soil rich in organic matter, with a slightly acidic to neutral pH level around 6 to 7. Adequate sunlight is crucial for turmeric’s growth, and it performs best with at least 6 to 8 hours of indirect sunlight daily.
Additionally, consistent moisture is essential, so the soil should be kept evenly moist but not waterlogged, as excessive water can cause root rot. Providing these ideal conditions will ensure healthy rhizome development and a bountiful harvest.
Choosing and Preparing Turmeric Rhizomes
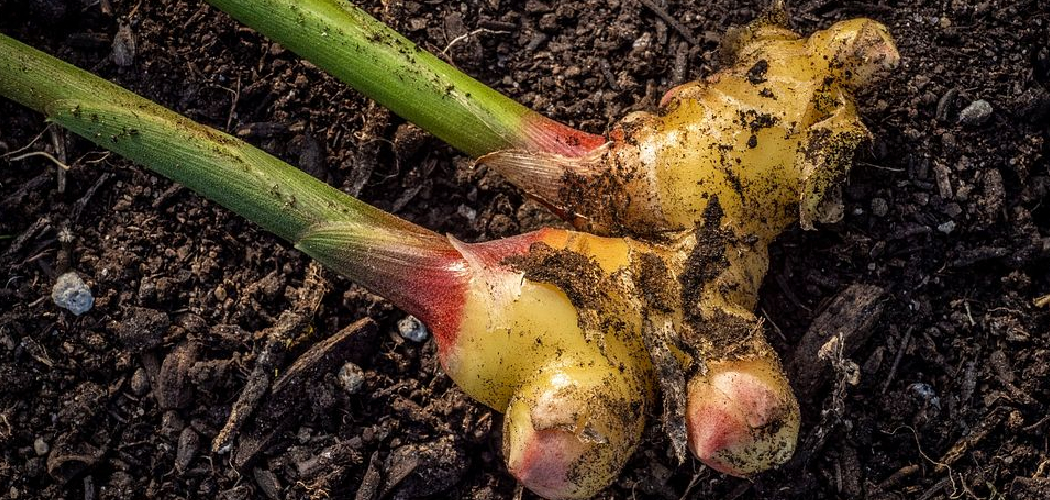
Selecting high-quality rhizomes is a vital step in ensuring successful turmeric cultivation. Look for firm, plump rhizomes with no signs of shriveling, mold, or decay. Rhizomes with visible buds or “eyes” are ideal, as these indicate potential growth points. When possible, use fresh, organic rhizomes, as they are free from chemicals that may inhibit sprouting.
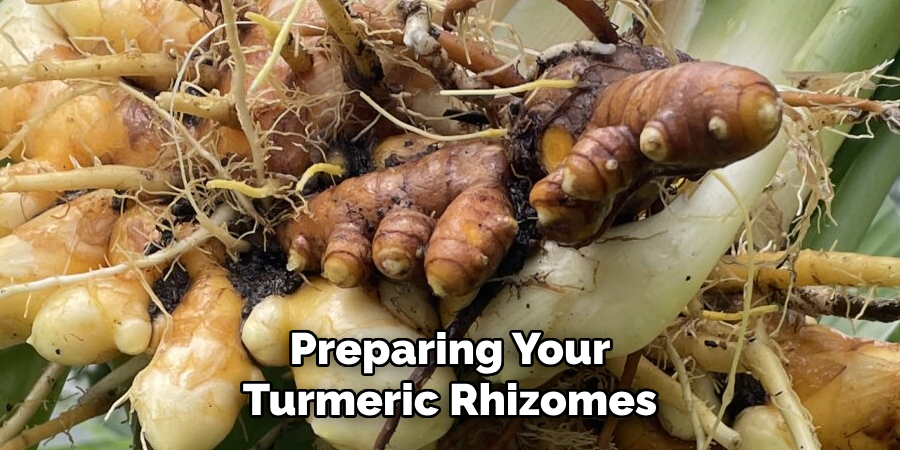
Before planting, prepare the rhizomes by cutting them into small pieces, ensuring each segment has at least one or two buds. This segmentation encourages efficient growth and maximizes yield. Allow the cut pieces to dry for a day or two to form calluses over the cuts. This step helps prevent rot and infection when the rhizomes are planted in the soil. By carefully selecting and preparing your turmeric rhizomes, you set the stage for a robust and healthy crop.
Best Time to Plant
The ideal time to plant turmeric is during the warm months of spring or early summer when the temperature consistently stays between 68°F to 95°F (20°C to 35°C). Turmeric thrives in tropical and subtropical climates, requiring ample warmth and humidity to develop properly.
Avoid planting during colder months or frost periods, as turmeric is highly sensitive to low temperatures. By timing your planting season correctly, you ensure the rhizomes have optimal conditions to sprout and grow vigorously.
11 Step-by-Step Guidelines on How to Grow Turmeric
Step 1: Obtain Quality Rhizomes
To begin growing turmeric, the first step is to acquire high-quality rhizomes. These can be purchased from a local nursery, gardening store, or even online suppliers specializing in plants and roots. Look for fresh, plump rhizomes with intact skin and visible growth buds or “eyes,” which are small protrusions that will sprout into shoots.
Avoid rhizomes that appear shriveled, moldy, or overly dry, as they may not germinate successfully. Opting for organic rhizomes can also ensure healthier plants and better yields.
Step 2: Prepare Your Soil
Preparing the soil properly is essential for cultivating healthy and productive plants. Start by selecting a well-draining location that receives plenty of sunlight, as most rhizome-based plants thrive in such conditions. Loosen the soil to a depth of at least 10-12 inches to encourage root growth and ensure proper aeration. Enrich the soil with organic matter such as compost or well-rotted manure to enhance fertility and improve its structure.
Test the pH level of the soil, aiming for a slightly acidic to neutral range (between 6.0 and 7.0), as this is ideal for many types of plants grown from rhizomes. Remove any weeds, rocks, or debris to create a clean and optimal environment for planting. Taking the time to prepare nutrient-rich, well-aerated soil will set the foundation for a successful growing season.
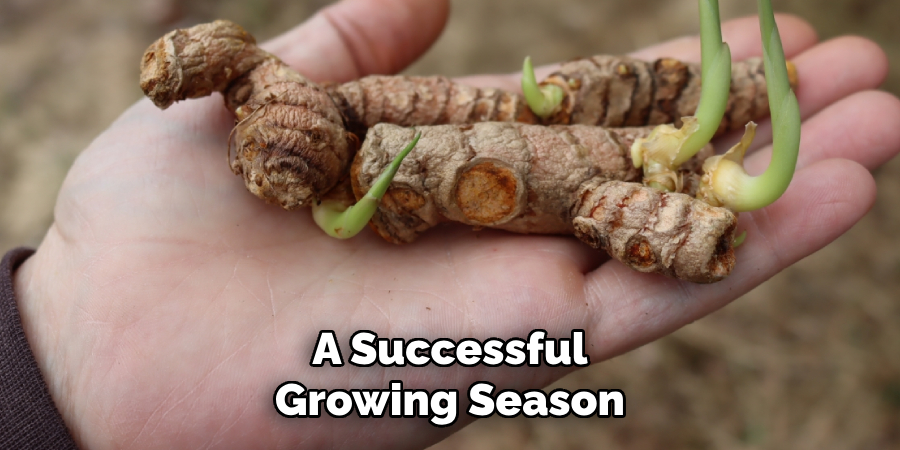
Step 3: Cut Rhizomes Into Pieces
Using a clean and sharp knife or gardening shears, carefully cut the rhizomes into smaller sections. Each piece should be approximately 2 to 4 inches in length and must contain at least one healthy growth bud, as this is where new shoots will emerge. Avoid making uneven or jagged cuts, which can increase the risk of disease.
After cutting, allow the pieces to dry for a few hours in a shaded area to help the cut surfaces callus over, reducing the chances of rot when planted. Properly cutting and preparing the rhizomes is essential for their optimal growth and development.
Step 4: Plant the Rhizomes
Choose a well-draining planting site with ample sunlight, as rhizomes thrive in bright, open spaces. Dig small shallow holes or trenches, ensuring they are wide enough to accommodate the rhizomes comfortably without overcrowding. Place each rhizome horizontally in the hole with the healthy growth bud facing upwards.
Cover them lightly with soil, leaving the top of the rhizomes slightly exposed to prevent rot. Space the rhizomes about 12 to 18 inches apart to allow sufficient room for growth. Water the area gently after planting to settle the soil and provide moisture for initial establishment. Regular care and monitoring will help the rhizomes grow into strong, healthy plants.
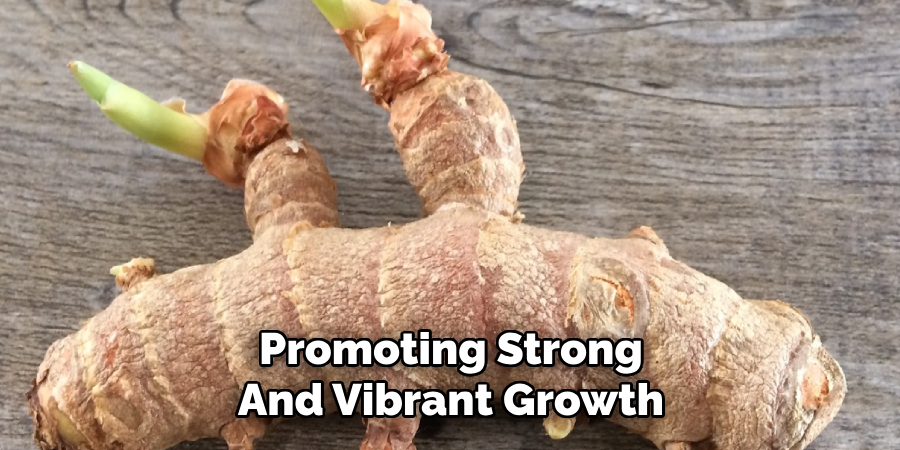
Step 5: Water Regularly
Consistent watering is crucial for the healthy growth of your plants. After the initial planting, make sure to keep the soil moist but not waterlogged. Water your plants deeply once or twice a week, depending on the weather and soil conditions. During dry periods, you may need to water more frequently to ensure that the rhizomes receive adequate moisture.
Be mindful of overwatering, as excessive moisture can lead to rot or fungal issues. Regularly check the soil to maintain the right balance, promoting strong and vibrant growth.
Step 6: Fertilize
To support the healthy development of your plants, fertilization is an important step. Use a balanced, slow-release fertilizer or one specifically designed for your plant type to provide essential nutrients. Apply the fertilizer according to the package instructions, typically around the base of the plants, being careful not to place it directly on the rhizomes to avoid burns. Fertilize during the active growing season to maximize absorption and encourage lush growth.
Remember to avoid over-fertilizing, as excessive nutrients can harm the plants or promote weak growth. Regular feeding, combined with proper care, will help your plants thrive.
Step 7: Protect from Pests and Diseases
While turmeric is relatively hardy, it may still fall prey to pests or diseases. Keep an eye out for signs of infestation such as yellowing leaves or holes in the foliage.
Common pests that may affect turmeric include aphids, mites, and snails. You can use natural methods like neem oil or insecticidal soap to control these pests.
Step 8: Harvesting
After about 9-10 months, your turmeric plants should be ready for harvesting. You will know it is time when the leaves start to turn yellow and dry out.
Gently dig around the base of the plant and carefully remove the rhizomes (underground stems). Wash them thoroughly and let them dry in a warm, well-ventilated area for about a week.
Step 9: Storing
Once the turmeric rhizomes are thoroughly dried, they can be stored for future use. Keep them in an airtight container in a cool, dark, and dry place to maintain their freshness and potency.
For longer storage, you can grind the dried rhizomes into turmeric powder using a spice grinder and store the powder in a glass jar or container with a tight seal. Proper storage will ensure your turmeric retains its vibrant color, rich flavor, and beneficial properties for an extended period.
Step 10: Using Your Fresh Turmeric
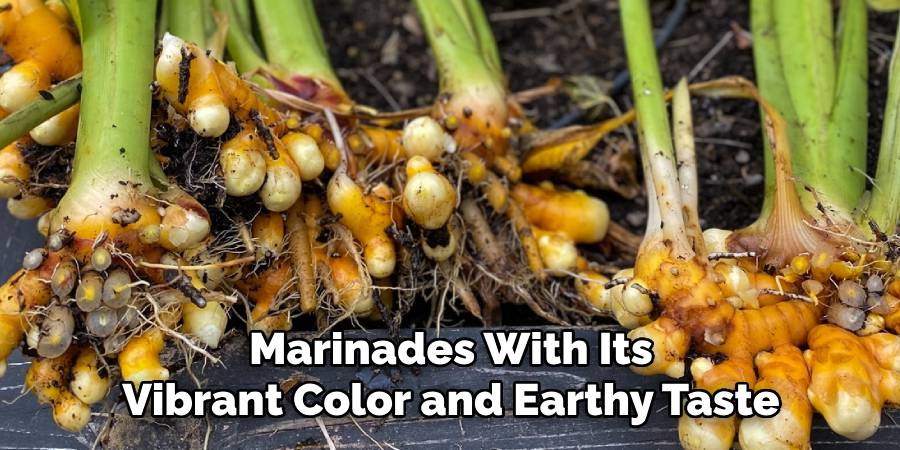
Once your turmeric is properly stored, it’s time to enjoy its myriad uses. Fresh turmeric can be grated and added to teas, smoothies, or soups for a burst of flavor and health benefits. If you’ve prepared turmeric powder, it can be used as a spice in cooking to enhance curries, rice dishes, or marinades with its vibrant color and earthy taste.
Turmeric is also a popular ingredient in natural remedies and skincare, thanks to its powerful anti-inflammatory and antioxidant properties. Experiment with different recipes and applications to make the most of your fresh turmeric!
Step 11: Health Benefits
Turmeric has been used in traditional medicine for centuries due to its numerous health benefits. It is rich in antioxidants and has anti-inflammatory properties, which can help reduce pain and swelling in conditions such as arthritis. Turmeric may also aid digestion, improve skin health, and boost immunity.
Following these steps on how to grow turmeric at home will not only provide you with a ready supply of this superfood but also give you the chance to experience its many health benefits firsthand.
Frequently Asked Questions
Q1: How Long Does It Take to Grow Turmeric?
A1: It takes about 8-10 months for turmeric to mature and be ready for harvesting. It is a slow-growing plant and requires patience, but the results are worth it.
Q2: Can I Grow Turmeric in a Pot?
A2: Yes, turmeric can be grown in a container as long as it is at least 12 inches deep. The wider the pot, the better as it allows for more room for the roots to spread. The pot should also have drainage holes to prevent water from accumulating and causing root rot.
Q3: How Often Should I Water My Turmeric Plant?
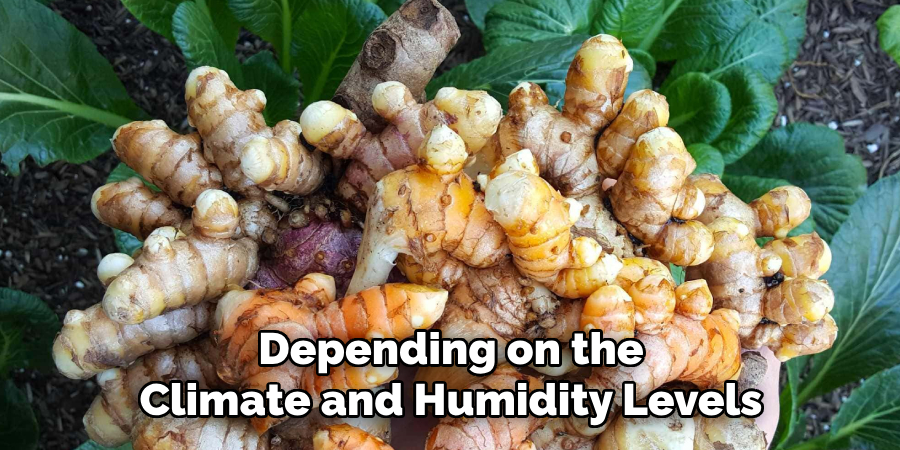
A3: Turmeric plants require regular watering, especially during the growing season. Keep the soil moist but not waterlogged. It is recommended to water once or twice a week, depending on the climate and humidity levels.
Conclusion
In conclusion, growing turmeric at home is a simple and rewarding process that yields both culinary and medicinal benefits. By cultivating this versatile plant, you can ensure a sustainable source of fresh turmeric while reaping its health-boosting properties. Incorporating homegrown turmeric into your daily routine can enhance your overall well-being and deepen your connection to nature.
Start your turmeric-growing journey today and enjoy the many advantages it brings! Thanks for reading this article on how to grow turmeric.