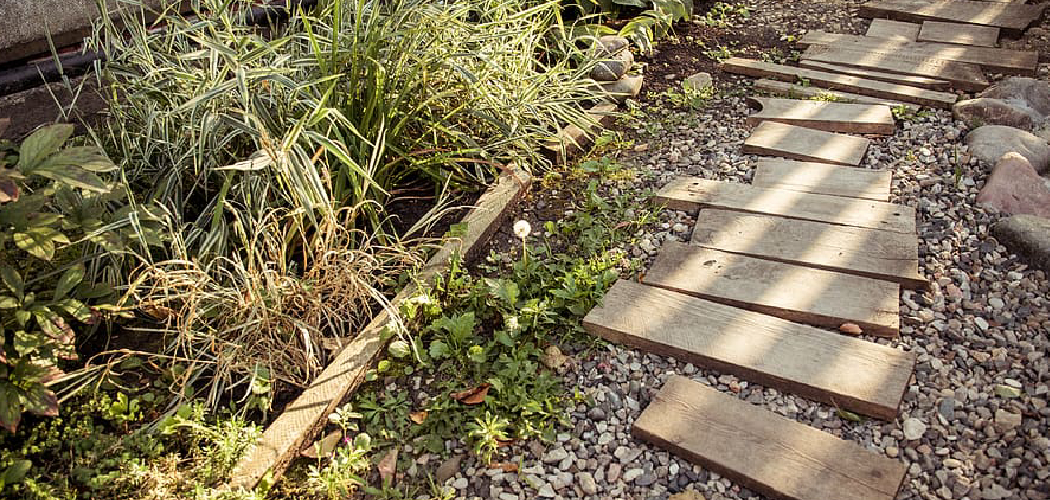
Laying flagstones on soil is a simple and effective way to enhance the beauty of your outdoor spaces, such as gardens, patios, or pathways. This natural stone material is both durable and aesthetically pleasing, providing a rustic and timeless look. With the right tools and preparation, creating a sturdy and functional surface with flagstones can be a rewarding DIY project that adds charm and value to your property. This guide will walk you through how to lay flagstones on soil effectively and with minimal effort.

What Are Flagstones?
Flagstones are flat stones typically made from sedimentary rock, such as sandstone, limestone, or slate, that are known for their durability and natural beauty. They are commonly used in landscaping and construction projects, including patios, walkways, gardens, and even interior spaces, due to their ability to create a classic and elegant look. Flagstones are characterized by their irregular shapes and varying sizes, offering flexibility in design while maintaining a rustic aesthetic. Their natural non-slip surface also makes them a practical choice for outdoor areas. With a variety of colors and textures available, flagstones can complement any style or theme, making them a versatile material for enhancing your space.
Tools and Materials You’ll Need
To work with flagstones and create beautiful, durable surfaces, you’ll need the following tools and materials:
- Flagstones: Choose the size, color, and texture that best suits your design.
- Sand or Gravel: For leveling and creating a solid base.
- Rubber Mallet: For gently positioning the stones without causing damage.
- Level: To ensure an even and stable surface.
- Measuring Tape: For accurate layout and spacing.
- Shovel: For digging and preparing the base area.
- Broom: To sweep sand or filler material into the joints between stones.
- Gloves and Safety Gear: To protect your hands and ensure safe handling of materials and tools.
Having the right tools and materials will make the installation process smooth and efficient, ensuring a polished final result.
10 Methods How to Lay Flagstones on Soil
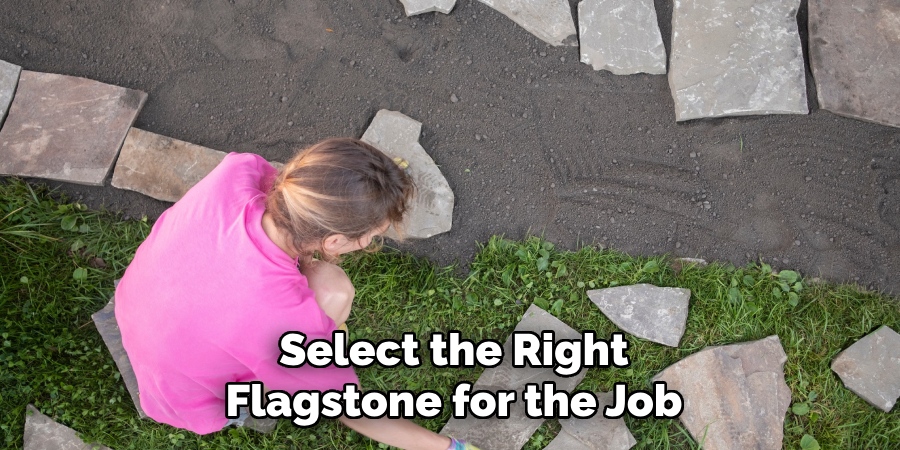
1. Select the Right Flagstone for the Job
Before breaking ground, it’s important to choose the appropriate flagstone for your specific soil and usage needs. Opt for stones like slate, sandstone, or quartzite, which are flat, sturdy, and naturally weather-resistant. Thicker stones (1.5″ or more) are preferable when laying directly on soil, as thinner pieces may crack or shift under weight or over time. Also consider the size and shape: irregular pieces add a natural aesthetic, while cut stones offer a more uniform look and can be easier to level.
2. Plan and Mark the Layout
Start by clearly outlining the desired area where you’ll be placing your flagstones. Whether it’s a winding garden path or a square patio, use marking paint, stakes and string, or even a garden hose to map out your layout. This step ensures you won’t dig or move earth unnecessarily and gives you a good visual sense of how your flagstone installation will complement the rest of your landscape. Take into account how wide you want the path and whether people will walk barefoot—spacing and orientation matter.
3. Test and Prepare the Soil
Flagstones need to sit on a firm, level base to remain stable. Begin by testing your soil for drainage. If the area holds water, consider adding some sand or gravel underneath the stones or choosing a different spot. Remove any vegetation or grass from the area and dig down about 3 to 6 inches, depending on the thickness of your stones. Loosen and tamp the soil to create a flat, compact base. Proper preparation helps reduce future sinking and shifting.
4. Lay Weed Barrier or Landscape Fabric (Optional)
Although not strictly necessary, laying down a layer of weed barrier or landscape fabric can help minimize weed growth between your stones, especially in sunny or fertile areas. Cut the fabric to fit your layout and secure it with landscape pins. This layer also aids in long-term maintenance by reducing the need to pull weeds by hand or use herbicides in the future.
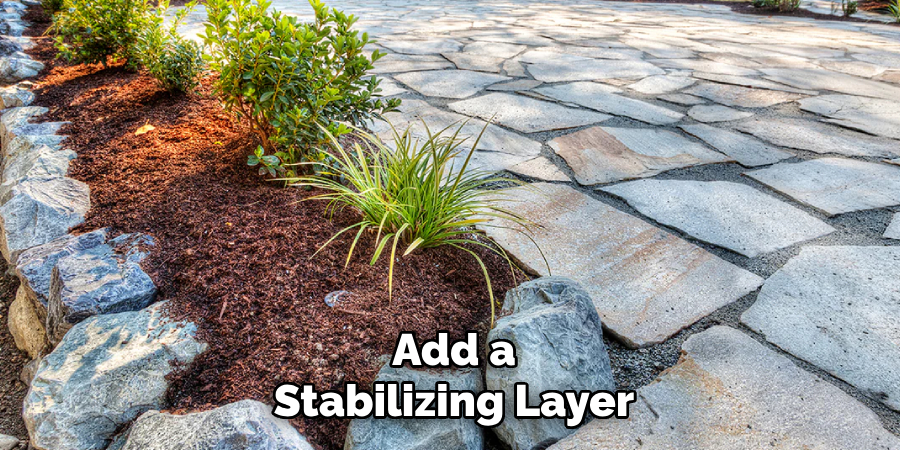
5. Add a Stabilizing Layer (Sand or Screenings)
A one- to two-inch layer of sand or stone screenings can improve flagstone stability and make leveling easier. Spread the material evenly over the soil and use a rake to smooth it out. Then, compact it gently with a hand tamper or garden roller. While this step is technically optional when laying on soil, it significantly enhances the flagstones’ ability to sit evenly and helps prevent movement over time due to rain or foot traffic.
6. Position Flagstones One by One
Begin placing your flagstones carefully, starting at one end of the layout and working outward. Lay each stone flat and gently press it into the base. For pathways, space them comfortably for walking—about a natural stride apart—and stagger the layout to create a flowing, organic feel. If you’re creating a patio, aim for tighter fits between the stones. Irregular edges can be nested together like puzzle pieces or shaped with a hammer and chisel as needed.
7. Level and Stabilize Each Stone
After placing each stone, check that it’s level side-to-side and front-to-back using a bubble level. The surface should be stable underfoot with no wobbling or rocking. If needed, add or remove soil or sand beneath each flagstone to achieve proper balance. Step gently on the stone to test its stability. Continue this process for each stone, ensuring a consistent height and surface across the entire area. Taking the time to level each piece is key to a safe, long-lasting installation.
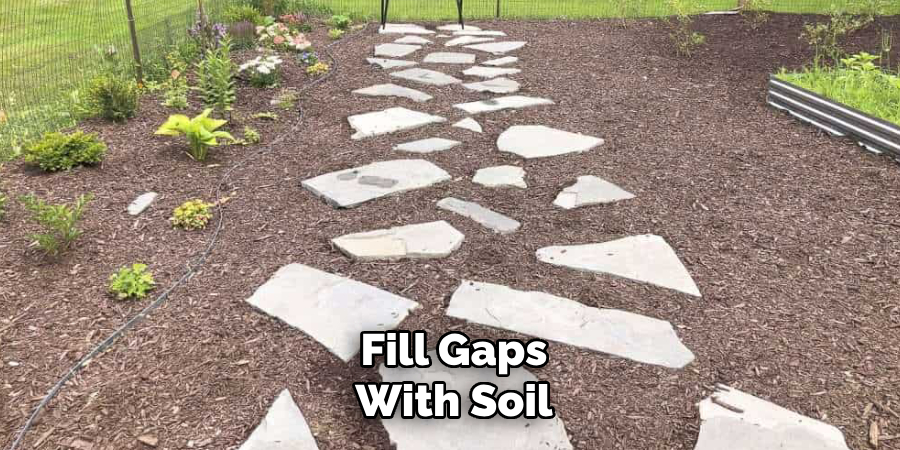
8. Fill Gaps with Soil, Gravel, or Groundcover
Once your flagstones are laid and leveled, fill the gaps between them to lock them in place and enhance the visual appeal. For a natural look, use topsoil and sow creeping groundcover seeds such as creeping thyme, moss, or sedum. Alternatively, you can fill the spaces with fine gravel, decomposed granite, or even polymeric sand if minimal plant growth is preferred. Each filler offers a unique finish, and your choice depends on aesthetics, climate, and how much maintenance you’re willing to perform.
9. Water and Compact the Surface
After filling the joints, water the entire flagstone area gently. This helps settle the soil or sand beneath and around the stones and ensures groundcovers or filler materials begin to set. For topsoil or plant-based filler, continue to keep the area lightly moist for the next few weeks to encourage root establishment. For gravel or stone filler, lightly compact the joints again using a rubber mallet or tamper to firm everything into place.
10. Maintain the Flagstone Area Regularly
Though flagstone laid on soil is low-maintenance, it’s not maintenance-free. Periodically inspect the stones for settling, shifting, or weed growth. Refill gaps as needed, re-level any stones that have moved, and trim or encourage groundcovers between the joints. After a heavy season of rain or foot traffic, a touch-up may be necessary to keep the pathway smooth and secure. With regular attention, your flagstone surface will remain attractive and functional for years to come.
Alternative Methods and Tips
If you prefer a different approach, consider setting your flagstone pathway in sand or gravel instead of soil. This method provides better drainage and can prevent excessive weed growth. Another option is to use mortar for a more permanent and stable installation, though this requires more effort and expertise.
To minimize maintenance, select a weed-resistant groundcover or apply a layer of landscape fabric beneath the stones. Additionally, using polymeric sand to fill the gaps between stones can help inhibit weed growth and enhance stability. Regularly sealing the flagstones can also protect them from weathering and retain their natural color. Experiment with various materials and techniques to find a method that suits your preferences and environment.
Common Mistakes to Avoid
When working with flagstone landscaping, there are several common mistakes that can hinder the success and longevity of your project. One frequent issue is improper preparation of the base layer. Skipping or inadequately compacting the base can lead to uneven stones and shifting over time. Another mistake is failing to account for proper drainage, which can result in water pooling and damaging the stones or promoting weed growth. Additionally, using the wrong type of sand or neglecting to fill the joints properly can weaken the structure and allow weeds to sprout. Finally, neglecting regular maintenance, such as sealing or cleaning, can cause the flagstones to lose their durability and aesthetic appeal. Being mindful of these pitfalls can ensure a more effective and lasting landscaping project.
Conclusion
Laying flagstones on soil is a satisfying and practical way to create a visually pleasing outdoor space that blends beautifully with nature. By thoughtfully preparing your base, selecting the right materials, and installing each piece with care, you’ll ensure your path or patio is both durable and delightful. Thanks for reading, and we hope this has given you some inspiration on how to lay flagstones on soil!