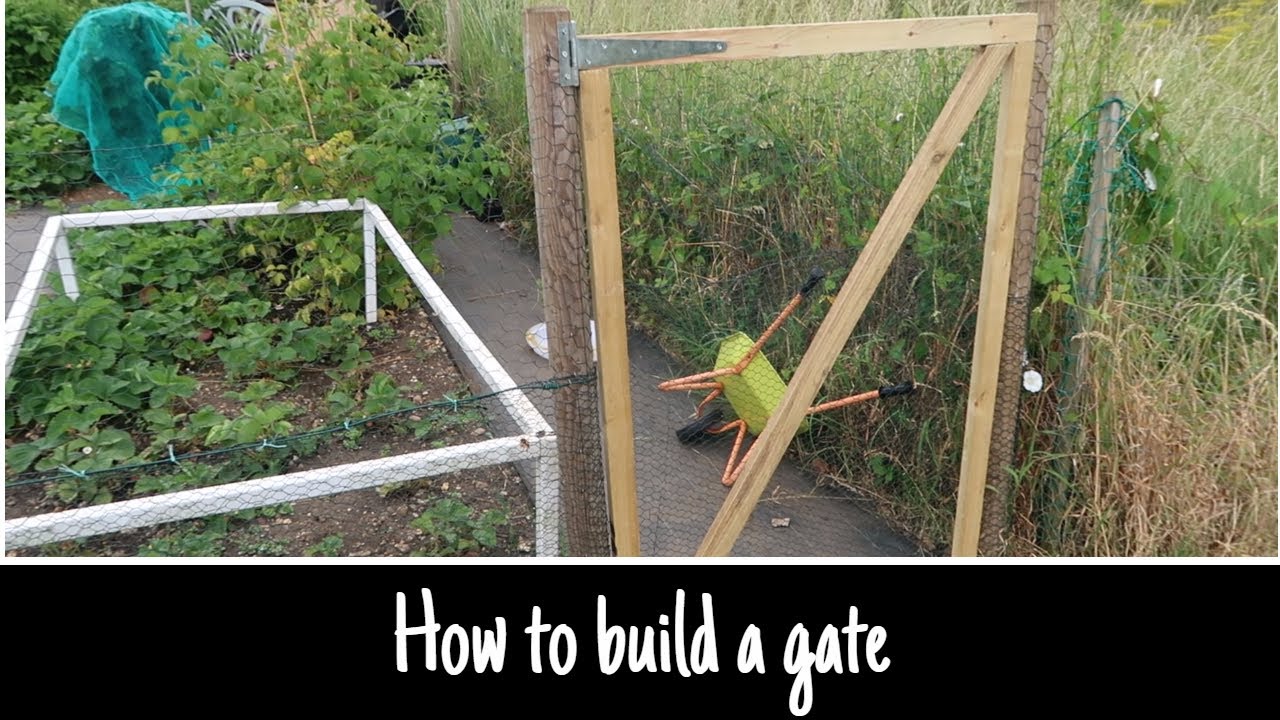
To make a gate with chicken wire, first build a sturdy frame using wood or metal. Then, attach the chicken wire securely to the frame for stability.
Creating a gate with chicken wire is a practical and cost-effective solution for enclosures. This project is ideal for gardens, yards, or pet areas. Chicken wire offers visibility while keeping animals secure. Building your own gate allows for customization in size and design.
You’ll need basic tools and materials, making this a manageable DIY task. Follow simple steps to ensure durability and functionality. A well-constructed chicken wire gate enhances both safety and aesthetics in your outdoor space. Enjoy the satisfaction of crafting a useful addition to your home that meets your specific needs.

Credit: www.kimversations.com
How to Make a Gate With Chicken Wire : Step by Step Guide
Introduction To Chicken Wire Gates
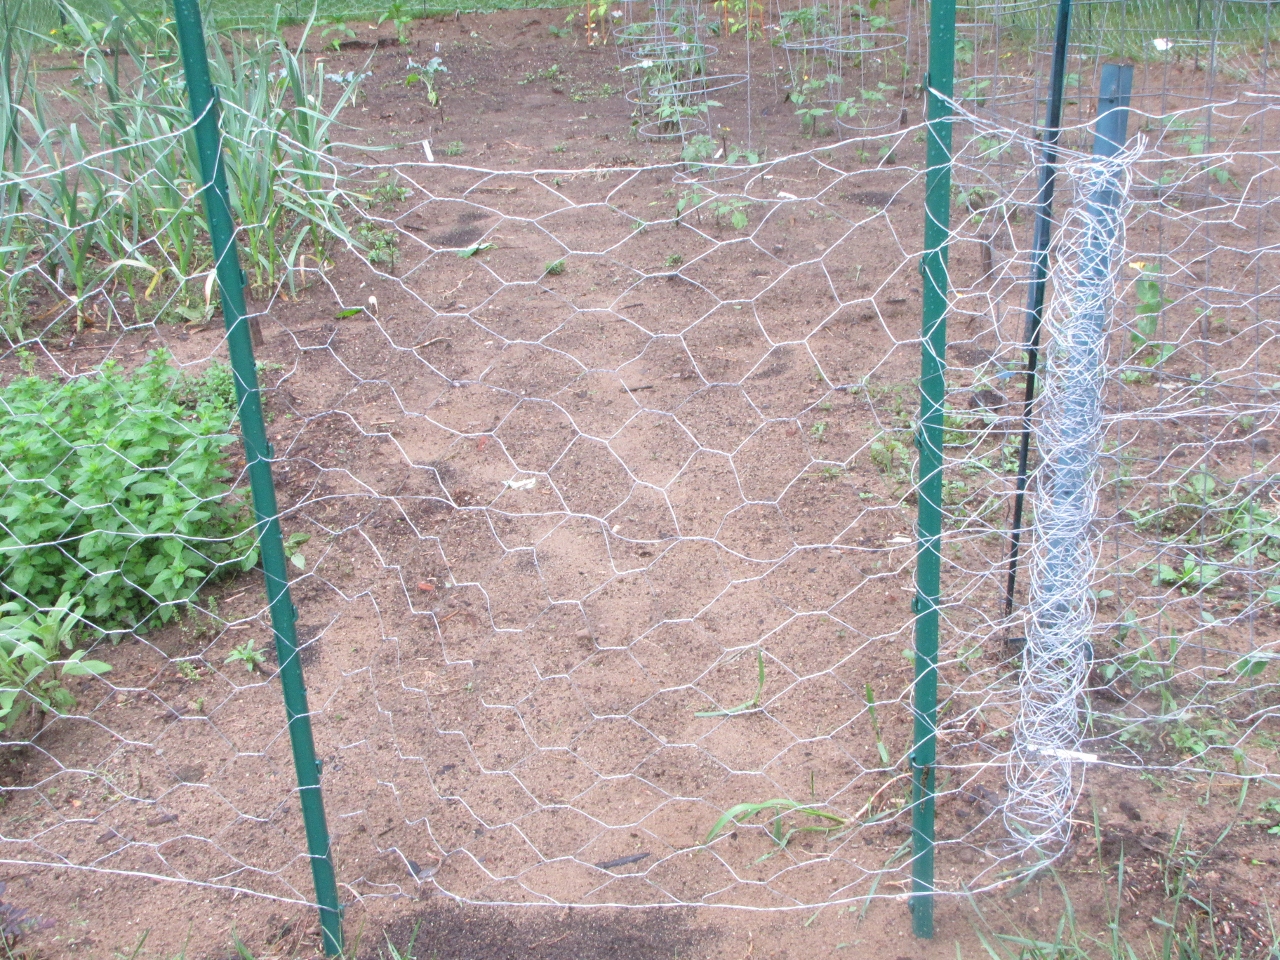
Chicken wire is a great option for making gates. It is affordable and easy to work with. Many small farms and gardens benefit from using chicken wire. It keeps animals in and out of specific areas.
Here are some key benefits of chicken wire gates:
- Cost-effective: Chicken wire is cheaper than other materials.
- Lightweight: Easy to handle and install.
- Durable: Resists rust and lasts for many years.
- Versatile: Fits various styles and designs.
- Good visibility: Allows you to see through the gate.
Choosing chicken wire helps create a safe space for pets and plants. It is an excellent choice for any small farm or garden.
Credit: buckhorncliffs.com
Materials Needed
To create a strong gate, gather the right materials. For chicken wire, choose a gauge that suits your needs. A stronger gauge lasts longer but may cost more. A lighter gauge is easier to work with.
For tools, a wire cutter is essential. Use pliers to twist the wire securely. A hammer helps with attaching the gate to posts. A level ensures the gate hangs straight.
| Material | Purpose |
|---|---|
| Chicken Wire | To create the gate structure |
| Wooden Posts | For gate support |
| Hinges | To attach the gate |
| Latch | To secure the gate |
Planning Your Gate
Choosing the right size for your gate is very important. Think about how wide and tall you want it to be. A standard gate is often about 4 feet wide. This allows easy access for people and pets.
Selecting the location is also crucial. Look for a spot that is flat and stable. Avoid areas with roots or rocks. Ensure there is enough space to open the gate fully. Consider how frequently the gate will be used.
Using a measuring tape helps in getting the right size. Mark the ground where the gate will stand. This will guide you as you build. Always double-check your measurements before cutting any materials.
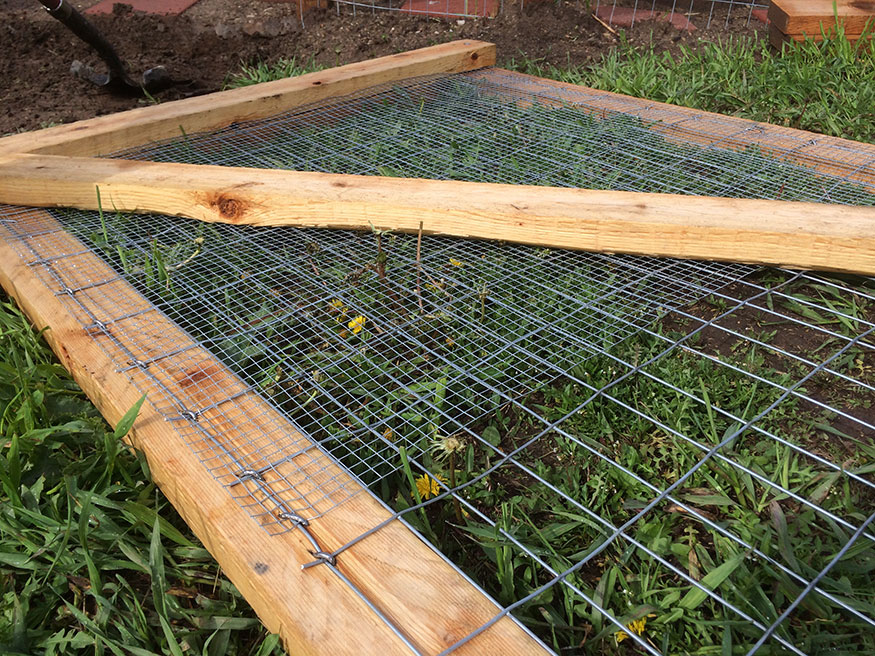
Building The Frame
To make a strong gate, start by cutting wood to the right size. Measure the space where the gate will go. Use a saw to cut the wood accurately. Each piece should fit well together.
Next, begin assembling the frame. Use screws or nails to join the wood pieces. Make sure all corners are at 90 degrees for stability. Check that the frame is level and straight. This will help the gate open and close easily.
Attaching Chicken Wire
Start by measuring the area for your gate. Cut the chicken wire carefully with wire cutters. Make sure the wire is the right size for your frame.
Next, secure the wire to the frame using staples or tie wires. Place the wire on one side of the frame. Pull it tight to avoid sagging. Attach it at the top, bottom, and sides.
Check if the wire is secure. Ensure there are no loose ends. Trim any excess wire for a clean look.
Installation Of The Gate
Start by choosing a sturdy gate frame. Attach the hinges to one side. Make sure they are level and secure. Use screws for a strong hold. Leave enough space for the gate to swing easily.
For the latch, there are various options. A simple hook and eye latch works well. A barrel bolt is also a good choice. Choose a latch that fits your gate style. Ensure it is easy to use but also secure.
| Latch Type | Advantages |
|---|---|
| Hook and Eye | Easy to install and use. |
| Barrel Bolt | Provides extra security. |
| Spring Latch | Automatically locks when closed. |
Finishing Touches
To give your gate a polished look, consider painting or staining it. Choose a color that matches your home or garden. Use a weather-resistant paint for durability. Apply at least two coats for the best finish. Allow each coat to dry completely before adding the next.
Adding decorative elements can enhance your gate’s appeal. Think about using ornate hinges or a stylish latch. You can also incorporate wooden accents or metal designs. These small touches make a big difference in style.
For a unique touch, consider adding hanging plants or fairy lights. These features create a welcoming entrance. Personalize your gate to reflect your taste.
Maintenance And Care
Regular checks are crucial for your chicken wire gate. Inspect the wire for tears or rust. Look at the hinges and latches for any signs of wear. Tighten loose screws to maintain stability.
Repairing damage helps extend the life of your gate. Patch small holes with extra chicken wire. For larger tears, replace the damaged section entirely. Painting the gate can prevent rust and improve its appearance.
Keep the area around the gate clear. Remove weeds and debris to prevent damage. Regular maintenance ensures your gate remains functional and safe.
Credit: www.kimversations.com
Frequently Asked Questions
How Do I Start Building A Chicken Wire Gate?
Begin by measuring the desired width and height for your gate. Gather materials like chicken wire, wooden frames, and hinges. Cut the wood to size and assemble the frame. Finally, attach the chicken wire securely to the frame for a sturdy gate.
What Tools Do I Need For A Chicken Wire Gate?
You will need basic tools like a saw, hammer, and staple gun. Additionally, wire cutters will be essential for trimming the chicken wire. A measuring tape ensures accurate dimensions. Safety gloves can protect your hands during the construction process.
How Long Does It Take To Build A Chicken Wire Gate?
Building a chicken wire gate typically takes a few hours. This includes measuring, cutting, and assembling materials. If you’re new to this, allow extra time for adjustments. Overall, you can complete it in a day, depending on your skill level.
Can I Use A Chicken Wire Gate For Pets?
Yes, a chicken wire gate can be effective for pets. It provides a barrier while allowing visibility and airflow. Ensure the gate is secure to prevent escape. Regularly check for wear and tear to maintain safety for your pets.
Conclusion
Creating a gate with chicken wire is a practical and cost-effective solution for your property. This project enhances security while allowing visibility. Remember to choose sturdy materials and follow safety guidelines. With a little effort, you’ll have a functional and attractive gate.
Enjoy your DIY experience and the benefits it brings!