To make a soil moisture meter work without batteries, you can use a simple and effective method. Wrap two galvanized nails with wires, connect them to an analog multimeter, and insert the nails into the soil.
The moisture level will be indicated on the multimeter’s gauge. This method eliminates the need for batteries and provides an accurate reading of soil moisture levels. Maintaining the right moisture levels in your garden or plants is crucial for their health and growth.
Credit: www.bobvila.com
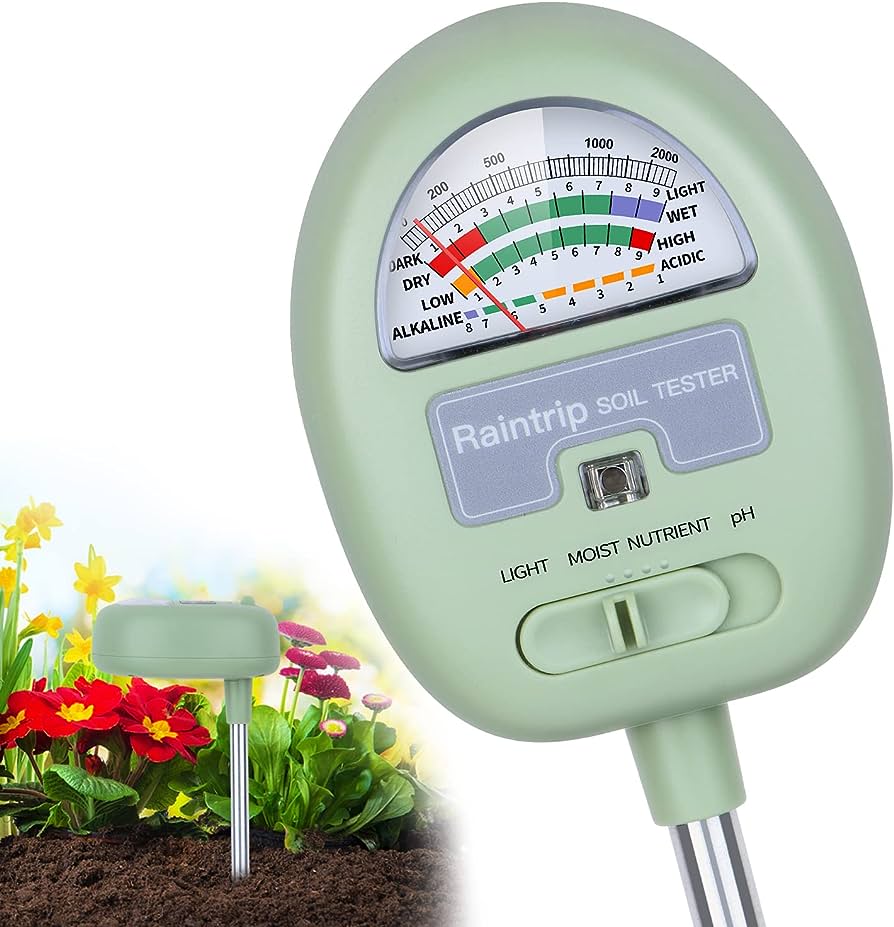
A soil moisture meter can help you accurately determine the moisture content in your soil, but what if you don’t have batteries for it? Fortunately, there’s a simple solution that allows you to make a soil moisture meter work without batteries. By using a couple of galvanized nails, wires, and an analog multimeter, you can create a homemade device that provides accurate readings of soil moisture levels. We will explore this method in detail and explain how you can effectively use it to monitor and adjust the moisture levels in your soil.
Why Battery-Free Soil Moisture Meters Are Beneficial
Battery-free soil moisture meters offer several advantages, including saving money and conserving resources. These meters do not require batteries, making them a cost-effective and sustainable option for measuring soil moisture levels. By eliminating the need for batteries, users can avoid the expense of continuously purchasing and replacing them.
Additionally, battery-free meters reduce waste and minimize environmental impact by reducing the amount of electronic waste generated. These meters rely on alternative methods, such as capacitance or resistance, to measure moisture levels accurately. With their efficient and reliable design, battery-free soil moisture meters provide an efficient and eco-friendly solution for monitoring soil moisture.
How to Make a Soil Moisture Meter Work Without Batteries : Step by Step Guide
Making Your Own Battery-Free Soil Moisture Meter
Making a soil moisture meter work without batteries is possible and can be a great DIY project. To start, gather the necessary materials, including a moisture sensor, a microcontroller, resistors, and wires. Assemble the meter step by step by connecting the moisture sensor to the microcontroller using the wires.
Next, attach the resistors to the microcontroller, which will act as a voltage divider. This will help measure the soil moisture level accurately. Once everything is connected, you can adjust the code in the microcontroller to display the moisture readings in a user-friendly way.
This battery-free soil moisture meter will help you monitor and maintain optimal moisture levels in your garden without the need for batteries. Enjoy the satisfaction of creating an eco-friendly solution for your gardening needs.
Calibrating And Testing Your Battery-Free Soil Moisture Meter
Calibrating and testing your soil moisture meter is crucial for accurate readings. To ensure the meter works without batteries, follow these steps carefully. Start by understanding the importance of calibration. It helps in achieving precise measurements and reliable results. To calibrate the meter accurately, use a known moisture reference, such as a wet sponge or dry soil.
Adjust the meter’s settings accordingly, making sure it aligns with the reference material. After calibration, perform a few tests to validate the accuracy of the meter. Test it on different soil types and compare the readings with visual indicators like plant growth and soil moisture appearance.
Regular maintenance and recalibration will ensure your battery-free soil moisture meter functions optimally, allowing you to monitor and manage your soil’s moisture levels effectively.
Using Your Battery-Free Soil Moisture Meter
Using a soil moisture meter without batteries is an eco-friendly option that eliminates the need for constant replacements. To ensure optimal usage, here are some best practices to follow. First, place the moisture meter probe into the soil at different depths to get accurate readings.
Next, interpret the measurements by comparing them to a soil moisture guide, which will indicate whether your plants require watering. Additionally, keep in mind that moisture levels can vary depending on the type of plant or soil, so it’s important to familiarize yourself with their specific needs.
Moreover, make sure to calibrate your meter regularly to maintain accuracy. Furthermore, avoid overwatering by testing multiple areas within your garden or plant pots. By following these guidelines, you can effectively use your battery-free soil moisture meter and enhance the health of your plants.
Maintaining And Extending The Lifespan Of Your Battery-Free Soil Moisture Meter
Maintaining and extending the lifespan of your battery-free soil moisture meter is essential for optimal performance. Cleaning and storing the meter properly are key factors in ensuring its longevity. Regularly clean the meter with a soft cloth to remove any dirt or debris that may hinder its accuracy.
Store the meter in a dry and cool location to prevent damage from moisture and extreme temperatures. Avoid exposing the meter to direct sunlight for long periods, as it can affect its functionality. Additionally, it is advisable to replace any worn-out parts or components to avoid compromising the meter’s performance.
Following these tips will help you keep your soil moisture meter working without the need for batteries and ensure long-lasting performance.
Frequently Asked Questions On How To Make A Soil Moisture Meter Work Without Batteries
Do Soil Moisture Meters Need Batteries?
Soil moisture meters do not require batteries.
How Does Ph Meter Work Without Batteries?
PH meters work without batteries by using a glass electrode and a reference electrode to measure electrical potential.
Why Is My Soil Moisture Meter Not Reading?
There could be various reasons why your soil moisture meter is not reading: 1. Make sure the battery is fully charged or replaced if necessary. 2. Check for any obstructions or damage to the probe or sensor. 3. Ensure the meter is appropriately inserted into the soil at the correct depth.
4. Confirm that the meter is calibrated correctly according to the manufacturer’s instructions.
How Do You Make A Homemade Soil Moisture Sensor?
To make a homemade soil moisture sensor, follow these steps: 1. Gather materials like a metal probe, a resistor, wires, and a microcontroller board. 2. Connect the metal probe to the resistor and wire it to the microcontroller board. 3. Insert the metal probe into the soil and measure the resistance using the microcontroller.
4. Based on the resistance, you can determine the moisture level of the soil. 5. Adjust the code on the microcontroller to provide accurate readings. 6. Ensure proper calibration and maintenance for effective readings.
Conclusion
To maintain a healthy garden, it is crucial to regularly monitor the soil moisture levels. In this blog post, we explored how to make a soil moisture meter that works without batteries. By using simple materials like nails, wires, and an analog multimeter, you can create a DIY moisture meter that provides accurate readings.
The key is to establish a voltage gradient in the soil, which can be done by inserting the nails at different depths. The multimeter then measures the voltage, indicating the soil moisture level. This homemade solution not only saves money but also reduces reliance on batteries, making it an eco-friendly choice.
Remember to calibrate the meter based on your soil type, as different plants have different moisture needs. With this DIY approach, you can ensure your plants receive the right amount of water, leading to healthier and more vibrant gardens.