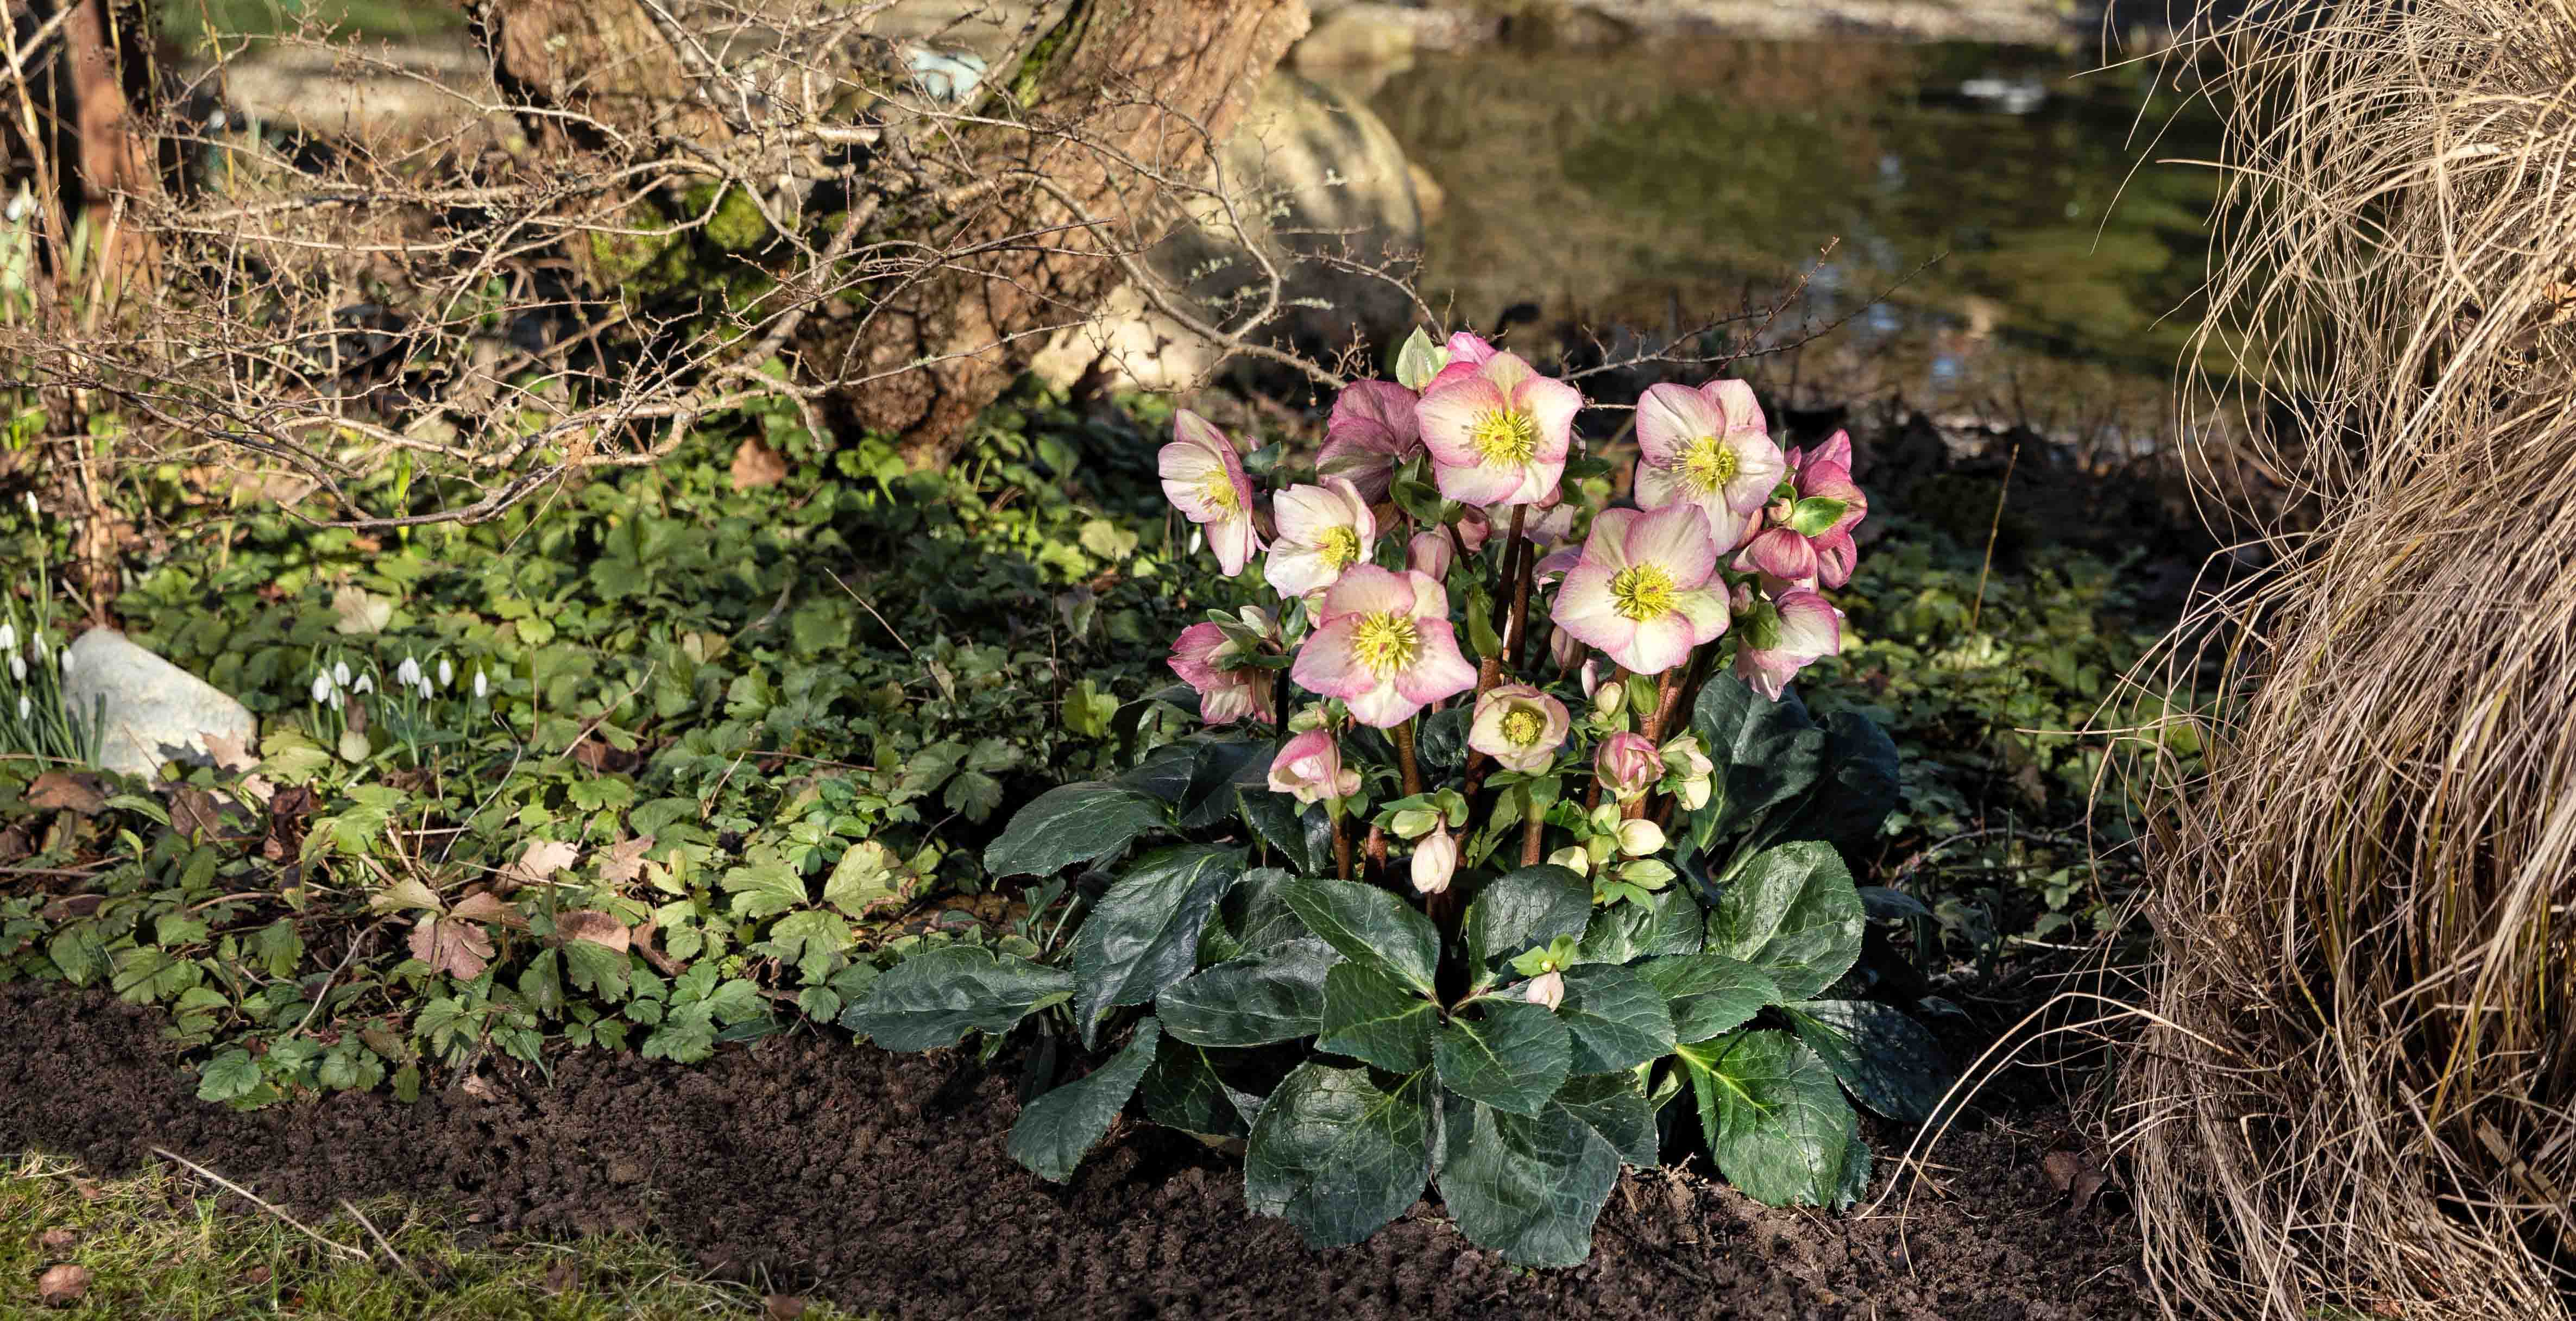
To move a Hellebore plant, ensure the new location has well-draining soil, dig a hole twice the size of the root ball, carefully remove the plant from its current spot, and transplant it to the new hole. Moving a Hellebore plant requires proper planning and execution to minimize stress on the plant and ensure successful transplantation.
By following these steps, you can relocate your Hellebore plant without any hassle. Hellebore plants, also known as Lenten roses, are beautiful and resilient perennials that can bring vibrant colors to your garden. However, there may be instances where you need to move these plants to a different spot in your garden.
Whether you want to divide the plant, improve its exposure to sunlight, or change the overall garden layout, it’s crucial to know how to move a Hellebore plant correctly. This delicate process requires careful attention to detail to maintain the plant’s health and ensure its successful transition. We will guide you on the proper steps to move a Hellebore plant, allowing you to relocate and enjoy its beauty in a new location.
Credit: www.helleborus.de
Factors To Consider Before Moving A Hellebore Plant
Before moving a hellebore plant, there are several factors that you should consider:
- Current Season and Weather Conditions: It’s important to assess the current season and weather conditions as they can impact the plant’s ability to adjust and survive in a new location.
- Age and Health of the Plant: Younger, healthier plants tend to have a higher chance of successful transplantation compared to older or weaker plants. Take into account the vigor and robustness of the plant before deciding whether to move it.
- Soil and Watering Requirements: Hellebore plants prefer well-draining soil with a slightly acidic to neutral pH. Ensure that the new location meets these requirements to promote healthy growth. Additionally, consider the watering needs of the plant and make adjustments accordingly.
By carefully considering these factors, you can increase the chances of successful transplantation and help your hellebore plant thrive in its new environment.
How to Move a Hellebore Plant: Step by Step Guide
Preparing The Hellebore Plant For Transplanting
Preparing the Hellebore plant for transplanting requires some essential steps to ensure a successful transition. Before moving the plant, it is crucial to maintain a proper watering and fertilizing routine. This will help the plant retain its strength and resilience during the transplantation process. **Water the plant deeply** a day or two before the move, to ensure it is well-hydrated.
**Pruning and trimming the plant** is also an important step. Remove any dead or damaged leaves or stems, as well as any excess foliage that may impede its growth after transplanting. This will promote new growth and allow the plant to focus its energy on establishing itself in its new location.
Once the Hellebore plant is properly prepared, it is essential to **prepare the new location** before the actual transplant. Choose an area with well-drained soil and partial shade to replicate the plant’s preferred growing conditions. Dig a hole slightly larger than the plant’s root ball, ensuring it is level with the surrounding soil.
Digging Up The Hellebore Plant
To successfully move a hellebore plant, you will need a few essential tools. Firstly, a trowel will come in handy for digging up the plant and its roots. Additionally, a sharp garden knife can be used to carefully cut any stubborn roots that may be intertwined with other plants or objects.
When it comes to removing the plant from the ground, there are a few techniques you can employ to ensure minimal root damage. Start by watering the plant thoroughly a day or two before digging it up. This will moisten the soil and make it easier to extract the plant without causing too much disturbance to the roots.
Once the soil is adequately moist, gently insert the trowel into the ground around the plant, gradually loosening the soil and freeing the roots. Take care not to cut through any major roots as you work. With the plant loosened, lift it out of the ground with the roots intact.
To minimize root damage during the transplanting process, it is crucial to keep the plant’s roots moist at all times. You can achieve this by wrapping the roots in a damp cloth or storing them in a container with moist soil or water. This will help to prevent dehydration and ensure the plant’s survival after transplantation.
Transferring The Hellebore Plant To Its New Location
Transferring a Hellebore plant to a new location requires careful preparation. First, choose a suitable spot for the plant. Ensure that the area receives partial shade, as direct sunlight can damage the plant. Additionally, make sure the soil conditions are optimal for the Hellebore plant. It thrives in well-drained soil with a slightly acidic pH level. Prior to transplanting, water the plant thoroughly to prevent root damage during the process.
Dig a hole that is slightly larger than the root ball of the plant, ensuring there is enough space for it to grow. Gently remove the plant from its current location, being careful not to disturb the roots. Place the plant in the hole carefully, ensuring it is at the same depth as it was previously. Backfill the hole with soil and pat it gently to remove any air pockets. Finally, water the plant again to help it settle into its new location.
Replanting And Watering The Hellebore Plant
Ensuring Proper Depth and Spacing for Replanting
When moving a Hellebore plant, it is crucial to ensure that it is replanted at the correct depth and with adequate spacing. The ideal depth for replanting a Hellebore plant is slightly higher than it was previously grown, with the crown of the plant sitting just above the soil surface. Spacing between individual Hellebore plants should be around 18 to 24 inches to allow for proper airflow and growth. By following these guidelines, you can promote strong root development and prevent the plant from becoming overcrowded.
Watering and Mulching After Transplanting
Proper watering and mulching after transplanting a Hellebore plant are essential for its successful establishment. After replanting, make sure to water the plant thoroughly to settle the soil and provide moisture to the roots. It is important to keep the soil slightly moist, but not waterlogged, during the initial establishment period. Additionally, applying a layer of organic mulch around the base of the plant can help retain moisture, regulate soil temperature, and suppress weed growth. This will create optimal conditions for the Hellebore plant to thrive as it adapts to its new location.
Caring for the Hellebore Plant During Initial Establishment
During the initial establishment period, it’s important to provide proper care to the Hellebore plant. This includes regular watering, removing any weeds or competing plants, and monitoring for signs of pests or diseases. Apply a balanced fertilizer in early spring to provide necessary nutrients for growth. As the plant becomes established, it will require less frequent watering, but still, monitor soil moisture levels to ensure it does not dry out. By following these care guidelines, you can ensure the successful relocation and long-term health of your Hellebore plant.
Adjusting To The New Environment
Moving a Hellebore plant requires careful adjustments to its new environment to ensure its successful acclimation. Monitoring and regulating sunlight exposure is crucial for the plant’s well-being. Too much direct sunlight can lead to scorching, while insufficient sunlight may hinder growth and blooming.
Managing temperature and humidity levels is also essential. Hellebores prefer cool temperatures between 50 to 60 degrees Fahrenheit (10 to 15 degrees Celsius). Maintaining adequate humidity by misting the plant or placing a tray of water nearby can create a favorable microclimate. Additionally, protecting the plant from extreme weather conditions, such as frost or excessive wind, is imperative. Covering the plant with a lightweight cloth or providing a physical barrier can shield it from potential harm.
Watering And Fertilizing Techniques For Transplanted Hellebore Plants
When moving a hellebore plant, it is important to follow proper watering and fertilizing techniques to ensure its successful transplantation. Adequate watering techniques for established plants involve giving them a thorough soak until the soil is evenly moist, allowing the water to reach the deeper roots. It is crucial to avoid overwatering, as it can cause root rot. Choosing the right fertilizer and application methods is essential for the healthy growth of transplanted hellebore plants.
Using a slow-release fertilizer with balanced nutrients helps promote strong root development and abundant blooms. It is recommended to apply the fertilizer in early spring and mid-summer. Establishing a proper watering and fertilizing schedule is crucial to maintain the health of transplanted hellebore plants. Providing regular waterings and fertilizing at appropriate intervals based on the plant’s specific needs will help ensure its proper growth and overall well-being.
Pruning And Dividing Transplanted Hellebore Plants
Timing and Techniques for Pruning the Plant:
- Pruning your transplanted hellebore plant is crucial to ensure its health and growth.
- Start pruning in early spring before new growth emerges.
- Trim off any damaged or dead leaves to promote new growth.
- Use clean pruning shears to prevent the spread of diseases.
Dividing the Plant to Promote Growth and Health:
- Dividing hellebore plants allows them to rejuvenate and prevents overcrowding.
- Wait until the plant is at least four years old before dividing.
- Choose a cool day and water the plant thoroughly a day before dividing.
- Carefully lift the plant from the ground and gently separate the clumps.
- Ensure each division has healthy roots and replant them at the same depth as before.
Caring for Newly Divided Hellebore Plants:
- After dividing, water the plants well and keep the soil consistently moist.
- Apply a slow-release fertilizer to provide essential nutrients.
- Protect the plants from extreme temperatures and strong winds.
- Monitor for any signs of pests or diseases and take prompt action if needed.
Frequently Asked Questions On How To Move A Hellebore Plant
How Is Hellebore Plant Moved?
To move a hellebore plant, carefully dig around its root ball, making sure not to damage the roots. Lift the plant out of the ground and transfer it to its new location. Be sure to water the plant well after transplanting to aid in its establishment.
When Is The Best Time To Move A Hellebore Plant?
The best time to move a hellebore plant is in early spring or late fall when the plant is dormant. This allows the plant to acclimate to its new location before the heat of summer or the harshness of winter.
Can I Move A Hellebore Plant While It Is Blooming?
It is not recommended to move a hellebore plant while it is blooming, as the stress of transplantation may cause the flowers to wilt or drop. It is best to wait until the plant has finished blooming and has entered a dormant phase before attempting to move it.
Conclusion
Moving a hellebore plant can be a daunting task, but with the right techniques, it can be done successfully. By ensuring the plant is well-prepared, choosing the right time to transplant, and following proper care instructions, you can help the hellebore thrive in its new location.
Remember to always handle the plant with care, protecting its delicate roots, and providing it with the necessary nutrients and sunlight. With time and patience, your hellebore will bloom beautifully in its new home. Happy gardening!