Are you looking for a cost-effective and environmentally friendly way to grow alfalfa? Don’t worry, planting alfalfa by hand is not as difficult as it may seem.

How to plant alfalfa by hand is an effective and rewarding way to cultivate this versatile and nutrient-rich forage crop. Alfalfa is prized for its high protein content and ability to enrich the soil with nitrogen, making it an excellent choice for livestock feed and crop rotation. While large-scale operations often rely on machinery, hand planting allows for precision, care, and flexibility, especially for small-scale farms or personal gardens.
By following the right steps and understanding the needs of alfalfa, you can ensure a successful and healthy crop that will thrive for years to come.
What Are the Benefits of Growing Alfalfa?
There are many benefits to growing alfalfa, making it a popular choice for farmers and gardeners alike.
- High Nutritional Value: Alfalfa is known for its high protein content, making it an excellent source of food for livestock such as cows, horses, and sheep. It also contains essential vitamins and minerals that can improve the overall health and productivity of animals.
- Soil Enrichment: As a legume plant, alfalfa has the unique ability to fix atmospheric nitrogen into the soil through nodules on its roots. This natural process helps enrich the soil with nutrients, making it beneficial for crop rotation in agricultural practices.
- Drought Tolerance: Alfalfa has deep roots that can reach up to 15 feet underground, making it a highly drought-tolerant crop. This means it can thrive in areas with low rainfall and still produce a high yield, making it an ideal choice for farmers in dry regions.
- Weed Suppression: The dense growth of alfalfa plants helps suppress the growth of weeds, reducing the need for herbicides and tillage. This makes it a more environmentally friendly option for weed control compared to other crops.
- Wildlife Habitat: The diverse plant species in alfalfa fields attract pollinators such as bees and butterflies, providing vital habitat and food sources for these beneficial insects. It also serves as a nesting ground for various bird species, making it a valuable habitat for wildlife.
What Will You Need?
If you are interested in growing alfalfa, here are some things that you will need:
- Land: Alfalfa can be grown on a wide range of soil types, but it does best in well-drained loamy soils with a pH between 6.5 and 7.5. It is important to choose a location with good sunlight exposure and access to water for irrigation.
- Seed: There are many different varieties of alfalfa available, so it is important to choose the right one for your specific needs.
- Fertilizer: Alfalfa requires a good amount of nutrients to grow, so fertilization is important. A soil test can help determine the specific fertilizer needs for your field.
- Equipment: You will need some basic farming equipment, such as a tractor, planter, and mower to successfully grow alfalfa.

9 Easy Steps on How to Plant Alfalfa by Hand
Step 1. Prepare the Soil:
Proper soil preparation is critical for successfully planting alfalfa by hand. Start by selecting a well-draining field with a pH level between 6.5 and 7.5, as alfalfa thrives in slightly alkaline soil. Begin by removing any weeds, rocks, or debris from the area to ensure an even and clean planting bed.
Conduct a soil test to assess nutrient levels and determine if lime or additional amendments are needed to adjust the pH or replenish essential nutrients like phosphorus and potassium. Use a tiller or a hand tool to loosen the top 6 to 8 inches of soil, breaking up clumps and ensuring good aeration. This process helps the alfalfa seeds establish strong root systems by providing a soft, nutrient-rich environment that promotes growth.
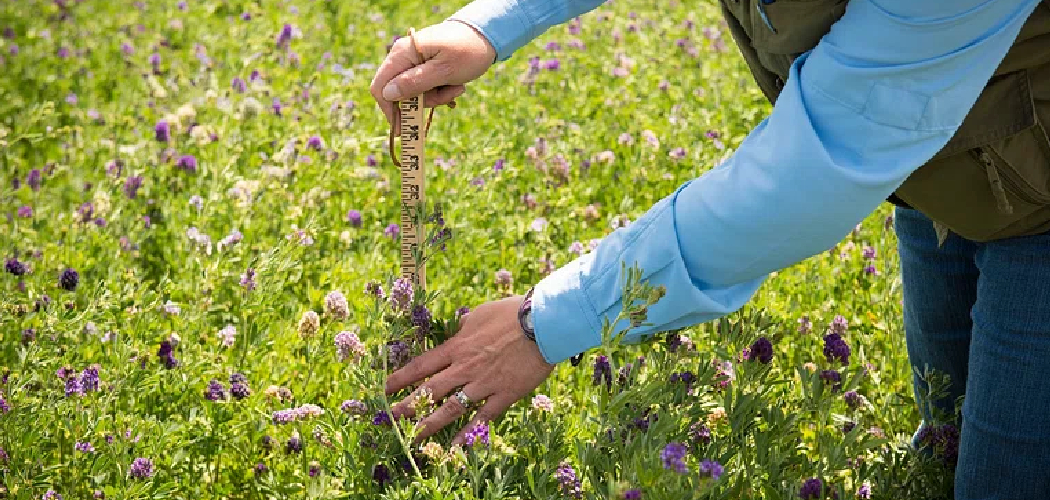
Step 2. Measure and Layout the Field:
Accurately measuring and laying out your field is crucial for optimal alfalfa yield and ease of maintenance. Begin by determining the size of the planting area to calculate seed requirements appropriately. Use measuring tools such as a tape measure, surveyor’s wheel, or GPS device to mark the boundaries clearly.
Identify any slopes, uneven terrain, or problem areas that may need special attention. Create straight, evenly spaced rows to facilitate planting and harvesting, using stakes and string to guide your layout. Proper planning at this stage ensures efficient use of resources and promotes uniform crop growth.
Step 3. Select Quality Seeds:
Choosing high-quality seeds is paramount to achieving a successful harvest. Start by selecting seeds that are suited to your local climate, soil type, and growing season. Look for certified seeds from reputable suppliers, as these are tested for germination rates, purity, and resistance to diseases. Pay close attention to the seed labels, which provide essential information such as planting depth, spacing, and expected yields. Avoid using old or improperly stored seeds, as their viability may have decreased.
Step 4. Spread the Seeds:
Spreading the seeds evenly is crucial to ensure proper growth and avoid overcrowding. Begin by preparing the soil, breaking up any clumps, and leveling the surface to create a smooth planting area. Use a seed spreader or your hands to distribute the seeds uniformly, following the recommended spacing guidelines provided on the seed packet. For smaller seeds, mixing them with sand or fine soil can help ensure even distribution. Gently press the seeds into the soil without burying them too deeply, as this can hinder germination. Finally, water the seeded area lightly but thoroughly to settle the soil and provide the moisture needed for the seeds to sprout.

Step 5. Cover the Seeds:
Cover the seeds with a thin layer of soil or compost, following the depth guidelines on the seed packet. Ensure the layer is evenly spread and not too thick, as this could prevent the seeds from receiving adequate sunlight or proper airflow. Use a rake or your hands to gently smooth the surface, taking care not to displace the seeds. This step helps protect the seeds from birds, wind, and excessive evaporation, creating an ideal environment for germination.
Step 6. Water Carefully:
Water the seeds gently using a watering can with a fine rose or a hose attachment designed for delicate watering. Avoid using a strong stream of water, as it can displace the seeds or compact the soil, hindering germination. Ensure the soil remains evenly moist but not waterlogged, as excessive watering can lead to disease or rot. It’s best to water early in the morning or late in the afternoon to minimize evaporation and help the seeds establish a healthy start. Consistent and careful watering is crucial during the early stages of growth.
Step 7. Monitor Growth:
Regularly check on the progress of your plants to ensure they are growing healthily. Look for signs of germination, which often appear as small green shoots breaking through the soil. Keep an eye out for any issues such as discoloration, pests, or stunted growth, as these may require prompt attention. If weeds start to emerge, carefully remove them to minimize competition for nutrients and space. Additionally, observe how your plants respond to environmental conditions such as sunlight and temperature, making adjustments as needed.
Step 8. Harvesting:
Harvesting is the most rewarding part of the growing process, as it signifies the culmination of your efforts. Ensure you pick your crops at the right time to maximize flavor and nutritional value. This typically involves observing the size, color, and texture of the produce. For example, fruits should feel firm yet ripe, while vegetables like leafy greens should be vibrant and crisp. Use clean, sharp tools such as scissors or pruning shears to avoid damaging the plant. Harvest in the early morning when plants are hydrated and at their freshest. Remember to handle your crops gently to prevent bruising or spoilage, and enjoy the satisfaction of your homegrown bounty!

Step 9. Storing:
Properly storing your harvested produce is essential to maintain its freshness and extend its shelf life. Begin by cleaning the crops gently to remove dirt or debris, but avoid soaking them, as excess moisture can lead to spoilage. For leafy greens and herbs, wrap them in a slightly damp paper towel and store them in a perforated bag in the refrigerator. Root vegetables like carrots and beets should be kept in a cool, dark place, while fruits like apples and pears do well in a loosely sealed bag in the fridge. Always store different types of produce separately, as some fruits, like bananas, release ethylene gas, which can speed up ripening in nearby vegetables.
By following these storage guidelines, you can help reduce food waste and ensure that your produce stays fresh for longer.

Conclusion
How to plant alfalfa by hand can be a simple and rewarding process when done correctly. Begin by selecting a well-drained location with fertile soil that receives ample sunlight.
Clear the area of weeds and debris, then loosen the soil to a depth of about six inches using a hand tool. Distribute the alfalfa seeds evenly across the prepared soil, aiming for a light and consistent layer. Gently rake the soil to cover the seeds, ensuring they are no deeper than a quarter-inch. Finally, water the area thoroughly to promote germination.
Regular watering and monitoring for weeds during the early growth stages will help establish a healthy alfalfa crop.