To plant amaryllis bulbs in a pot, follow these steps: choose a well-draining pot, place the bulb with the tip exposed, and cover it with soil.

Credit: urbanplants.co.in
Choosing The Right Amaryllis Bulb
To select the right Amaryllis bulb for planting in a pot, look for firm and plump bulbs. Choose a pot that is slightly larger than the bulb, allowing room for growth. Plant the bulb with the top third above the soil, water it sparingly, and place it in a sunny spot.
Before you can start planting amaryllis bulbs in a pot, it’s essential to choose the right bulb. The quality and size of the bulb will directly impact the growth and blooming process of your amaryllis plant. Here are a few factors to consider when selecting the perfect amaryllis bulb:
Consider Bulb Size And Quality
The size and quality of the bulb play a significant role in determining the success of your amaryllis plant. Opting for a larger bulb will often result in a more robust and vigorous plant with multiple blooms. Additionally, a larger bulb typically has more stored energy, allowing it to produce stronger and more vibrant flowers.
Inspecting the quality of the bulb is equally important. Look for bulbs that are firm and free of any signs of rot or damage. A healthy bulb should feel heavy and plump when held in your hand, indicating ample nutrient reserves for growth.
When examining the bulb, check for any signs of mold or excessive dryness, as these can indicate poor storage conditions. A bulb with a healthy appearance and a solid, intact structure will increase the likelihood of successful growth and showy blooms.
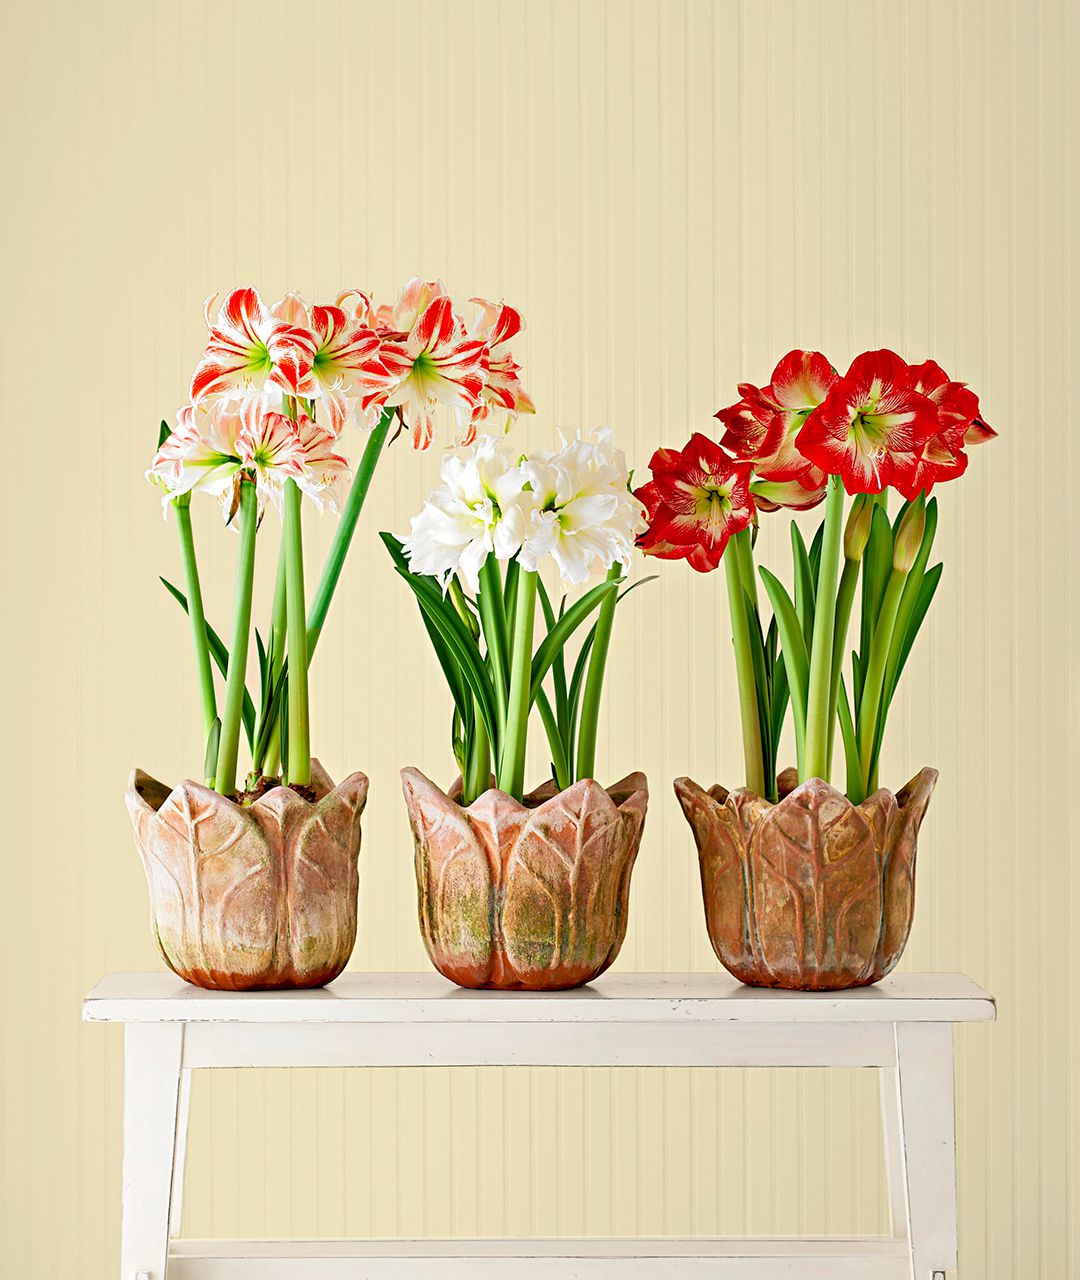
Select The Desired Bloom Color
Amaryllis bulbs come in an array of stunning colors, allowing you to choose the perfect hue to complement your indoor decor or garden theme. Whether you prefer classic crimson red, elegant white, vibrant pink, or even unique striped variations, there’s a bloom color to suit every preference.
If you have a specific color in mind, make sure to carefully read the description provided by the supplier or retailer. The packaging or online listing should indicate the expected color of the flower that will bloom from the bulb. This way, you can ensure that the eventual bloom will match your desired color scheme.
Remember that the selected bloom color might also influence the ambiance and mood of your space. So take a moment to envision how the amaryllis flowers will enhance the overall aesthetic before making your final decision.
Now that you understand the importance of choosing the right amaryllis bulb and considering both its size and quality, as well as the desired bloom color, you’re ready to move on to the next step: planting the amaryllis bulb in a pot. Stay tuned for our next blog post, where we will guide you through the process of planting and caring for your amaryllis plant to ensure a dazzling display of blooms!

Credit: kellogggarden.com
How to Plant Amaryllis Bulbs in a Pot : Step by Step Guide
Preparation Of Pot And Soil
Before planting amaryllis bulbs in a pot, it is crucial to ensure that the pot and soil are prepared in the best possible way. The right pot and soil conditions will help provide optimal growth and blooming for your amaryllis plants.
Choose A Suitable Pot With Drainage Holes
When selecting a pot for planting your amaryllis bulbs, it’s important to choose one with proper drainage holes. A pot with drainage holes allows excess water to escape and prevents waterlogging, which can lead to rotting of the bulbs. Ensure that the pot is large enough to accommodate your bulbs and has at least one drainage hole at the bottom.
Use Well-draining Soil Mix
Amaryllis bulbs require well-draining soil to thrive. Use a well-balanced potting mix that allows water to flow through easily. A good soil mix for amaryllis can be created using a combination of equal parts of potting soil, perlite, and sand. This mixture provides enough nutrients, retains moisture without becoming waterlogged, and allows proper aeration for healthy root development.
| Ingredients | Proportions |
|---|---|
| Potting soil | 1 part |
| Perlite | 1 part |
| Sand | 1 part |
This well-draining soil mix ensures that the bulbs are not sitting in water, reducing the risk of rot or diseases.
Preparing the pot and soil correctly sets the stage for successful amaryllis growth. By choosing a suitable pot with drainage holes and using a well-draining soil mix, you provide the ideal environment for your amaryllis bulbs to flourish and produce stunning blooms.
Planting The Amaryllis Bulb
To plant amaryllis bulbs in a pot, choose a well-draining potting mix and a pot with drainage holes. Place the bulb in the potting mix with the pointed end up, leaving the top third of the bulb exposed. Water thoroughly and place in a warm, sunny location.
Place The Bulb In The Center Of The Pot
Once you’ve chosen a suitable pot for your amaryllis bulb, it’s time to proceed with the planting process. First, place the bulb in the center of the pot, ensuring that it sits upright and is not tilted to one side. Positioning the bulb in the center will allow it to have ample space to grow and develop its beautiful blooms.
Cover The Bulb With Soil, Leaving The Top Third Exposed
After placing the bulb in the pot, it’s time to cover it with soil. Use a high-quality potting mix that is well-draining to provide the bulb with the optimal conditions. Gently pour the soil into the pot, making sure to cover the bulb completely. Leave the top third of the bulb exposed to allow for proper growth and prevent the bulb from rotting.
If you’re unsure about how much soil to add, a general rule of thumb is to fill the pot until the soil line is about an inch below the rim. This will provide sufficient room for watering and prevent soil from overflowing when you water the plant.
Remember to lightly press down the soil to eliminate any air pockets that may hinder the bulb’s growth. The soil should be firm but not overly compacted to allow roots to develop and expand easily.
During this process, it’s crucial to handle the bulb with care to avoid damaging its delicate roots. A gentle touch and steady hands will go a long way in ensuring the bulb’s successful growth.
Once you’ve covered the bulb with soil, it’s time to move on to the next step – providing the proper care, light, and water that the amaryllis plant needs to thrive. Continue reading to discover the essential steps for nurturing your amaryllis bulb and enjoying its stunning blooms.
Caring For Amaryllis Bulbs
Once you’ve planted your amaryllis bulbs in a pot, it’s important to provide the right care to ensure healthy growth and beautiful blooms. This section will cover the water and sunlight requirements, as well as fertilization and blooming tips for your amaryllis bulbs.
Water And Sunlight Requirements
Amaryllis bulbs require the right amount of water and sunlight to thrive. Here’s what you need to know:
- Water the amaryllis bulbs thoroughly after planting, allowing the excess water to drain away.
- After the initial watering, allow the top inch of soil to dry out before watering again.
- Avoid overwatering, as this can cause the bulbs to rot.
- Place the potted amaryllis bulbs in a location that receives bright, indirect sunlight.
- Avoid exposing the bulbs to direct sunlight, as it can scorch the leaves.
- Rotate the pot every few days to ensure even light exposure and balanced growth.
Fertilization And Blooming Tips
To encourage blooming and keep your amaryllis bulbs healthy, follow these tips:
- After the bulbs have sprouted, begin fertilizing them with a balanced, water-soluble fertilizer once a month.
- Follow the manufacturer’s instructions for the appropriate dilution and application method.
- During the blooming period, continue fertilizing every two weeks to provide the necessary nutrients for vibrant flowers.
- Once the flowers have faded, cut the flower stalk near the base.
- Allow the foliage to continue growing and provide regular watering and fertilization to support bulb development.
- In late summer or early fall, stop watering the bulbs and allow the foliage to die back naturally.
- Store the bulbs in a cool, dark place for a period of dormancy before next year’s planting season.
After-blooming Care
After your amaryllis has finished blooming, it’s essential to provide the right care to ensure its health and encourage future blooms. The after-blooming care for amaryllis bulbs in a pot includes pruning and storing the bulb and encouraging reblooming for the next season.
Pruning And Storing The Bulb
Once the flowers have faded, it’s essential to remove the spent blooms to prevent the plant from expending energy on seed production. Trim the flowering stem back to the base. Ensure the plant continues to receive adequate sunlight and water while the leaves are still green. When the leaves begin to turn yellow, reduce the watering to allow the bulb to enter dormancy. After the leaves have withered completely, remove them and store the bulb in a cool, dry place for a few months. It’s important to keep the bulb in a well-ventilated area and check for any signs of disease or pests periodically.
Encouraging Reblooming For The Next Season
To encourage your amaryllis to bloom again, you can start preparing the bulb for the next growing season after its dormancy period. Around 6-8 weeks before you want the amaryllis to bloom again, bring the bulb out of storage and repot it in fresh potting soil. Water the bulb lightly and place it in a warm and bright location. Once new growth starts, resume regular watering. Fertilize the plant with a balanced fertilizer to provide necessary nutrients for healthy growth and blooming. Following this care routine, your amaryllis should be ready to bloom again and brighten up your space with its stunning flowers.
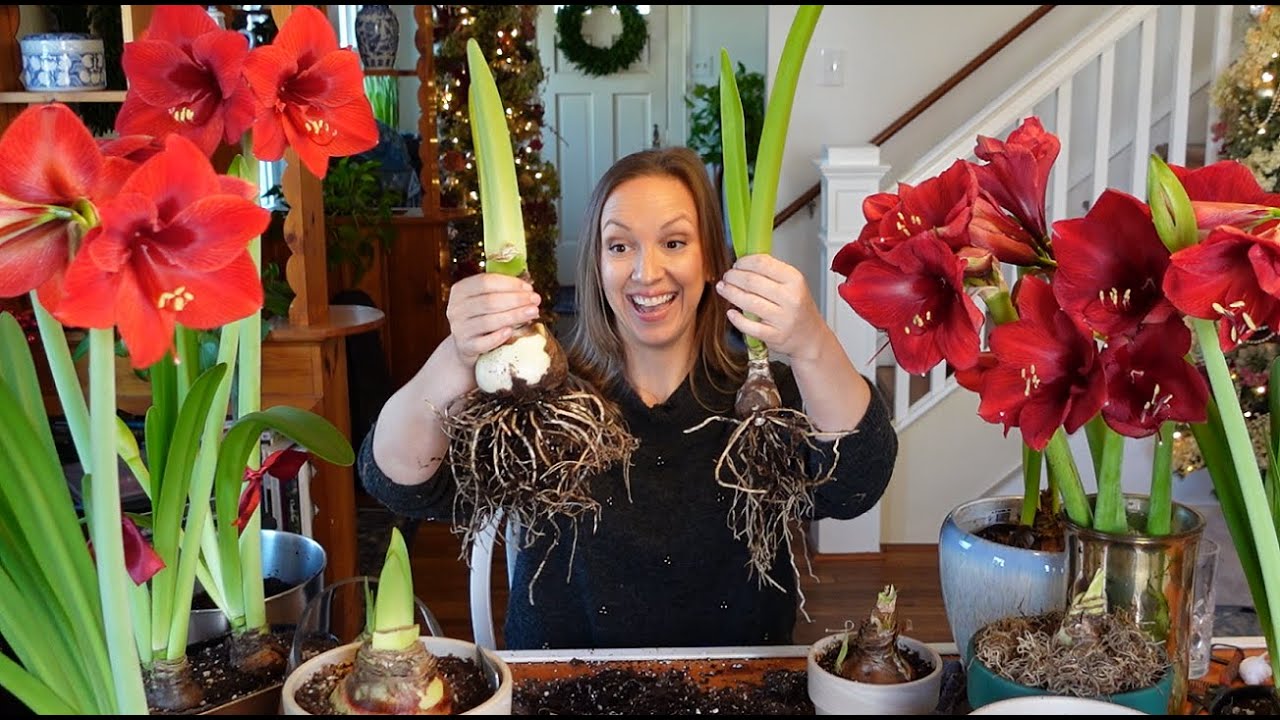
Credit: m.youtube.com
Frequently Asked Questions On How To Plant Amaryllis Bulbs In A Pot
Should You Soak Amaryllis Bulbs Before Planting?
Soaking amaryllis bulbs before planting is not necessary. They can be planted directly in well-draining soil.
What Is The Best Way To Plant A Amaryllis Bulb In A Pot?
To plant an amaryllis bulb in a pot, choose a pot that’s about 1 to 2 inches larger than the bulb. Fill the pot with well-draining soil and place the bulb in the center, with one-third of it exposed. Water thoroughly and place in a sunny spot.
What Type Of Pot Is Best For Amaryllis?
The best type of pot for amaryllis is a well-draining one. A pot with drainage holes allows excess water to escape, preventing root rot. Choose a pot that is slightly larger than the bulb to allow for growth. Terracotta or ceramic pots work well.
What Size Pot Should An Amaryllis Bulb Be Planted In?
Plant amaryllis bulbs in a pot that is 1-2 inches wider than the diameter of the bulb. A pot that is 8-10 inches in diameter will provide ample space for the bulb to grow. Use well-draining soil and ensure the pot has drainage holes.
Conclusion
To conclude, planting amaryllis bulbs in a pot is a simple and rewarding process. By following the step-by-step guide provided in this blog post, you can ensure the success of your amaryllis plants. Remember to choose a suitable pot, provide proper drainage, use quality soil, and give your plants adequate sunlight and water.
With these tips, you’ll be enjoying the vibrant and beautiful blooms of amaryllis in no time. Happy gardening!