
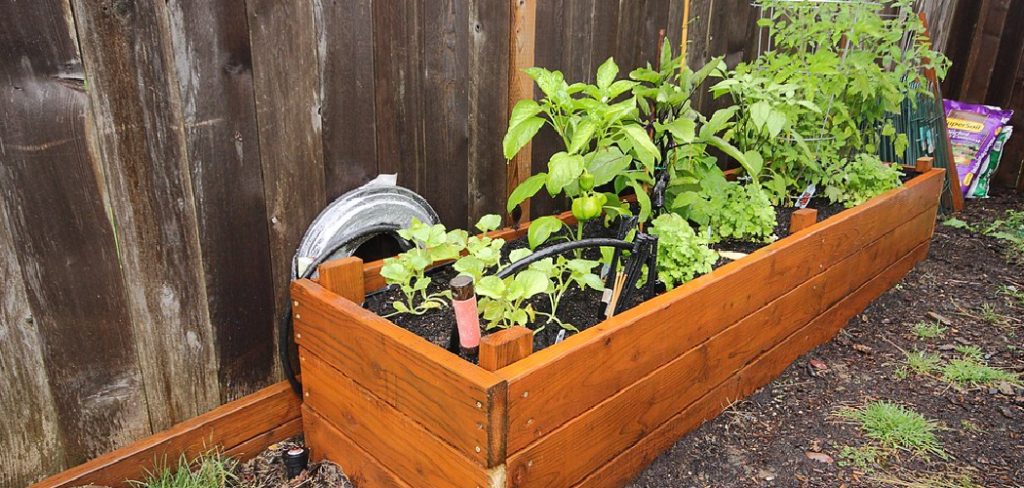
Growing your own vegetables, herbs, or flowers in raised garden boxes is a rewarding and efficient way to cultivate a garden. Raised garden boxes not only allow for better control over soil quality but also improve drainage and accessibility, making gardening easier for people of all ages and skill levels. Whether you’re a seasoned gardener or just starting, creating a thriving raised garden box is both fun and productive. This guide will take you through the essential steps of how to plant raised garden boxes.
Why Raised Bed Gardening is Ideal
Raised bed gardening offers numerous advantages that make it an attractive option for gardeners. One of the key benefits is improved soil quality. Since the soil in raised beds is self-contained, it can be customized with nutrient-rich materials, creating an optimal environment for plant growth. Additionally, the elevated structure allows for better drainage, preventing waterlogged roots and reducing the risk of soil compaction.
Raised garden boxes also offer easier access, reducing the need for bending or kneeling, which is especially beneficial for individuals with mobility issues. They also help to keep weeds and pests at bay, as the defined boundaries create a natural barrier. Overall, raised bed gardening provides a controlled, efficient, and versatile solution for growing plants.
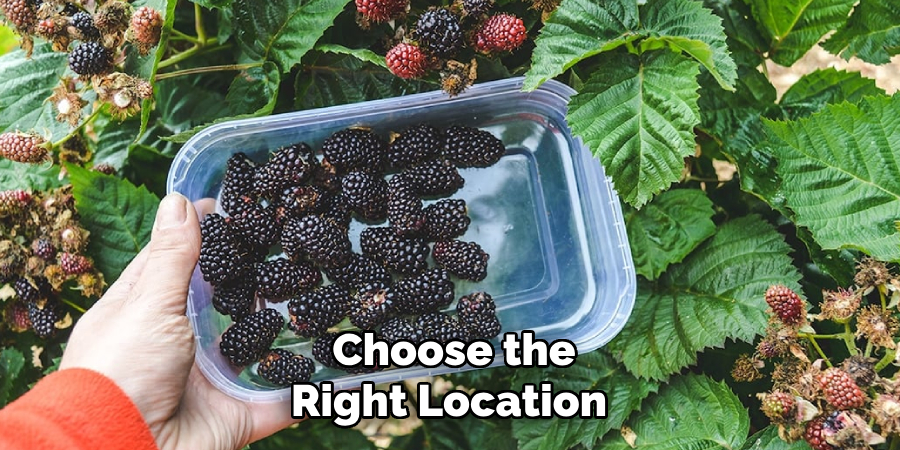
Choosing the Right Location for Raised Garden Boxes
Selecting the ideal location for your raised garden boxes is crucial for ensuring healthy and productive plants. Start by choosing a spot that receives ample sunlight throughout the day, as most vegetables and herbs thrive in full sunlight, which is typically six to eight hours of direct light daily. When assessing the location, also consider proximity to a water source, as convenient access to water will make maintenance much easier.
Additionally, ensure the area has proper air circulation to prevent issues like mold or fungus. Avoid placing the boxes in low-lying areas where water may pool, as poor drainage can lead to root rot. Lastly, consider the layout of your yard or garden and ensure the location doesn’t interfere with foot traffic or other landscaping needs. A well-chosen location will set the foundation for a thriving raised garden box.
10 Methods How to Plant Raised Garden Boxes
1. Choose the Right Location for Your Raised Garden Box
The first step in planting a raised garden box is selecting the best location for it. Raised beds need to be placed in a spot that receives ample sunlight, typically at least 6 to 8 hours a day. Sunlight is essential for plant growth, so choose a location that is not shaded by trees, buildings, or other structures.
Additionally, consider the accessibility of the spot. Raised garden boxes are designed to reduce bending and kneeling, but you still want to make sure you can easily reach all areas of the bed. Avoid areas with poor drainage or places that collect water, as waterlogged soil can lead to root rot. Opt for a level surface to ensure that water flows evenly across the bed.
2. Select the Appropriate Size for Your Raised Garden Box
The next consideration is choosing the right size for your raised garden box. While standard sizes are available, it’s essential to design your raised bed based on your available space, the types of plants you plan to grow, and your physical comfort. A typical raised bed is around 4 feet wide and 8 feet long, but it’s best to adjust the dimensions to fit your garden layout.
The width of the bed should allow you to easily reach the center from either side, preventing you from having to step on the soil. The height of the box should ideally be at least 12 to 18 inches deep, which provides enough room for most plant roots. Larger plants or deep-rooted vegetables may require deeper beds.
3. Build or Purchase the Raised Garden Box
Once you’ve determined the right size for your raised garden box, it’s time to build or purchase it. If you’re building your own, use materials like untreated wood, cinder blocks, or bricks. Cedar and redwood are naturally resistant to decay and pests, making them ideal choices for the frame. If you’re purchasing a pre-made kit, make sure it’s constructed with durable, non-toxic materials.
Be sure that the frame is sturdy enough to withstand weather elements. It’s essential to line the bottom of the bed with landscaping fabric or cardboard to prevent weeds from growing through the base. Avoid using pressure-treated wood, as the chemicals used in treating it can leach into the soil and harm your plants.
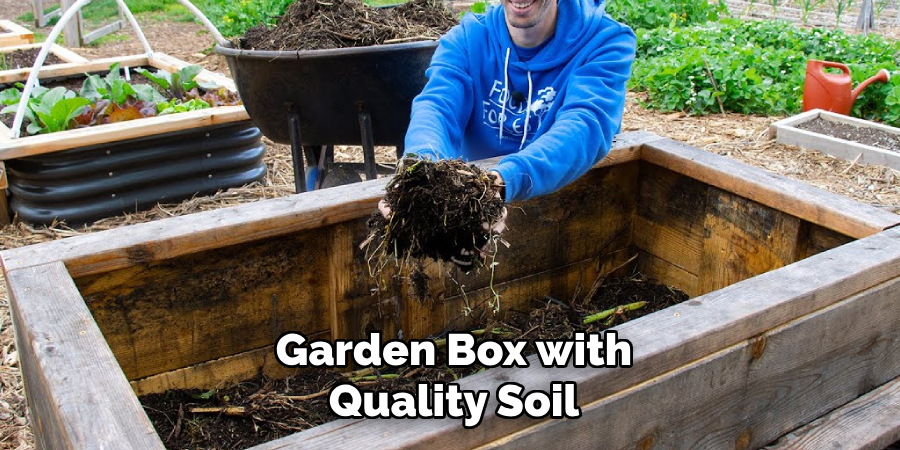
4. Fill the Raised Garden Box with Quality Soil
The quality of the soil is one of the most important factors when planting in raised garden boxes. Because you’re not working with the natural ground soil, you’ll need to fill the bed with a nutrient-rich, well-draining growing medium. A popular mix consists of three parts topsoil, two parts compost, and one part coarse sand or perlite. This combination ensures that the soil has good structure and provides the necessary nutrients for healthy plant growth. You can also purchase pre-mixed soil specifically designed for raised beds.
5. Plan Your Garden Layout
Before you start planting, take time to plan your garden layout. Think about the plants you want to grow and their specific needs, such as spacing, height, and sunlight requirements. A good rule of thumb is to group plants with similar growing conditions together. Tall plants, like sunflowers or tomatoes, should be placed at the back or center of the box, while shorter plants, such as herbs or lettuce, should be planted at the front or edges. Additionally, consider companion planting to improve growth, repel pests, and maximize space. For example, planting basil alongside tomatoes can improve flavor and deter insects.
6. Plant the Seeds or Transplants at the Right Depth
Once your raised garden box is filled with soil and the layout is planned, it’s time to start planting. Whether you’re planting seeds or transplants, be sure to follow the recommended planting depth for each type of plant. Planting seeds too deep can result in weak seedlings, while planting too shallow may lead to drying out or insufficient root development. For transplants, dig a hole just deep enough to cover the root ball, ensuring that the plant’s crown (where the stem meets the roots) is level with the soil surface. Gently firm the soil around the roots to eliminate air pockets.
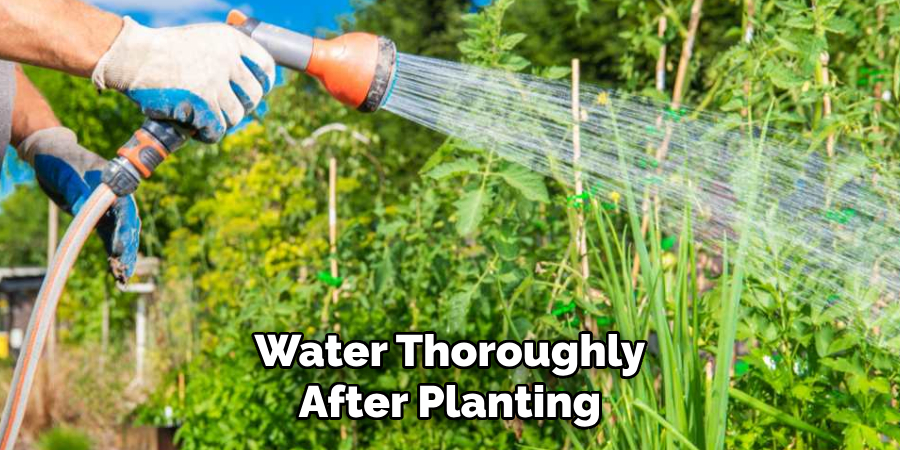
7. Water Thoroughly After Planting
After planting your seeds or transplants, it’s crucial to water the garden box thoroughly. This ensures that the soil settles around the roots and eliminates any air pockets. Watering also helps to kick-start the germination process for seeds and encourages the roots to establish themselves. Use a gentle watering can or a hose with a fine nozzle to avoid disturbing the soil or seedlings. Water deeply, ensuring that the water penetrates the entire root zone, especially in the first few weeks after planting.
8. Mulch to Retain Moisture and Prevent Weeds
Mulching is an essential step in maintaining a healthy raised garden box. Applying a layer of mulch around your plants helps to retain soil moisture, regulate soil temperature, and suppress weed growth. Organic materials like straw, wood chips, or shredded leaves work well as mulch. Spread a 2-3 inch layer of mulch around the plants, being careful not to pile it up against the stems, as this can cause rot.
9. Provide Support for Growing Plants
Some plants, particularly tall or vining varieties, may need additional support as they grow in your raised garden boxes. Tomatoes, peas, cucumbers, and beans are examples of plants that benefit from trellises, cages, or stakes. Installing these supports early on, as you plant, ensures that the plants have room to grow upward and stay off the soil. This reduces the risk of disease, as plants that stay off the ground are less likely to encounter soil-borne pathogens.
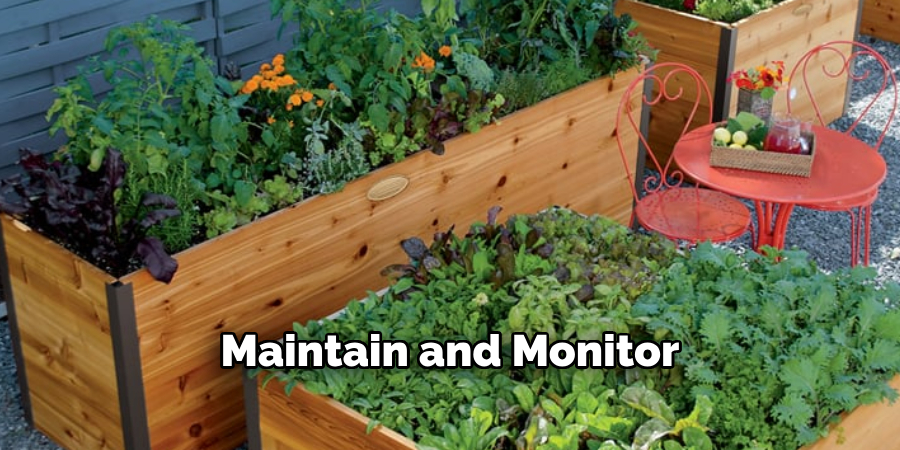
10. Maintain and Monitor Your Raised Garden Box Regularly
Once your raised garden box is planted, the work is far from over. Regular maintenance is necessary to ensure the health and success of your garden. Monitor the moisture level and water as needed, especially during dry spells. Check for signs of pests or diseases, and take immediate action if necessary. Prune dead or damaged leaves, and remove any weeds that appear. As your plants grow, continue to assess their needs and provide additional support if required. Fertilize periodically, either with organic compost or a balanced fertilizer, to replenish nutrients in the soil.
Conclusion
Planting raised garden boxes is a rewarding and efficient way to grow your own food or ornamental plants. With proper planning, soil preparation, and regular care, raised beds offer numerous benefits, including improved drainage, better soil quality, and easier access. By following these ten steps—from selecting the right location to providing ongoing maintenance—you can create a productive, low-maintenance garden that yields healthy, abundant plants year after year. Thanks for reading our blog post on how to plant raised garden boxes! We hope you found it helpful and informative.