To prepare corn seeds for planting, soak them in water overnight and then allow them to dry before sowing. Corn seeds require proper preparation before planting to ensure optimal germination and growth.
This involves soaking the seeds in water for at least 12 hours, which helps to soften the outer coating and improve moisture absorption. After soaking, it is crucial to allow the corn seeds to thoroughly dry before sowing them. This helps prevent rotting and promotes healthy germination.
By following these simple steps, you can significantly enhance the success of your corn crop and ensure a bountiful harvest. Soaking and drying corn seeds before planting allows for better moisture absorption and reduces the risk of rot.
Credit: www.elkmoundseed.com
How to Prepare Corn Seeds for Planting: Step by Step Guide
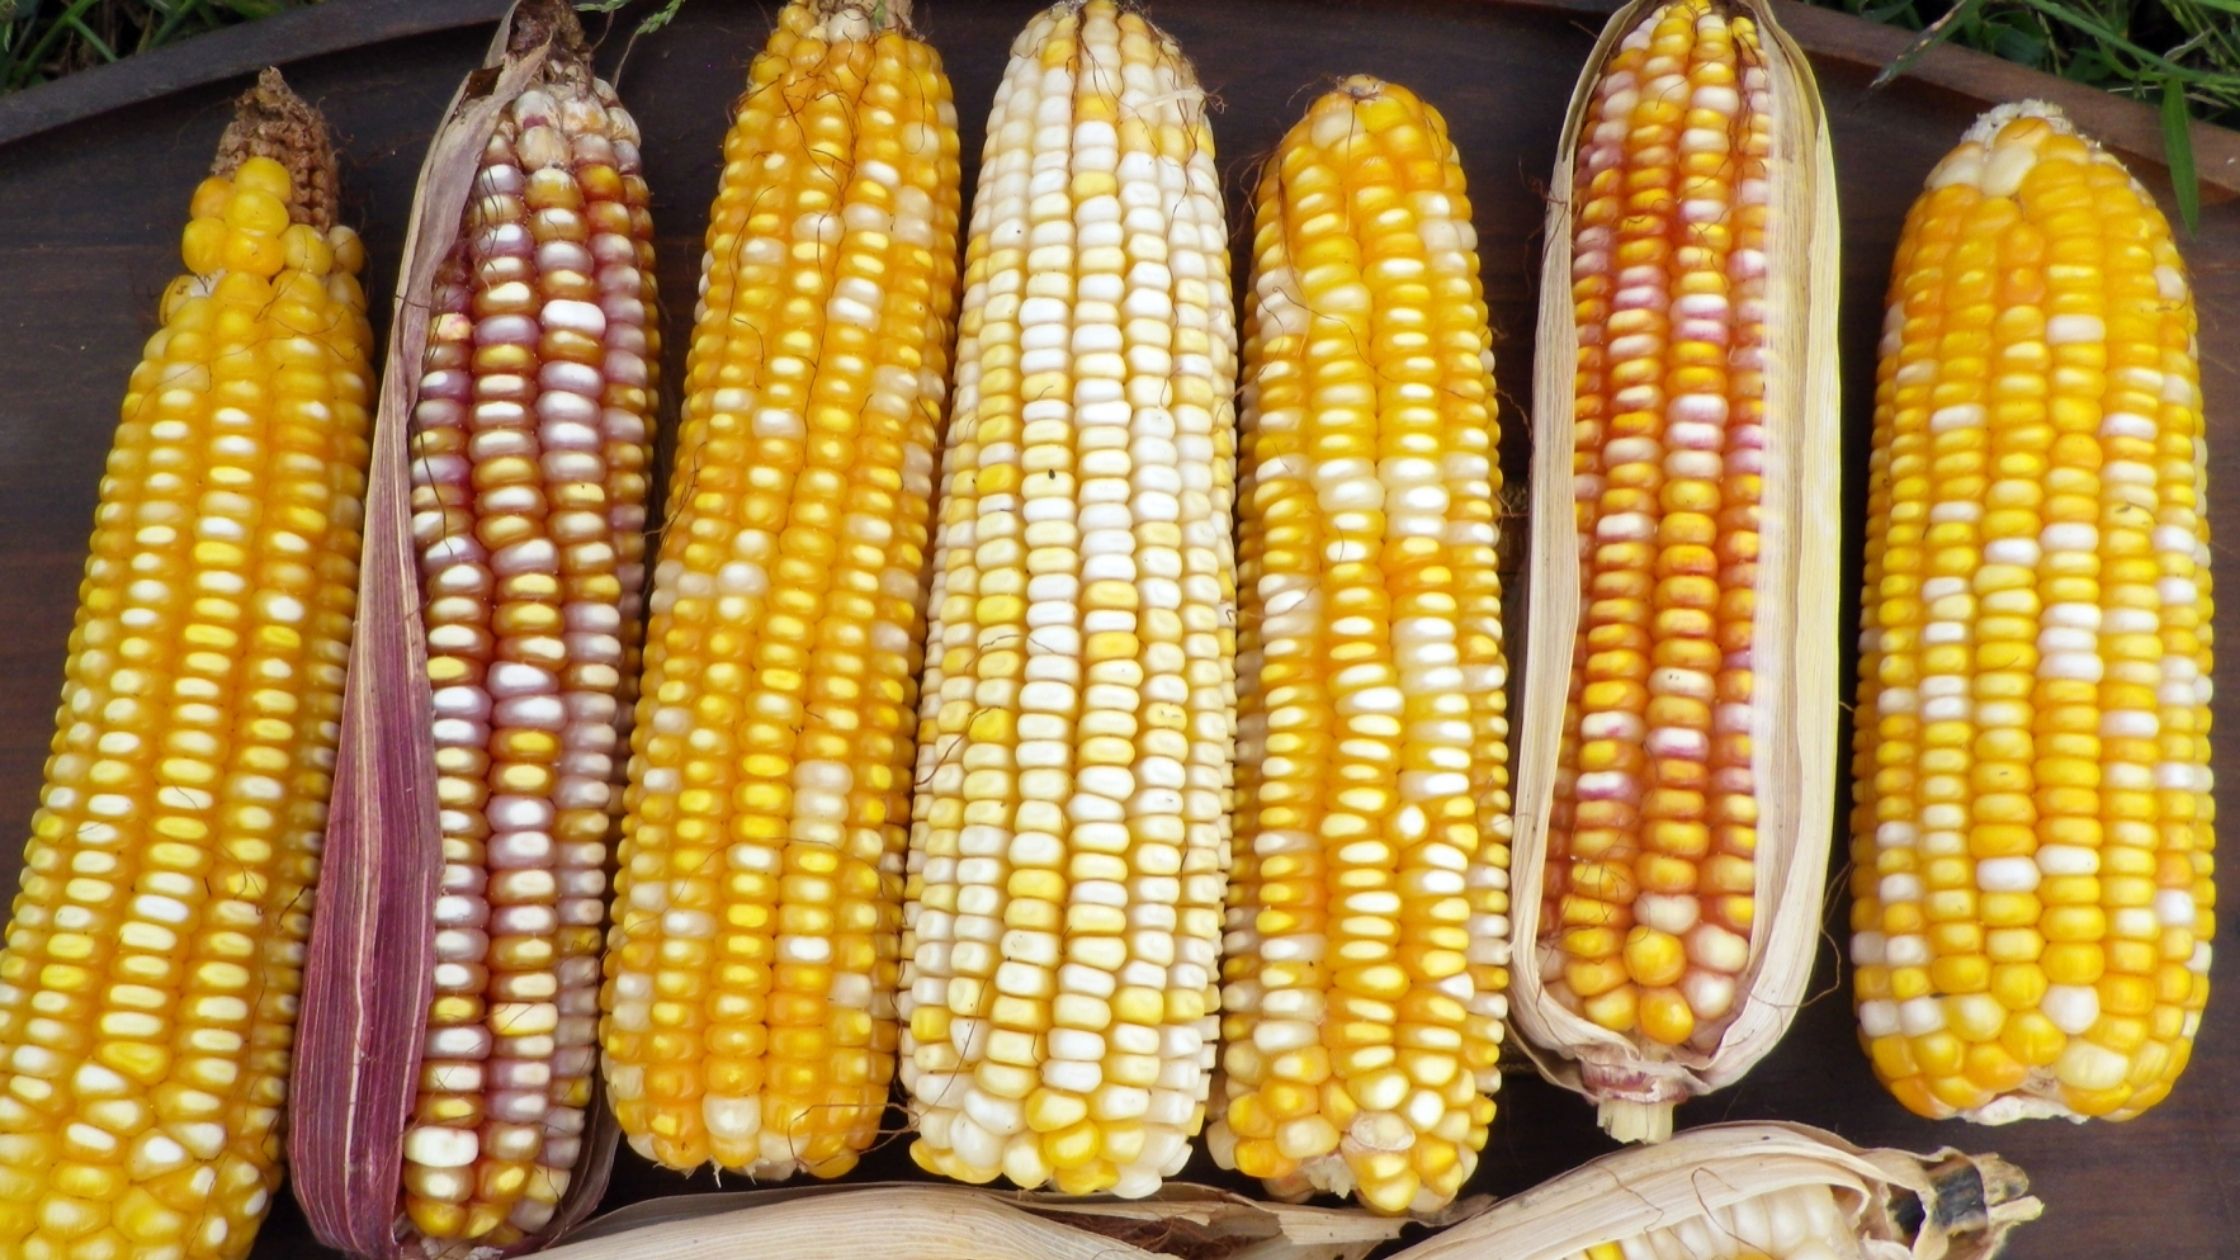
Selecting Corn Seeds For Planting
Understanding the Different Types of Corn Seeds: There are several different types of corn seeds available, each with their own distinct characteristics and uses. Some common types include sweet corn, dent corn, flint corn, and popcorn. Sweet corn is the most popular type for eating fresh, while dent corn is often used for livestock feed and industrial purposes. Flint corn is known for its hard, colorful kernels and is commonly used in decorative arrangements. Popcorn, as the name suggests, is specifically bred for popping.
Identifying the Best Seeds for Your Growing Zone: Before selecting corn seeds, it’s important to consider your growing zone. Different corn varieties have different temperature and climate requirements, so it’s essential to choose seeds that are well-suited to your region. You can consult online resources or talk to local gardening experts to determine which corn varieties are best suited for your specific growing zone.
Evaluating Seed Quality and Viability: When selecting corn seeds, it’s crucial to assess their quality and viability. Look for seeds that are plump, firm, and free from any signs of damage or disease. Check the seed packet or label for information on the seed’s germination rate and purchase seeds with a high rate of viability. Additionally, consider buying seeds from reputable suppliers who specialize in corn seeds to ensure you are getting high-quality seeds for successful planting.
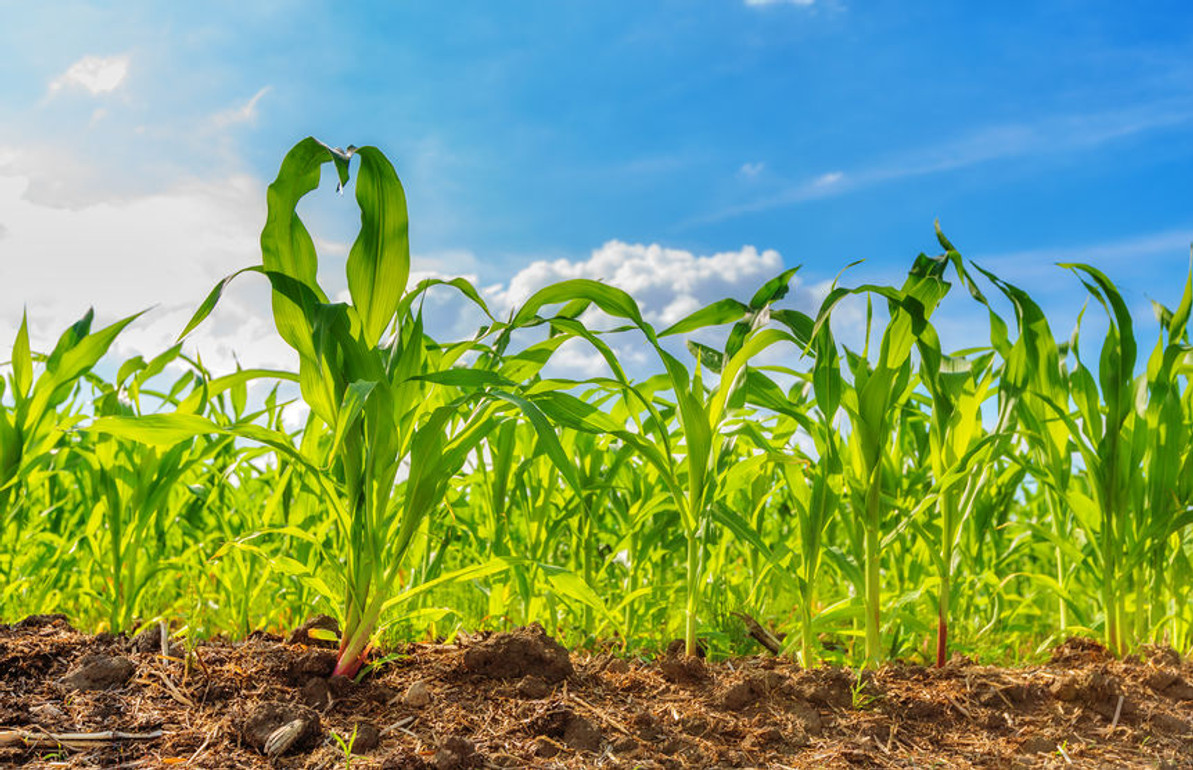
Preparing The Soil For Planting
Preparing the soil for planting is a crucial step in ensuring successful corn growth. Before planting, it is important to clear the planting area of any weeds, rocks, or debris that may hinder the growth of the corn seeds. Testing the soil pH and nutrient levels is another important task to determine if any amendments or adjustments are needed. Corn plants thrive in slightly acidic soil with a pH level of 6 to 6.8.
If the pH level is too high or too low, it may affect the availability of nutrients to the plants. Additionally, testing the nutrient levels helps identify any deficiencies or excesses that may require special attention. Depending on the test results, amending the soil with organic matter such as compost or well-rotted manure can improve soil fertility and provide the necessary nutrients for optimal corn growth.
Germination And Seed Treatment
Germination and Seed Treatment: When it comes to preparing corn seeds for planting, one important step is germination and seed treatment. This process involves soaking the corn seeds to promote germination. Additionally, for certain corn varieties, implementing a stratification process can be beneficial. Stratification involves subjecting the seeds to specific temperature and moisture conditions to simulate natural winter dormancy. Another technique that can enhance germination is seed priming.
Seed priming involves pre-soaking the seeds for a specific period of time in a solution that contains nutrients to activate the germination process. This technique not only increases the speed and uniformity of germination but also improves seedling vigor. By utilizing these methods, gardeners and farmers can ensure the optimal growth and success of their corn crops.
Seed Cleaning And Sorting
To prepare corn seeds for planting, it is crucial to start with seed cleaning and sorting. One important step in this process is to remove chaff, dust, and debris from the seeds. This can be done by gently rubbing the seeds together or by using a fine mesh screen to separate the unwanted materials. Once the seeds are clean, they need to be sorted based on size and quality. Larger, plumper seeds are typically more viable and have a higher chance of germination.
Additionally, performing a seed viability test can help determine the overall quality of the seeds. This test involves placing a sample of seeds in a moist paper towel and observing the percentage of seeds that germinate. By taking these necessary steps, gardeners can ensure that their corn seeds are well-prepared for a successful planting season.
Seed Storage And Preservation
When preparing corn seeds for planting, it is crucial to store them properly to ensure their viability. Here are some important tips:
- Preventing Pest Infestation and Mold Growth: Before storing, make sure to thoroughly dry the corn seeds and remove any debris. Place them in an airtight container or bag to prevent pest infestation and moisture absorption, which can lead to mold growth. Adding a desiccant, such as silica gel, can help maintain the seeds’ dryness during storage.
- Selecting the Right Containers and Environmental Conditions: Choose a container that is durable, airtight, and dark-colored as it prevents light exposure that can reduce seed viability. Store the container in a cool, dry, and dark place, away from direct sunlight, extreme temperatures, and high humidity. Regularly check for any signs of moisture or pests and discard any damaged or infested seeds.
By following these guidelines for seed storage, you can ensure that your corn seeds remain viable and ready for successful planting in the future.
Scarification And Seed Scarification Techniques
Seed scarification is an essential process when preparing corn seeds for planting. It involves breaking or weakening the seed coat to enhance germination. Scarification helps to accelerate the absorption of moisture and nutrients, enabling the seed to sprout quickly and develop into a healthy plant.
| Method | Description |
|---|---|
| Chemical Scarification | Applying chemicals or acid to soften the seed coat. |
| Physical Scarification | Using tools like sandpaper or a file to create small abrasions or scratches on the seed coat. |
| Hot Water Scarification | Soaking seeds in hot water to weaken the seed coat. |
- Follow the instructions for each scarification method carefully to avoid damaging the seeds.
- Ensure that the scarification process is done in a clean and sterile environment to prevent infections.
- Handle the seeds with care to minimize physical damage.
By understanding the importance of seed scarification and employing the appropriate scarifying methods with the necessary precautions, you can ensure the successful germination and growth of corn plants.
Pre-planting Treatment And Preparation
To prepare corn seeds for planting, it is important to follow a pre-planting treatment and preparation process. This involves cleaning the seeds, treating them with fungicide to prevent diseases, and ensuring optimal planting conditions for germination. Proper preparation will result in healthier crops and higher yield.
Treating Corn Seeds With A Fungicide And Insecticide
Before planting corn seeds, it is important to treat them with a fungicide and insecticide. This helps prevent the seeds from being infested by pests and protects them from fungal diseases. To do this, mix the seeds with the appropriate chemicals according to the instructions provided by the manufacturer. Ensure that all the seeds are coated properly.
Ensuring Proper Seed Moisture And Temperature
Proper moisture and temperature are crucial for the success of germinating corn seeds. Moisture levels should be around 12-15%, which can be achieved by drying the seeds and storing them in a cool and dry place. It is also important to maintain the proper temperature range of 50-86°F. Extreme temperatures can adversely affect seed germination and growth.
Protecting Seeds From Birds And Rodents In Outdoor Planting
In outdoor planting, it is essential to protect corn seeds from birds and rodents that might eat them. One effective method is using bird netting to cover the planting area. This prevents birds from accessing the seeds while still allowing sunlight and rain to reach them. It is also recommended to use rodent repellents or traps to keep rodents away from the planting area.
Seed Planting Techniques And Tips
When preparing corn seeds for planting, it is important to consider several seed planting techniques and tips. One key factor to consider is determining the appropriate planting depth for corn seeds. Corn seeds should be planted at a depth of about 1 to 2 inches in well-drained soil. This ensures proper germination and establishment of the seedlings.
In addition, spacing guidelines should be followed to promote optimal growth and yield. Corn plants should be spaced about 8 to 12 inches apart within a row, and rows should be spaced about 30 to 36 inches apart. This spacing allows the corn plants to have enough room for growth while maximizing sunlight exposure.
There are also different techniques for planting corn seeds, such as planting in rows or hills. Planting in rows involves creating straight lines of corn plants, whereas planting in hills involves grouping multiple seeds together in small mounds. The choice between these techniques depends on personal preference and the specific needs of the corn crop.
Post-planting Care And Maintenance
Corn plants require proper care and maintenance to ensure healthy growth and maximum yield. Watering and irrigating the plants adequately is crucial for their development. Corn plants generally require about 1 to 1.5 inches of water per week, either from rainfall or irrigation. It is important to monitor and ensure that the soil remains moist but not waterlogged.
Implementing a fertilization schedule is another essential aspect of corn plant care. Fertilizers should be applied at the right time and in the right amounts. A soil test can determine the nutrient requirements of the plants and guide the application of fertilizers accordingly.
To monitor and manage common corn diseases and pests, regular observation is necessary. Some common diseases include leaf blight, stalk rot, and corn smut. It is important to identify the signs of these diseases early and take appropriate measures such as applying fungicides or removing infected plants.
Furthermore, pests like corn earworms, cutworms, and aphids can also cause damage to corn plants. Natural methods like introducing beneficial insects or using organic pest control methods can help manage these pests effectively.
Harvesting And Saving Corn Seeds
1. Appearance: The color of the husks will change from green to a brownish-yellow when the corn is mature and ready to be harvested for seed saving. The husks will also begin to dry out and become papery.
2. Kernel Texture: Ripe corn kernels will be firm and plump. When you press your fingernail into a kernel, it should release a milky liquid.
3. Ear Placement: The ears of corn should be positioned horizontally and attached firmly to the stalk. If the ears droop or hang loosely, the corn is most likely not ready for harvesting.
1. Timing: Harvest the corn when the kernels are fully developed and mature. Waiting too long can result in mold or pest damage.
2. Cutting: Use a sharp knife or shears to cut the ear of corn from the stalk, leaving about an inch of husk attached to the ear.
3. Handling: Avoid dropping or throwing the harvested corn ears, as this can cause damage to the kernels and affect seed viability.
1. Dry in Shade: Place the harvested corn ears in a cool, dry, and well-ventilated area, preferably in the shade. Avoid direct sunlight, as this can cause the kernels to dry out too quickly.
2. Air Circulation: Allow air to circulate around the corn ears by placing them on a wire rack or hanging them in a mesh bag.
3. Storing: Once the corn ears are fully dried, remove the kernels from the cob and store them in airtight containers, such as glass jars or plastic bags, in a cool and dark place.
Frequently Asked Questions Of How To Prepare Corn Seeds For Planting
Should I Soak Corn Seeds Before Planting?
Yes, it is recommended to soak corn seeds before planting. Soaking helps soften the seeds, leading to faster germination. It also helps in eliminating any diseases or pests attached to the seeds, increasing the chances of successful growth.
How Do You Process Corn Seeds For Planting?
To process corn seeds for planting, follow these steps: select healthy seeds, dry them properly, treat them with fungicide, plant them at the right depth and spacing, and provide adequate water and nutrients. Properly processing corn seeds ensures successful germination and optimal growth.
Can You Plant Corn Seeds Directly In The Ground?
Yes, you can plant corn seeds directly in the ground. It is a common and straightforward method of growing corn.
Do You Plant Corn Seeds Or Kernels?
Corn seeds are planted to grow corn. Kernels are the seeds of the corn.
Conclusion
To wrap up, preparing corn seeds for planting requires a few simple yet essential steps. By selecting quality seeds, soaking them in water, and maintaining proper moisture and temperature conditions, you can enhance germination rates and ensure a successful crop.
Remember to provide adequate spacing between the seeds and protect them from pests and diseases. With these tips, you’ll be on your way to growing healthy corn plants in your garden. Happy planting!